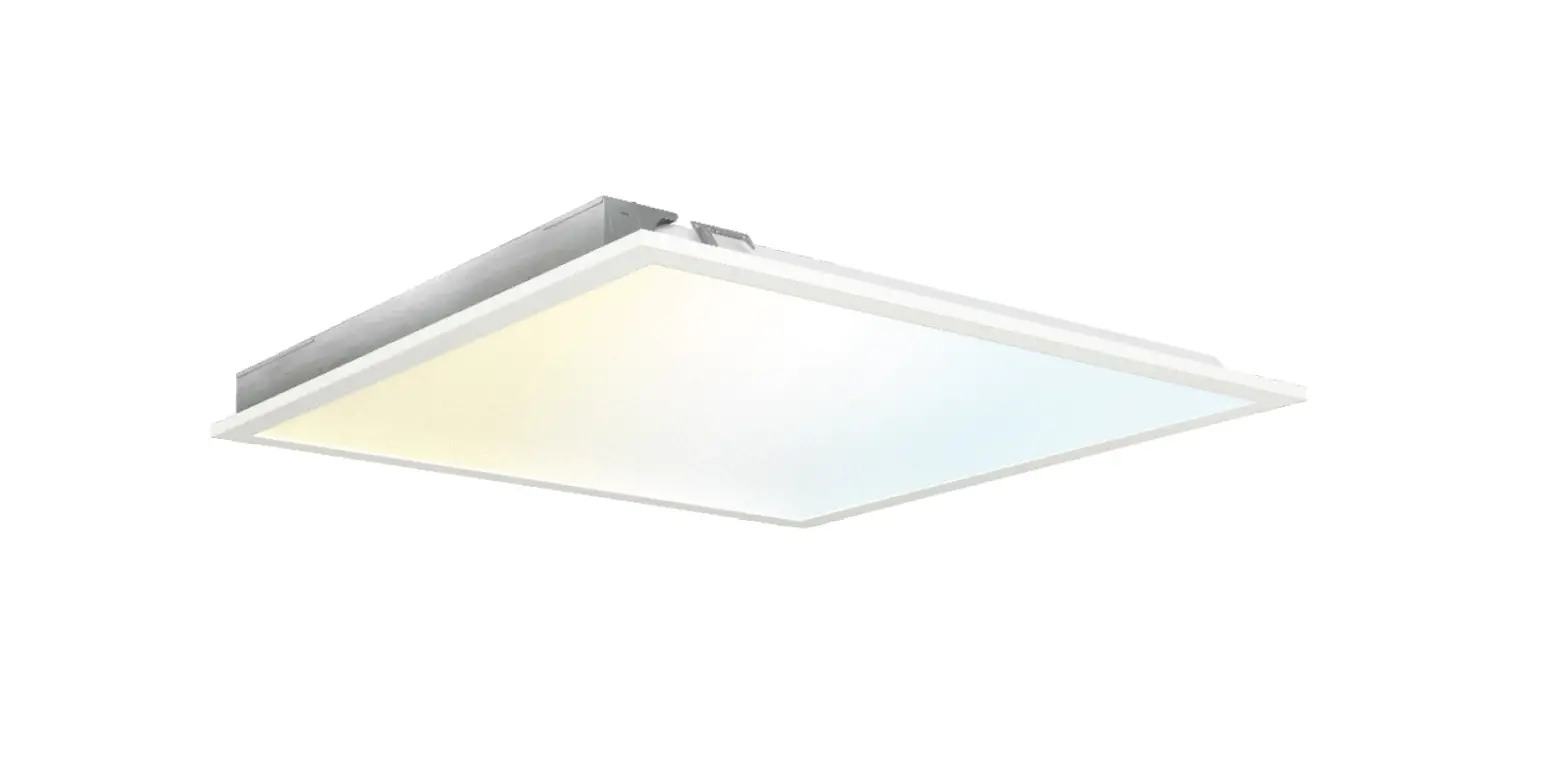
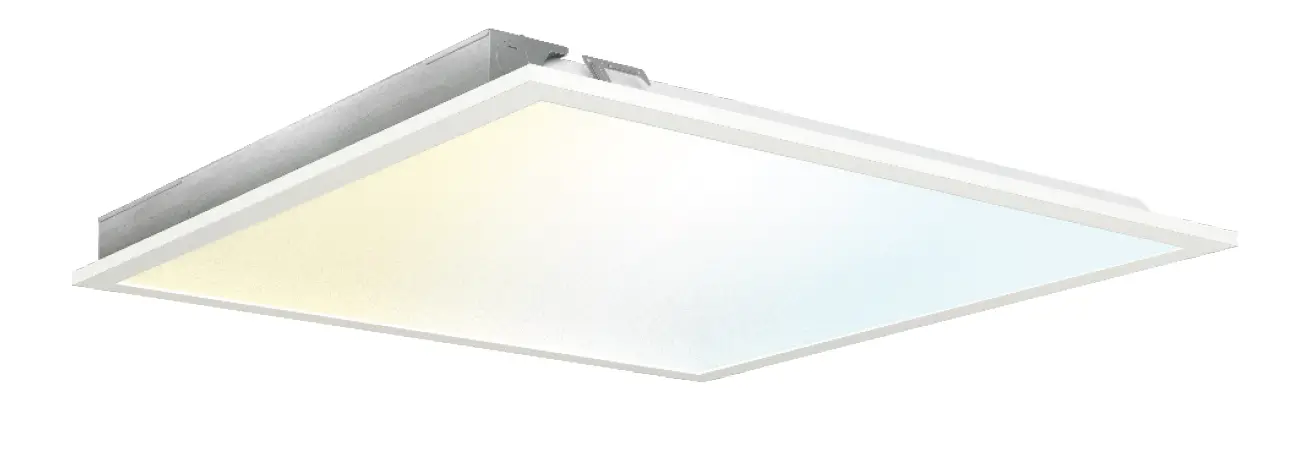
Sunco SM2x2-40W-0K-6PK 2×2 LED Selectable Ceiling Panel
 Installation
 Installation
EASY INSTALLATION Recessed Mount
- Turn off circuit breaker before installing.
- Place Ceiling Panel face down on flat surface.

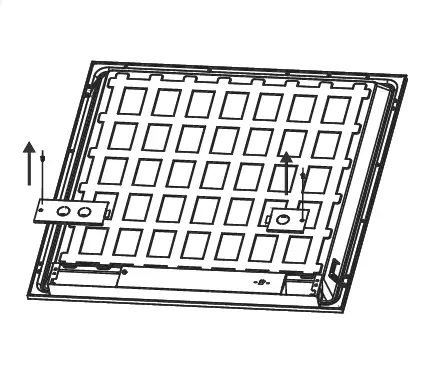
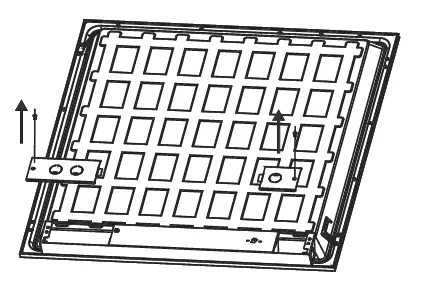
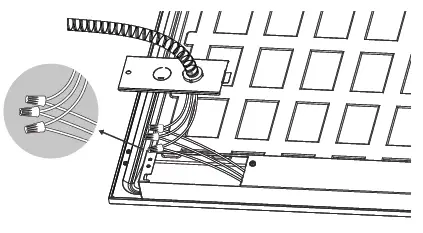
- Unscrew left driver and set aside screw.
Optional: If using dimmer, unscrew right driver cover.
- Unscrew left driver and set aside screw.
- Pop out knockout (choice of 5).
Optional: If using dimmer, pop out 2nd knockout.
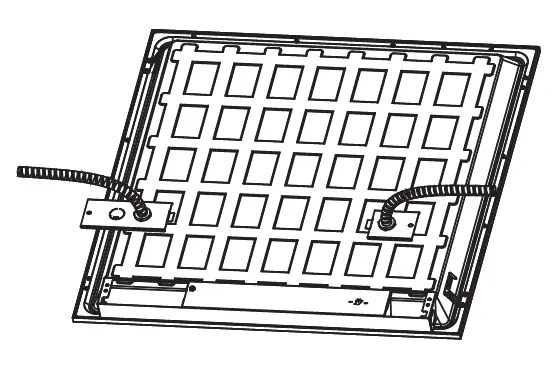
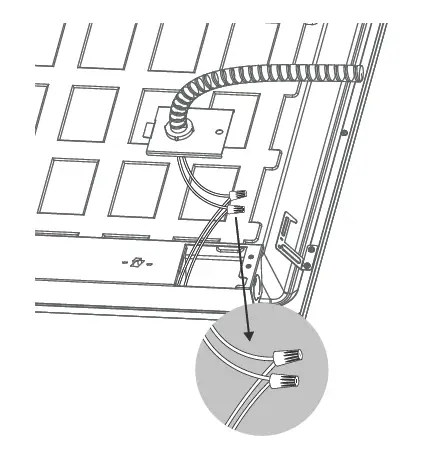
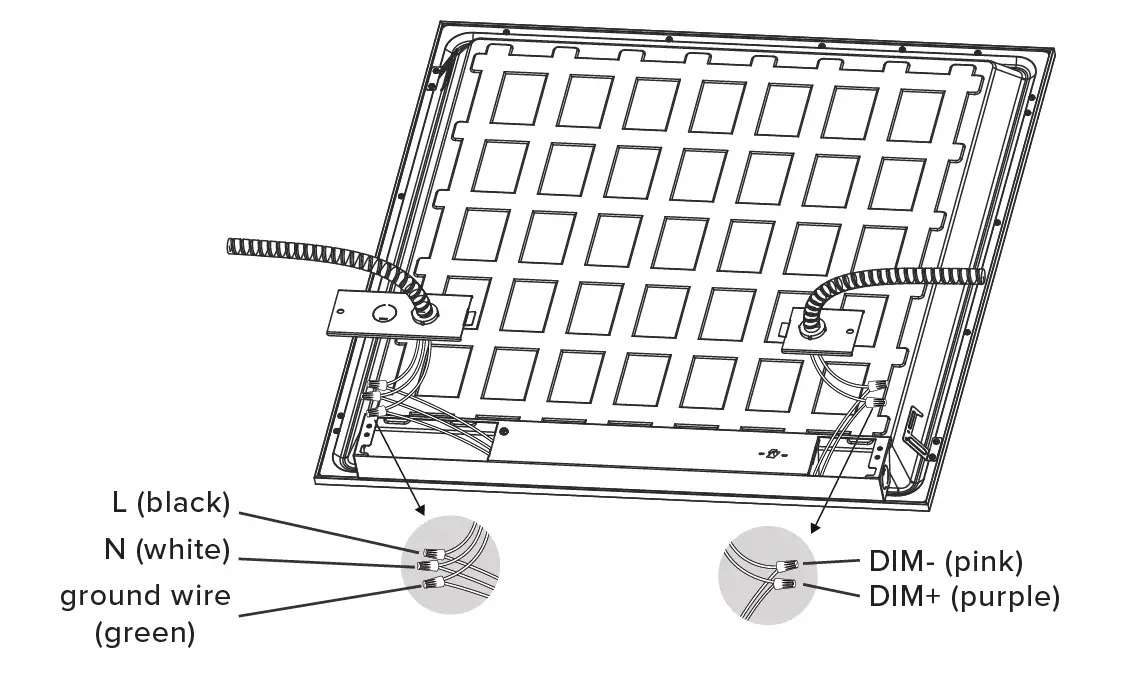
- Connect supply wires to Ceiling Panel wires with included wire nuts:
- Black to Black (Live)
- White to White (Neutral)
- Green to Green (Ground)

OPTIONAL: o use the dimming feature, connect pink and purple wires on the Ceiling Panel to compatible dimmer (not included).
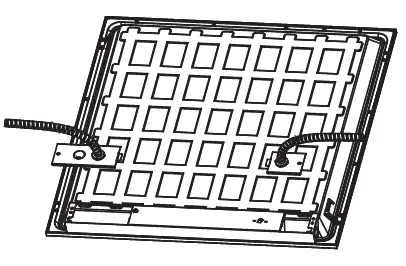
- Replace driver covers.
- Tighten screws.

- Tighten screws.
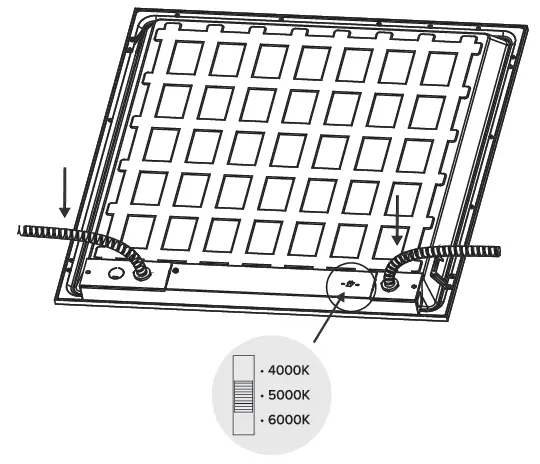
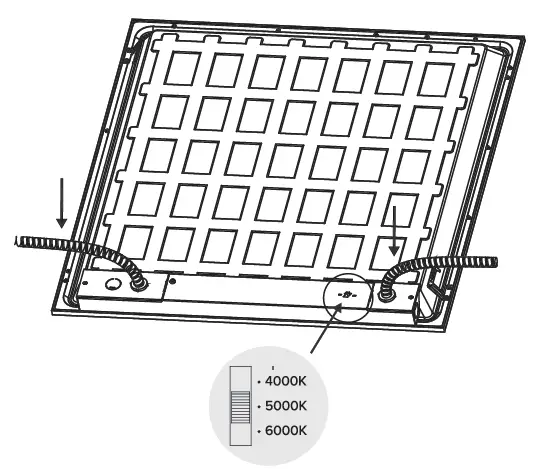
- Set the preferred color temperature using CCT on back of Ceiling Panel.
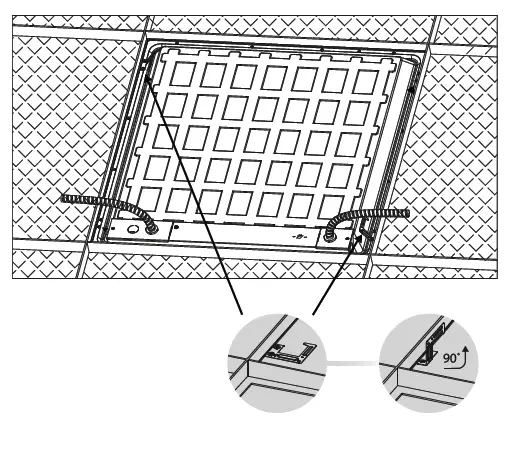
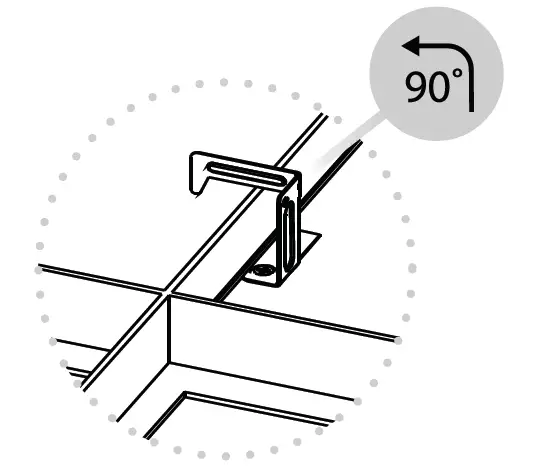
- Bend 4 protective brackets located on back of the Ceiling Panel up 90o.

- Turn brackets 90o. The hook should face the outside edge of the Ceiling Panel.

- Turn on the circuit breaker and test light.


WIRING DIAGRAM
SPECIFICATIONS
- Voltage
- 100-277V
- Wattage
- 40W
- Moisture Rating
- Damp
- Housing Material
- SPCC+PS Lens
- Weight
- 4.18lbs
- Warranty
- 7 Years
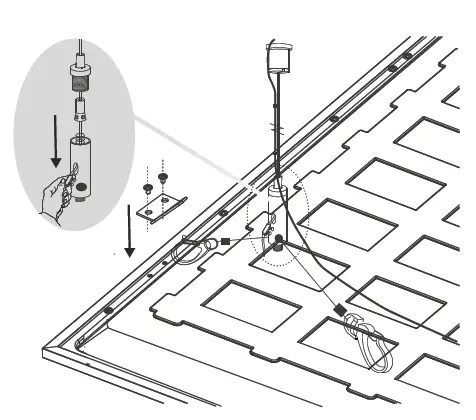
EASY INSTALLATION Suspension Mount
- Turn off the circuit breaker before installing.
- Place Ceiling Panel face down on flat surface.
- Unscrew the left driver and set aside the screw.
Optional: If using a dimmer, unscrew right driver cover.
- Unscrew the left driver and set aside the screw.
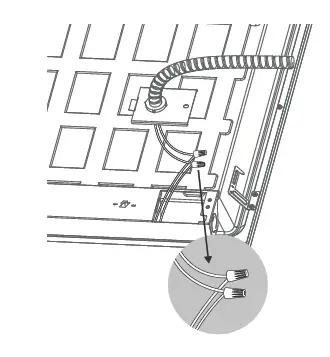
- Pop-out knockout.
Optional: If using dimmer, pop out 2nd knockout.
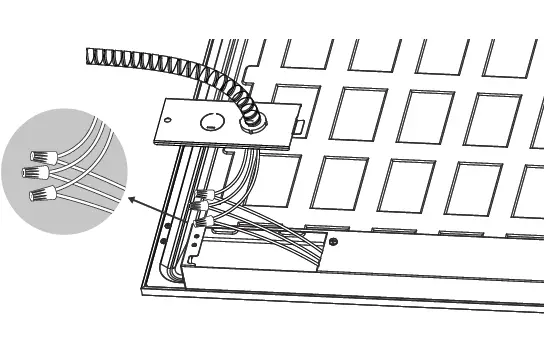
- Connect conduit to knockout.
- Feed wires through

- Feed wires through
- Connect supply wires to Ceiling Panel wires with included wire nuts:
- Black to Black (Live)
- White to White (Neutral)
- Green to Green (Ground)

OPTIONAL: To use the dimming feature, connect pink and purple wires on the Ceiling Panel to a compatible dimmer (not included).
- Replace driver covers.
- Tighten screws.

- Tighten screws.
- Set preferred color temperature using CCT on back of the Ceiling Panel
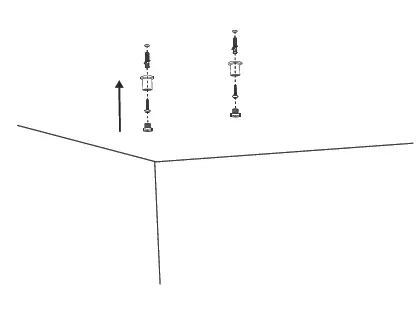
- Drill 2 holes into ceiling.

- Place anchors into hole, insert wire rope, and screw.
Refer to the suspension kit’s (not included) install manual for complete details. - Adjust the support rope/wire to ensure Ceiling Panel is level.

- Turn on the circuit breaker and test light.

WARNING
To reduce the risk of fire, electric shock, or physical injury:
- Turn off the circuit breaker before installing this fixture.
- This product should be installed by a person familiar with the construction and operation of the product and the hazards involved. Safety eyeglasses and gloves are recommended.
- Abide by related regional and local laws or regulations.
- Proper grounding is required to ensure safety.
- Check for shipping damage before installing. If the product is damaged, do not use it.
- Keep fixtures away from corrosive substances.
- Clean fixtures regularly to ensure proper operation. Do not clean with harsh solvents.
- Use safety precautions and abide by regional and local laws or regulations.
- This product is not compatible with 3rd party sensors.
- Suitable for damp locations at temperatures ranging from -4°F to 113°F. Not for use where directly exposed to water.


