![]() GOGGLES AIR MAVIC MINI Drone
GOGGLES AIR MAVIC MINI Drone
User Guide 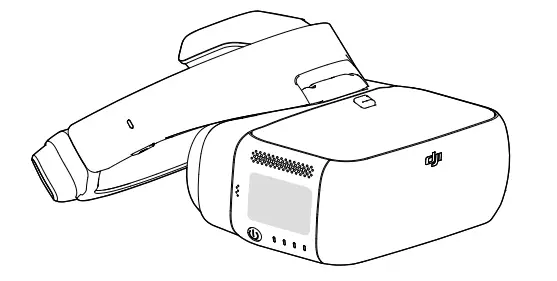
DJI Goggles
DJI Goggles are equipped with high-performance displays and an ultra-low latency video downlink for use with DJI™ aircraft, giving you a real-time aerial First Person View (FPV) experience. DJI Goggles can also be used to display HD videos, bringing you an immersive high-definition viewing experience. DJI Goggles support head tracking, allowing aircraft and gimbal to be controlled using head movements, introducing a new style of flying.*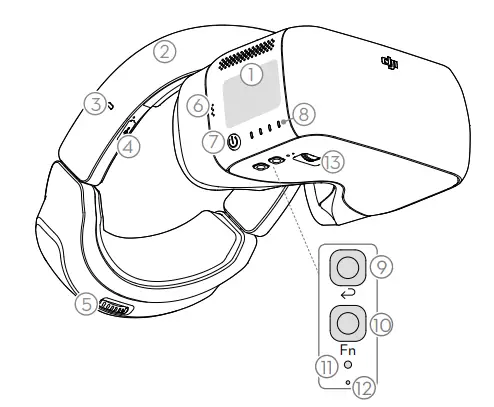
| 1. Touch Panel | 8. Battery Level Indicators |
| 2. Headband | 9. Back Button |
| 3. Charging Status Indicator | 10. Function Button |
| 4. Micro USB Port | 11. Link Button |
| 5. Headband Knob | 12. Linking Status Indicator |
| 6. Speaker | 13. IPD (Interpupillary |
| 7. Power Button | Distance) Knob |

| 14. Lens | 18. Micro SD Card Slot |
| 15. Proximity Sensor | 19. 3.5 mm Audio Port |
| 16. Headband Buckle | 20. HDMI Type-D Port |
| 17. Heat Vent | 21. Speaker |
* Only some aircraft are supported. Please refer to the User Manual for specific models and operations.
Installation and Wearing
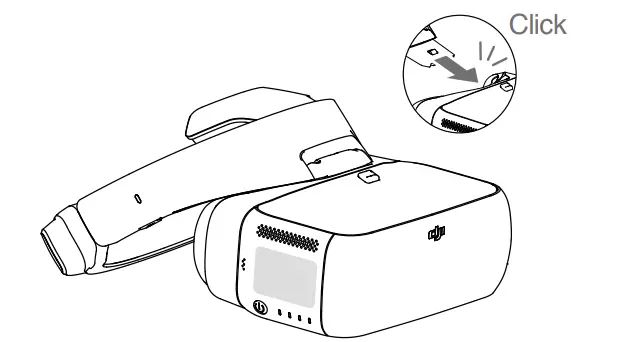
Insert the Headband Buckle into the slot above the DJI Goggles body.
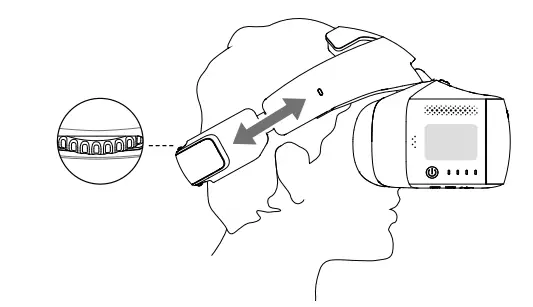
Wear the DJI Goggles and adjust the Headband.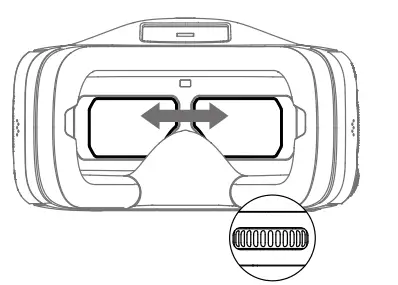
Adjust interpupillary distance.
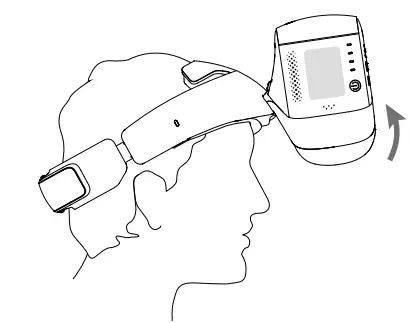
Flip the DJI Goggles body to see outside.
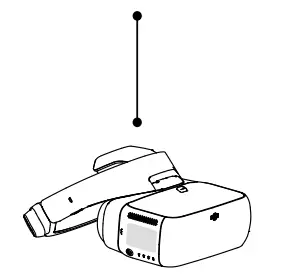
Check the Battery Level and Charging
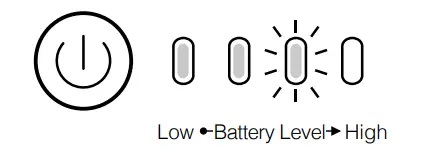
Press once to check the battery level.
Press once, then again and hold to turn on/off.
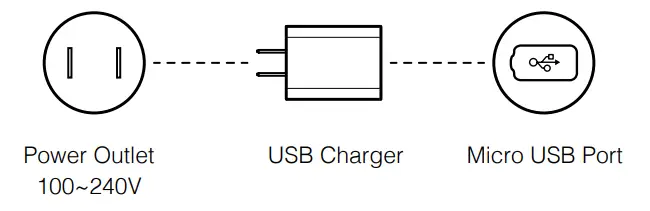
The Battery is fully charged when the Charging Status Indicator or the Battery
Level Indicators turn off.
Charge time: ~ 4 hours Maximum run-time: ~ 6 hours
Activation and Connection
First-time activation is required before using your new DJI Goggles.
Ensure all devices are powered on and that the Aircraft is linked with the Remote
Controller. Make sure both are updated to the latest firmware versions.
| MAVIC PRO | INSPIRE™ 2* PHANTOM™ 4 Series | INSPIRE Series PHANTOM 4 PRO+ | Video Play Device |
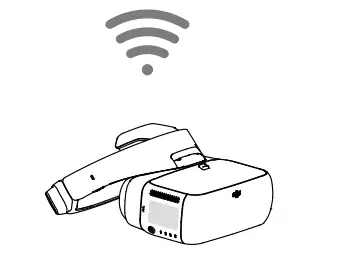 | 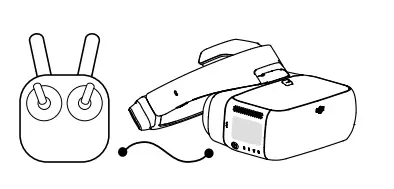 | 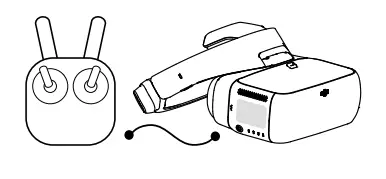 |  |
| OCUSYNC™ Press the Link Buttons on the Mavic Pro and DJI Goggles, or enter Tools > Setting > Linking Setting to connect. | Micro USB cable * Live view only, support somatic control of focus. Visit the DJI website for future updates. | HDMI cable Live view only. | HDMI cable |
Activate with DJI ASSISTANT™ 2
Download: www.dji.com/dji-goggles
DJI Assistant 2 supports Windows 7 (or later) or OS X 10.11 (or later).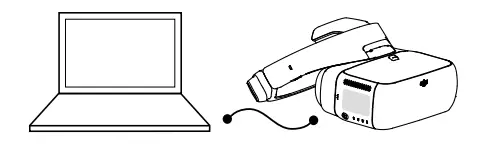
Connect DJI Goggles to your PC with Micro USB cable, then run DJI Assistant 2 to activate.
Controls
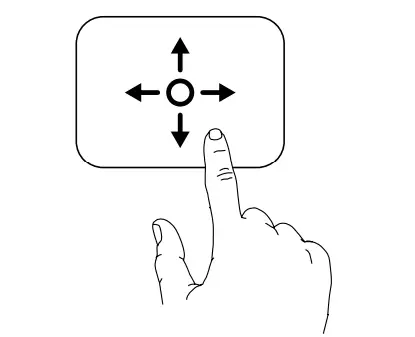
Single Finger Touch /5D Button*
- Swipe to scroll on the menu
- Tap to confirm
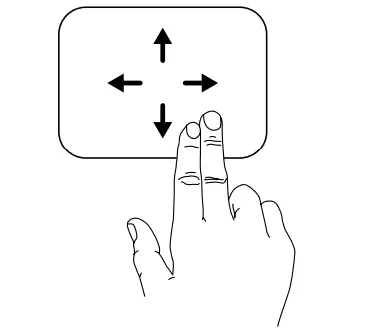
Two Fingers Touch
- Swipe forward/backward to unlock/lock the touch panel
- Swipe upward/downward to exit/enter the shortcut menu
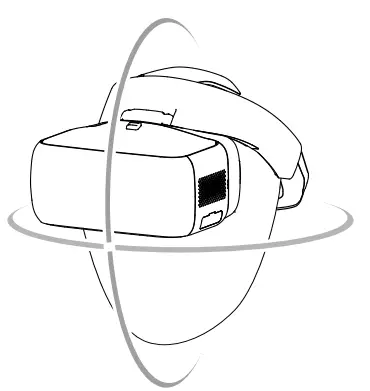
Somatic Control
DJI Goggles support head tracking, allowing aircraft and gimbal to be controlled using head movements. Multi Intelligent Flight Modes are also supported.
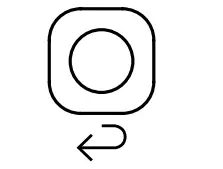
Back Button/C2 Button*
Press to return to the previous menu, or exit the current Intelligent Flight Mode.

Function Button/C1 Button*
Press to show the focus cursor, swipe forward/backward with one finger to zoom in or zoom out. Move your head then tap the touch panel to define the focus point.
* When connected with Mavic Pro, the 5D, C1, and C2 buttons on the remote controller will be used to control the DJI Goggles and their original function is disabled.
Specifications
| Weight (Typical) | DJI Goggles Body: 495 g Headband: 500 g |
| Dimensions | DJI Goggles Body: 195 × 155 × 110 mm Headband (folded): 255 × 205 × 92 mm |
| Screen Size | 5 inch × 2 |
| Screen Resolution | 3840 × 1080 (single screen: 1920 × 1080) |
| Communication Frequency | 2.4 GHz |
| Live View Modes | 1080p30, 720p60, 720p30 |
| Battery Capacity | 9440 mAh |
| Operating Temperature Range | 32° to 104° F (0° to 40° C) |
| Charger | Input: 100-240 VAC, 50 / 60 Hz, 0.5 A Output: 5 V 3 A / 9 V 2 A / 12 V 1.5 A |
The content is subject to change.
Download the latest version from www.dji.com/dji-goggles
DJI is a trademark of DJI.
Copyright © 2017 DJI All Rights Reserved.


