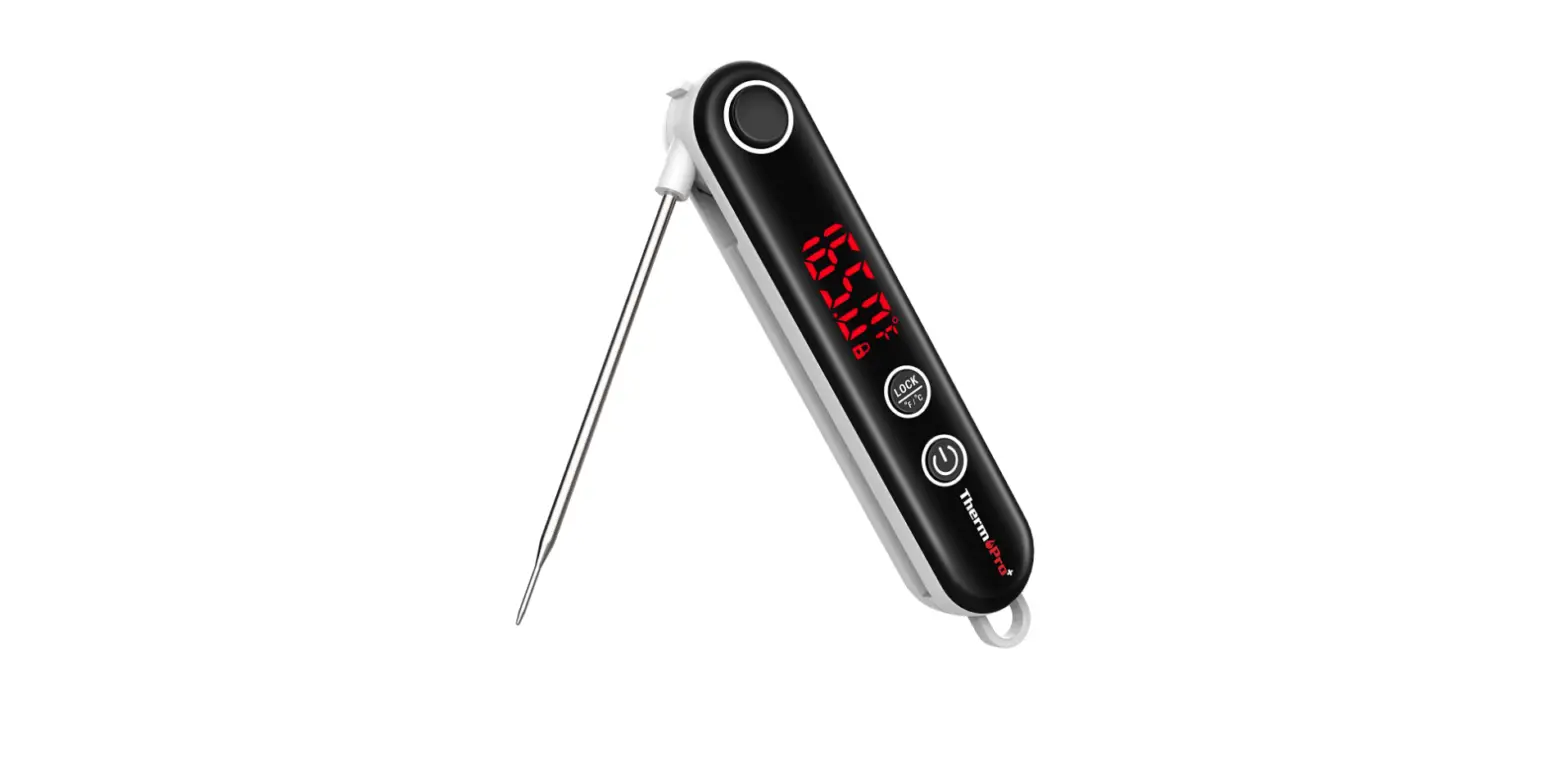
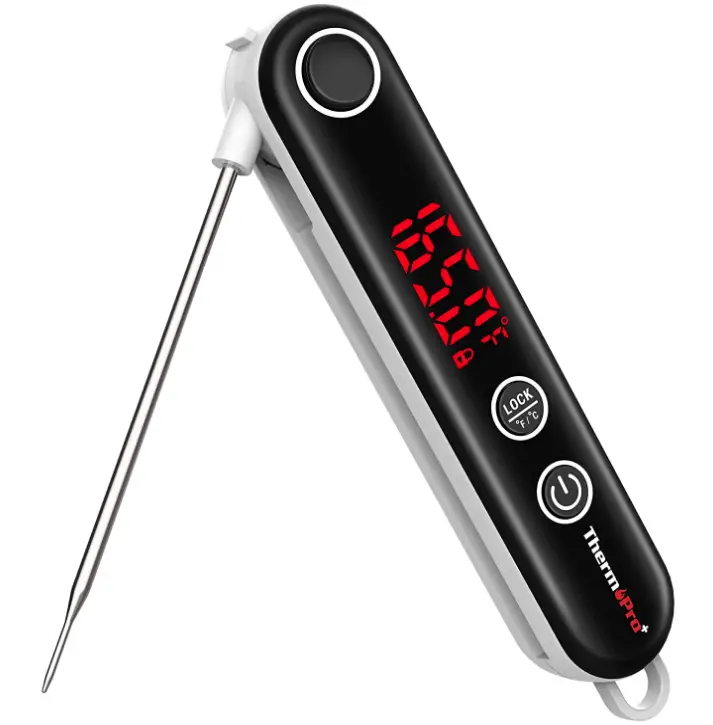
 ThermoPro TP18 Ultra-Fast Thermocouple
Product
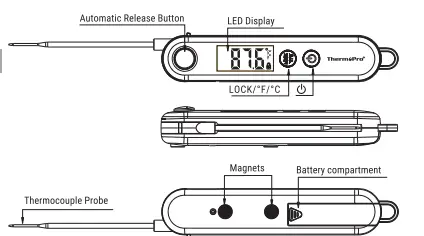
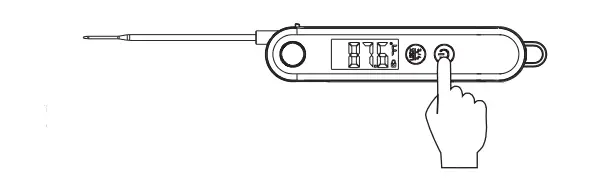
- Automatic Release Button: Press to automatically release the probe.
- LED Display: Displays the current temperature.
- Stopper Lock: Holds the temperature probe in place when fully extended. Always fully extend the probe so it locks securely in place.
- Power Button: Press once to turn ON the unit, hold for 3 seconds to turn OFF. It will automatically turn off if no button has been pressed in 90 seconds.
- LOCK/°c/°F: Press once to lock the current temperature for 5 seconds, press again to unlock; hold for 3 seconds to switch between °C and °F.
- Temperature Probe: Insert the probe into meat to get the internal meat temperature.
- Battery Compartment: Use 2xAAA batteries to power the unit.
- Super-Fast Thermocouple Probe: High precision sensor, you can get temp readout within 3 seconds.
SPECIFICATIONS
- Temperature range: 14 °F 572°F (-10 °C 300 °C). If the temperature is below 14°F (-10 °C) or above 572 °F (300 °C), LLL or HHH will show on the screen.
- Two Buttons: dand LOCK/°F/°C.
- 90 seconds Auto-off feature if no button has been pressed.
- Resolution: 0.1 °C/°F.
- Temperature Accuracy: t0.9°F (20.5°C) in range between 14 to 572°F (-10 to 300°C).
- Battery: 2 x AAA 1.5V included.
- Calibration Function.
BEFORE FIRST USE
- Insert or Replace Battery: Insert two AAA batteries in correct polarity (+) and () as indicated.
- Clean stainless tip: Wash tip with warm soapy sponge or cloth, then rinse and dry.
- Do not immerse product body in water.
- PLEASE READ AND FOLLOW ALL INSTRUCTIONS.
- The thermometer is now ready to use.
TO MEASURE FOOD TEMPERATURE
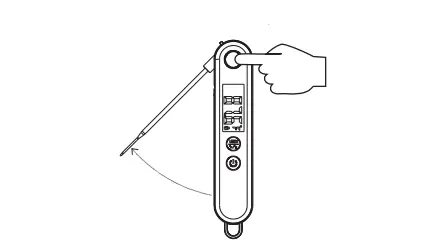
- Press the release button to release the probe (Picture 1).

- Press once to turn ON the unit.

- Press and hold LOCK/°F/°C for 3 seconds to switch between °C and °F. Please note that the temperature unit selected will remain when you turn on the thermometer next time.
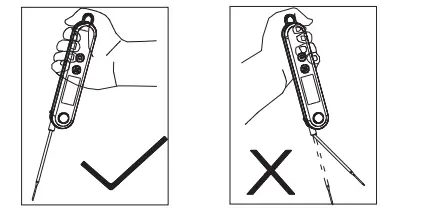
- Insert the tip of the probe into the food being cooked as the below picture shows. The thermometer will start to measure the internal food temperature.

- Wait until the temperature reading stabilizes on the display.
- Press the button to turn off the thermometer. This thermometer also comes with an auto-off feature: it will automatically turn off if no button presses in 90 seconds.
CALIBRATION
The thermometer comes with a Calibration feature. In most cases, the thermometer was calibrated precisely at our manufacturing facility, and generally you do NOT need to calibrate the thermometer. However, after a long period of use AND you believe that the temperature reading displayed by the thermometer is not accurate, you may follow the process below to re-calibrate the thermometer
- Use distilled or purified water to make ice cubes in your refrigerator;
- Get a thermal insulated bottle. If you don’t have one, use a beaker or a regular cup;
- Fill the bottle with ice cubes (no less than 70% of the volume), then top off with cold distilled or purified water (no greater than 30% of the volume);
- Stir the mixture and let it sit for 10 minutes to allow the ice and water to reach its temperature equilibration;
- Turn on the thermometer and press the button 5 times in a row to enter Calibration mode. CAL will begin flashing for a few seconds and then the current temperature reading will begin to flash which means the thermometer is in Calibration mode;
- Immerse the probe in the ice/water mixture and make sure not to touch the sides of the container. Wait till the temperature reading drops to its lowest value, which should be around 32°F or 0°C. If the temperature of the ice/water mixture is not within 28°F to 36°F (-2°C to +2°C), the calibration can’t be continued: you will need to follow the above steps to re-make the ice/water mixture;
- Hold button for 3 seconds to confirm the calibration and exit the Calibration mode.
Note
The Calibration mode will only last for 15 seconds. If you’re unable to finish the calibration within 15 seconds, the thermometer will automatically exit Calibration mode.
UNDO-CALIBRATION
If you want to undo the calibration and go back to the default calibration setting, please follow the below steps:
- Turn on the thermometer and press the button 5 times in a row to enter Calibration mode
- When you see the temperature reading begins flashing, press and hold the LOCK/F/°C for 3 seconds. The temperature reading will stop flashing and the calibration is set to the default setting.
HELPFUL HINTS
- When measuring different foods or meat, it may be desirable to cool the probe first by rinsing the tip with cold water.
- Its recommended that you wipe the probe tip clean between readings. This is especially important when taking temperature readings from different foods or meat.
- The thermometer is designed for temporary, handheld use. Do NOT use in an oven. Do NOT leave it in extremely hot foods or liquid (anything over 572°F) for more than 1 minute.
- Always take your reading in the thickest available portion of meat.
- Thin portions of meat are difficult to measure because they tend to cook through fast. Avoid touching bone. If the tip touches the bone or heavy fat area of the meat, or if the tip is not deep enough, take a second reading to ensure accuracy.
- Not intended for use by persons under age 12.
CARE OF YOUR THERMOMETER
- Do not touch the stainless portion of the thermometer during or right after measuring temperatures since it will be very hot.
- Do not place the unit in the dishwasher or immerse in any liquid. To clean, wipe the probe tip with a damp soapy cloth or sponge and then dry.
- Do not leave exposed to extremely high or low temperatures since this will damage electronic parts and plastics.
- Do not keep the thermometer inserted in food during cooking. Remove batteries if stored for more than four months.
LIMITED ONE-YEAR WARRANTY
ThermoPro warrants this product to be free of defects in parts, materials and workmanship for a period of one year, from date of purchase
REGISTER your product after purchase and RECEIVE EXTENDED 3 YEARS
Warranty on our website
https://itronicsmall.com/pages/warranty-registration
Should any repair or service under this warranty be required, please
Contact Customer Service by phone or email for instructions on how to pack and ship the product back to ThermoPro.
This warranty gives you specific legal rights and you may also have other rights which vary from state to state.
CUSTOMER SERVICE
Telephone: 1-877-515-7797 (USA & Canada only)
Email: [email protected]
Hours: Weekdays 8:00 AM-8:00 PM EST
Frequently Asked Questions
Please make sure that the probe is inserted correctly into the meat. The probe should be inserted vertically and at least 1 inch (2.5 cm) deep.
Please check if the probe is inserted correctly into the meat, and make sure that the probe is fully inserted into the meat. The probe should be inserted vertically and at least 1 inch (2.5 cm) deep.
Please change to the Fahrenheit scale.
Please make sure that you have put new batteries in it. If batteries are not working, please replace them with new ones. If it still doesn’t power on, please contact our customer service center for help.
This isn’t made to be kept in the oven. Simply open the oven door, remove the meal, place the thermometer inside for a brief period of time to obtain the reading, then put the food back in the oven if necessary.
Yes, it will accommodate thinner goods’ temperatures. It can be used to accurately measure the temperature of stovetop cookery, such as boiling candy or icing.
Yes, using this tool to verify your cooked chicken after deep-frying it is possible.
The Themo measures the temperature as soon as you turn it on. In terms of accuracy, I’ve never compared the readings to those from another thermometer for air temperature.
After unlocking the probe lock with the black button at the top of the housing, insert the probe into the housing. The black button will pop once the probe is inside the housing and lock the probe there.
Sort of. It emerges from the body, but you must manoeuvre it and lock it into position by hand. You must manually re-insert the probe into the body after pressing the button one again to close it. Explaining it takes more time than actually doing it! Not at all a problem.
The first time I used it, I tried it in hot water, and it performed as expected. Although I’m not sure if it can be calibrated, it’s been amazing value for the money.


