![]() BRACKET INSTRUCTIONS
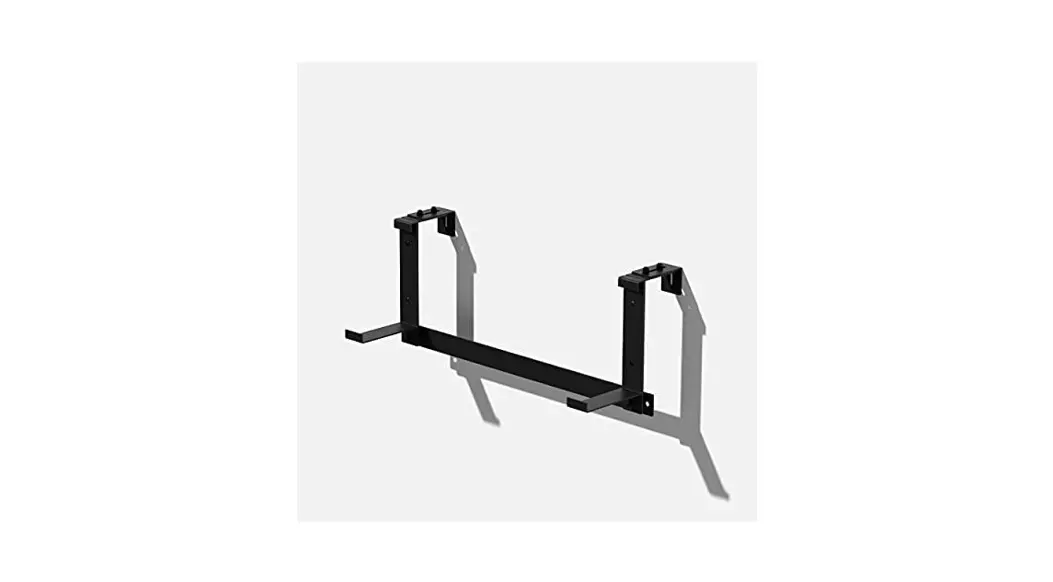
BRACKET INSTRUCTIONS
Visit www.veradek.com For More Information
PARTS
A – Planter Bracket – 3 PCS
B – Rail Bracket – 3 PCS
C – Slider Bracket – 3 PCS
D – Levelling Bar – 1 PC
E – Bottom Bolt – 6 PCS
F – Slider Bolt – 6 PCS
G – Rail Bolt – 6 PCS
H – Slider Nut – 6 PCS
I – Leveller Nut – 6 PCS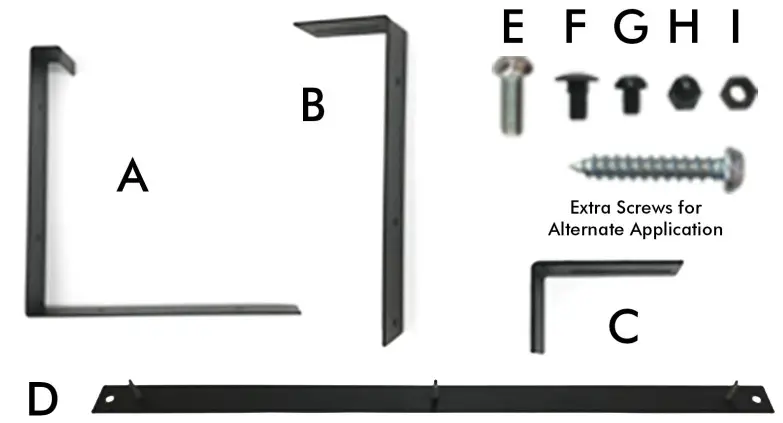 STEP 1
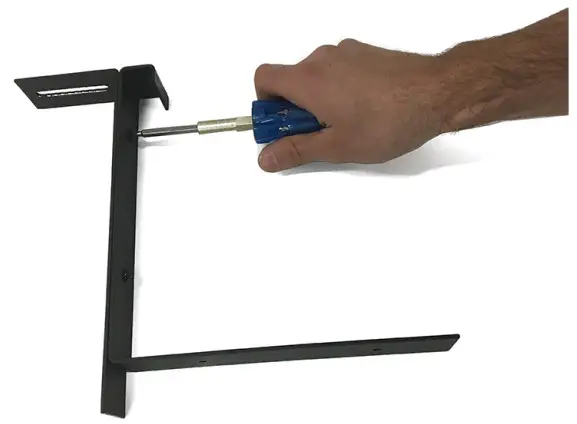
Attach Planter Bracket (A) to Rail Bracket (B) using 2 Rail Bolts (G). Tighten using Phillips Screwdriver. Ensure Rail Bolt (G) is tight. Repeat for the remaining 2 brackets.
 STEP 2
Attach Slider Bracket (C) to Rail Bracket (B) using 2 Slider Bolts (F). Hand tightens using Slider Nut (H). Ensure Slider Nut (H) is facing up. Repeat for the remaining 2 brackets.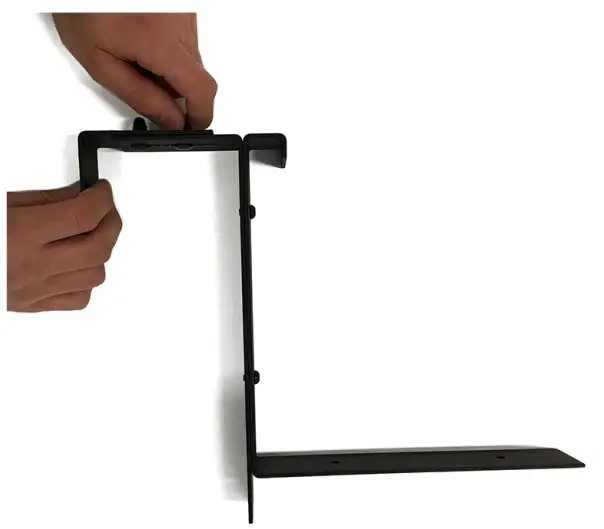
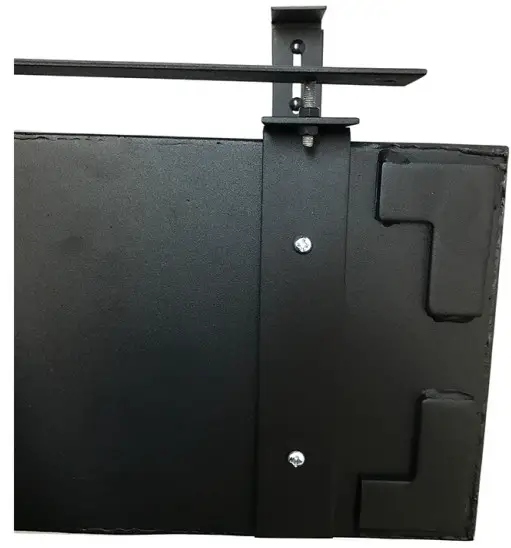
STEP 3 Attach assembled Planter Bracket to the planter. Place bracket hook over rear planter lip. Flip planter over. Screw 2 Bottom Bolts (E) into the bottom of the planter using a Phillips Screwdriver. Repeat for the remaining 2 brackets.
 STEP 4
Hand tightens 1 Leveller Nut (I) onto each threaded rod of Leveller Bar (D) about 1 inch deep. Place Leveler Bar (0) rods into bottom holes of Rail Bracket (B) with the flat side facing away from the planer. Secure by hand tightening a Leveller Nut (I) onto each rod.
 STEP 5
Measure railing width. Adjust Slider Bracket (C) to match railing width. If the railing is smaller than the slider width’s smallest opening, unscrew bolts and turn the Slider Bracket around. Tighten (tightly) using pliers or an adjustable wrench. Place planter on the railing. Adjust Levelling Nuts (I) to obtain desired planter angle. Secure tightly.


