
zortrax M200 Glass Plate

SOURCE:
https://support.zortrax.com/glass-plate-installation/
Unplugging the Power Cable
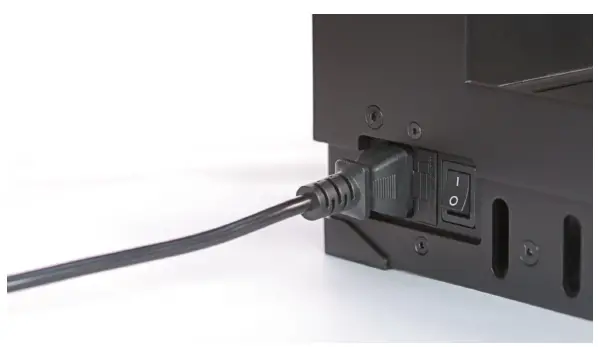 Turn the printer off and unplug the power cable.
Platform removal
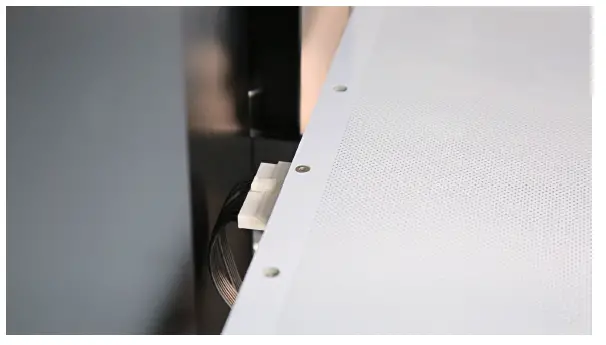 Unplug the heatbed cable and carefully remove the platform from the printer.
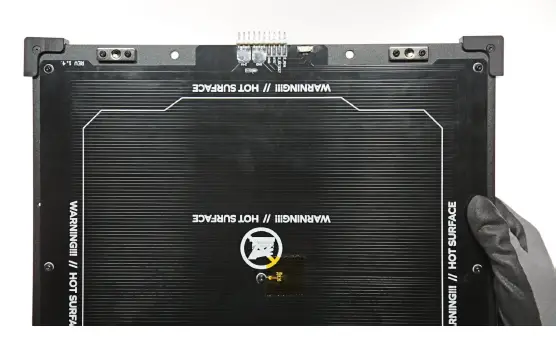
Perforated Plate Removal
Unscrew the twelve screws that secure the perforated plate to the heatbed. Next, separate the plate from the heatbed.
For the M300 Plus, unplug the perforated plate cable before separating the plate from heatbed.
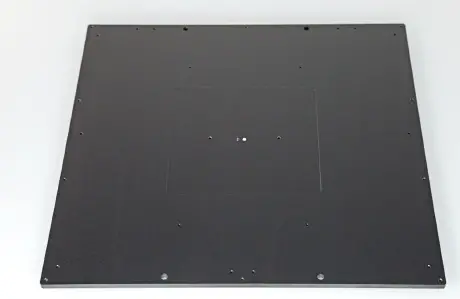
Cleaning the Heatbed
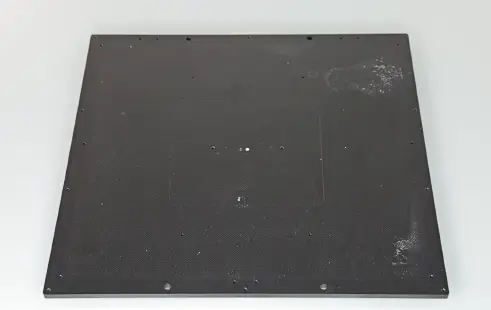 Clean the heatbed from material residues using a piece of cloth.
Pogo Pin Module Removal*
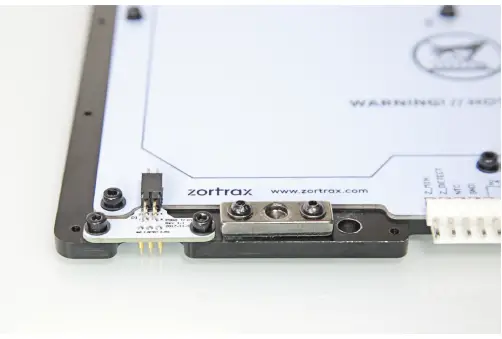 Turn the heatbed over and unscrew the two screws that secure the pogo pin module. Next, remove the module.
*This step applies only to the M200 Plus.
Glass Plate Installation
 Place the glass plate on the heatbed.
Securing the Glass Plate, part 1
 Install the four corner clips and secure them with the screws.
Securing the Glass Plate, part 2
 Install the two push-on side clips.
Platform Installation
 Place the platform in the printer and plug the heatbed cable in. Next, start the platform calibration procedure using the options from the menu*.
*For the M200 Plus and M300 Plus, the only available option is manual calibration.


