BLISSLIGHTS PIXXI Laser Projector
INTRODUCTION
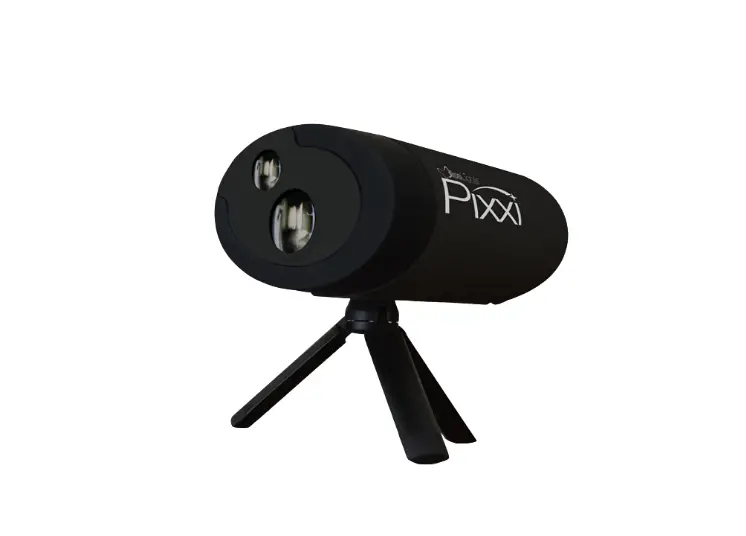
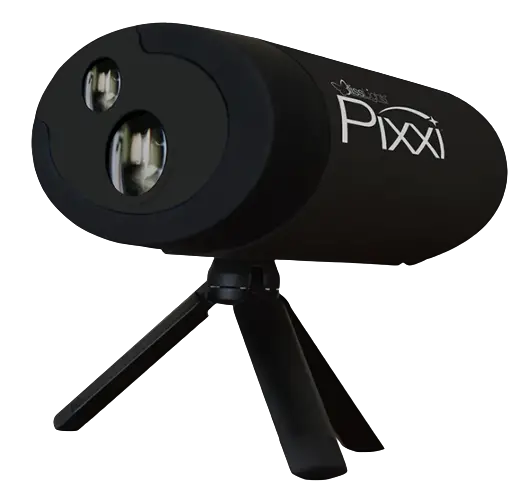
Thank you for purchasing the BlissLights PIXXI Laser Projector. This product is a unique indoor/outdoor light fixture that uses patented laser technology to project your favorite images for year-round applications. We hope you enjoy this incredibly unique lighting experience.
BEFORE YOU BEGIN
Immediately upon receiving the fixture, carefully unpack and check the carton contents to ensure that all parts are present and in good condition. Notify the retailer immediately and retain packing material for inspection if any parts appear damaged from shipping or the carton itself shows signs of mishandling. Save the carton and all packing materials. In the event that the fixture must be returned, it is important that the fixture be returned in the original factory box. Please see parts list below for box contents.
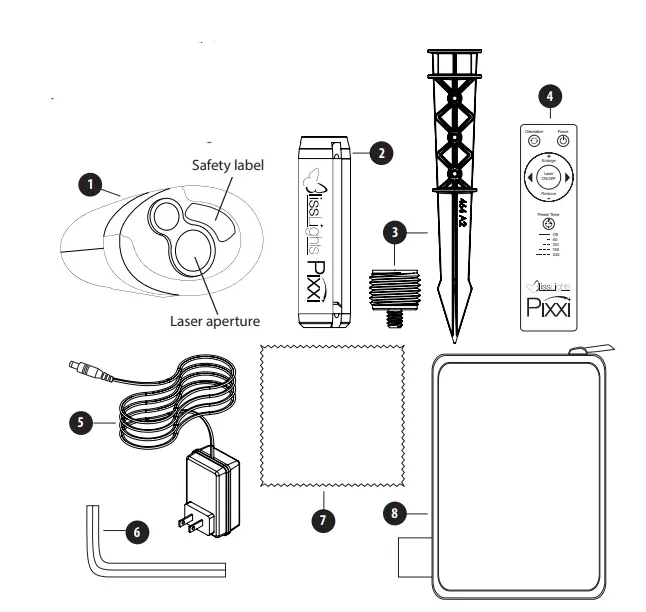
PARTS LIST
- PIXXI Laser Projector
- Tripod
- Ground stake and 1/4-20 adapter
- Remote Control
- Power Adapter
- Allen Key to adjust tripod
- Cleaning cloth
- Accessory carrying bag

SETTING UP THE LASER PROJECTOR
- Connect the power supply into an available standard electrical outlet.
- Place the PIXXI on a flat solid surface and aim toward desired ceiling/wall/tree.
- Aim the remote control at the front window and press the POWER button.
- To change the illumination angle on projection surfaces, adjust any leg of the tripod. If tripod is loose, use the supplied Allen Wrench to tighten the screw on the underside of the tripod screw-in knuckle.
- Use the following buttons to control lighting effects:
- a. Power – Use this button to turn the power on and off.
- b. Orientation – use this button to rotate the image 90 degrees.
- c. Enlarge – use this button to make the image bigger.
- d. Reduce – Use this button to make the image smaller.
- e. Right Arrow – use this button to select the next image projection.
- f. Left Arrow – use this button to select the pervious image projection.
- By default, the Pixxi will run continuously. The Preset Timer button sets a timer, which will turn Pixxi off after a designated time. Press the button once to set the play time for an hour. Double, triple, or quadruple press for 2, 3, or 4 hours respectively. Press and hold the button for continuous play.
LIST OF INCLUDED PROJECTIONS
Pixxi Dust
- Bounce 1
- Duet
- Triplet
- Bounce 2
- Swirl 1
- Sparkle 1
- Sparkle 2
- Sparkle 3
- Swirl 2
- Hovering fireflies
- Pixxi show (~2 min)
Abstract - Abstract 1
- Abstract 2
- Abstract 3
- Abstract show (~2 min)
- Rain Valentine’s Day
- Love
- Heart
- Wedding
- Flying hearts
- Wedding bells Occasions
- Anniversary
- Congratulations
- Confetti
- Graduation
Spring Holidays - Clovers
- Pot of Gold
- Bunny
- Rabbit
- Mother’s Day
- Father’s Day
- 4th of July
Birthday - Happy Birthday
- Birthday show(~2 min)
- Birthday dino
- Unicorn
- Birthday car
- Dump truck
- Dance show
Halloween - Jack O’Lantern
- Bats
- Monster
- Scary Eyes
- Halloween show(~4 min)
- Falling leaves
- Fire
Thanksgiving - Thanksgiving
- Turkey
Hanukkah - Menorah
- Happy Hanukkah
- Star of David
Christmas - Happy Holidays
- Merry Christmas
- Santa
- Stocking
- Snowman
- Reindeer
- Snowglobe
- Santa sleigh
- Penguin skater
- Running deer
- Christmas show(~4 min)
New Year - Happy New Year
- Firework
- Champaigne
- New Year show (~2 min)
Misc - Basketball
- Football
- Soccer
- Hockey
- Golf
- Surfing
- Undersea show(~2 min)
INSTALLATION TIPS
- Do not connect the light to a dimmer pack, as a dimmer accessory may damage the laser component.
- Use only the manufacturer-provided CUL power supply.
- Limit the use of extension cords. If you need an extension cord, use only UL, CUL, or CSA approved 3rd party extension cords.
- The darker the display area, the brighter your projection will appear. Try to avoid display areas with strong ambient light sources, such as commercial street lights or bright security flood lights.
DEFAULT SETTINGS
Once the laser projector is plugged in, it will enter the default mode where all effects are on. Use the buttons to change the effect settings and brightness. This light runs continuously by default, but has a built-in timer that can set the light to shut off after an increment of 1 hour, 2 hours, 3 hours, or 4 hours.
PRODUCT SPECIFICATIONS
- Laser Classification Class 3R
- Laser Wavelength 507 nm—Green
- Housing Metal and ABS plastic
- Power Consumption Less than 30 W
- Power Input 120 V AC
- Power Output < 5 mW per beamlet
- Operation Indoor/Outdoor
- Operating Temperature 32°F to 104°F (0°C to 40°C)
- Maintenance Maintenance Free
- Dimensions 6.5”L x 2.5”W x 6.5”H
- Cord Length 3 ft (1 m)
- Warranty Limited One Year
1-YEAR LIMITED WARRANTY
This product carries a one (1) year warranty against defects in workmanship and materials. BlissLights, LLC agrees to replace the defective product free of charge within the stated warranty period, when returned by the original purchaser with proof of purchase. This product is not guaranteed against wear or breakage due to misuse and/or abuse. For more detailed warranty information, please visit www.blisslights.com/warranty
TROUBLESHOOTING
We are always happy to help! To talk to a helpful team member, send an email to [email protected] or call our support line at 888-868-4603.
CAUTION
This is not a toy. Young children must be supervised while using this device at all times.
CLEANING INSTRUCTIONS
Surface clean only with a soft, dry cloth. Unplug unit before cleaning.
DISPOSAL
At the end of its serviceable life, this product should not be treated as household or general waste. It should be handed over to the applicable collection point for the recycling of electrical and electronic equipment.


