iottie MGSFIO101 Velox Magnetic Wireless Charging Dash and Windshield Mount
Index
For optimal mounting and charging, please follow the detailed instructions within this manual when using the Velox Magnetic Wireless Charging Dash & Windshield Mount.
Product Information
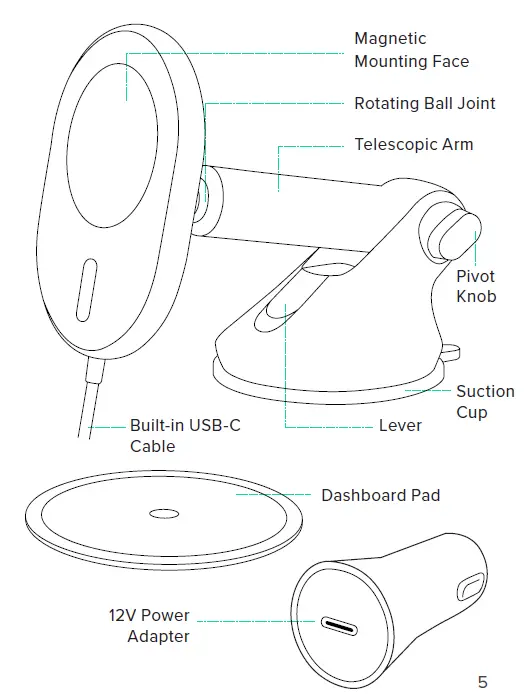
At a Glance Device Compatibility Product Specifications
Installing the Velox Dash Mount
Attaching the Dash Mount Connecting to Power Mounting Your iPhone
Product Information
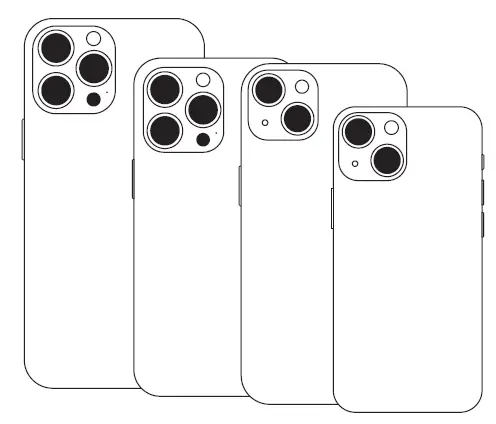
Device Compatibility
Velox products are designed for use with MagSafe compatible iPhones and cases. Compatible devices include the iPhone 13, iPhone 13 mini, iPhone 13 Pro, iPhone 13 Pro Max, and the iPhone 12 series.
iOttie is not liable for possible damages due to product misuse.
Product Specifications
| Item | Specification |
| Total Input | DC 9.0V-1.67A DC 5.0V-2.0A |
| Wireless Charger Output | 7.5 W |
| Cable Length | 5′ |
| Mount Length | 3.58″ |
| Width | 2.6″ |
| Height | 4.7″ |
| Weight | 8.05 oz |
Power Adapter Specifications
| Input | Output |
| DC 12V ~ 24V | DC 5V ~ 3A DC 9V ~ 2A DC 12V ~ 1.5A |
Installing the Velox
Attaching the Dash Mount
Choose an installation method: dashboard/flat surface (A) or windshield (B).
Option A
Dashboard or Flat Surface Installation
Choose a flat area on the vehicle’s dashboard and wipe any dust or debris from the surface.
NOTE: If your vehicle has a leather dashboard we recommend windshield mounting to avoid damaging your dash.
- Peel off the film on the dashboard pad & attach to the desired installation location.

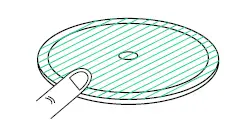
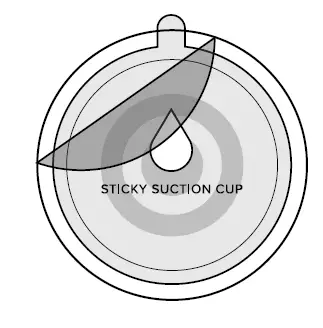
- Peel off the protective film on the suction cup and press firmly onto the dashboard pad.

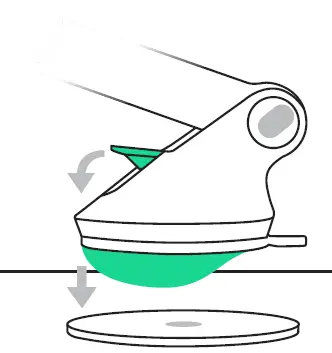
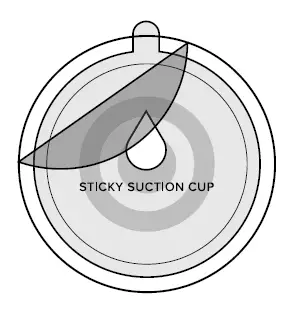
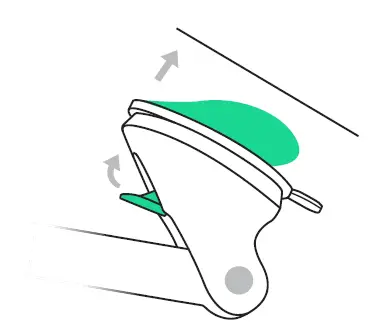
- Push down the locking lever to engage suction.

- The dashboard pad is mounted with a semi-permanent adhesive tape. Once removed, it cannot be re-mounted.
- When mounting, it is recommended that the surface and product be above 40°F.
- When removing the dashboard pad, please use caution. We recommend removing slowly from the edge to avoid damage.
Option B
Windshield Installation
Choose a location on the windshield and wipe any dust or debris from the surface.
NOTE: The dashboard pad is not recommended for windshield mounting.
- Peel off the protective film on the suction cup and press firmly onto the windshield.

- Push down the locking lever to engage suction.

Additional Information To reuse the suction cup, simply rinse under warm water and let air dry to restore tacky suction.
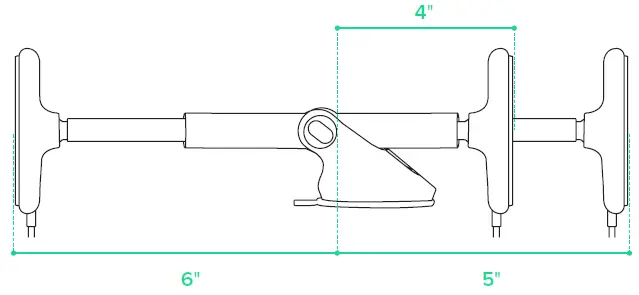
*Telescopic arm extends from 4 inches to 6 inches.
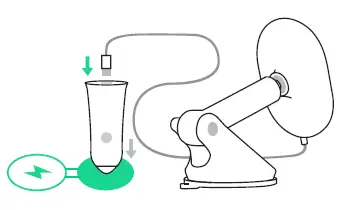
Connecting to Power
Connect the attached USB-C cable to the included 12V adapter and plug the adapter into your vehicle’s auxiliary power outlet. *The Velox Dash Mount does not have an on/off switch. Once the cable is plugged in and the vehicle is turned on, the mount will stay on.
Mounting Your Phone
Simply tap your phone against the mount and the magnets will hold it in place. Charging will begin automatically. You are now ready to start driving.