
![]()
PowerDrive Golf Car Solar Panel
Installation Manual

Get ready to experience the benefits of using a PowerDrive Golf Car Solar Panel!
Extended Battery Life
A PowerDrive Golf Car Solar Panel generates and feeds electricity into the batteries constantly*, even in low-light, therefore less power is required to charge the batteries each night, saving 20% or more in yearly electrical costs and increased battery lifetime. PowerFilm’s study shows the number of charge cycles was increased by more than 50%.
Increased Driving Range
Our testing has shown that the power produced by a PowerDrive Golf Car Solar Panel, on a typical sunny day, is enough to increase driving range by as much as 50%. This also represents a savings of 25% of the average electricity used in one day. Added distance equals fewer dropped rounds on the course (or additional range for a utility vehicle in and around “campus”) and less time spent dealing with the hassle of under-performing cars. In addition, 25% more drive time means extra driving for individuals residing in golf course communities, neighborhoods, and retirement communities. For commercial fleets and maintenance vehicles, PowerDrive Solar Panels will get you through the work day every day.
Environmental Advantages
The PowerDrive Solar Panel creates, on average, enough electricity per year to offset nearly 175 pounds of carbon dioxide production (calculation determined by US EPA website using 110kWh of power produced by the PowerDrive Solar Panel in one year). Planting two trees today would take 10 years of growth to remove that amount of CO from the atmosphere.
Lightweight System
The PowerDrive Solar Panel is one of lightest golf car solar solutions on the market today, weighing in at less than 10 pounds. Competing solar technologies are large, clunky systems often described as heavy, bulky, and unmanageable. Not only must great care be taken during installation, but rigid panels can be easily damaged during transit and install. Due to the flexible nature of the solar material, PowerDrive panels can easily endure the rigors of course life. The occasional summer hail storm, stray golf ball, or low hanging branch pose no danger to the PowerDrive Golf Car Solar Panel.
Easy Installation
The PowerDrive panel installs quickly, with no special tools, and looks great. Simple to follow instructions (each step being clearly described with helpful diagrams) ensure frustration-free installation. Other systems require completely replacing the canopy, we think it’s smarter to use the canopy you already have.
*Features and specifications of vehicles subject to change without notice. Vehicles as photographed may include options not included on base model. Performance will vary according to a number of factors, including local weather patterns, age and condition of vehicle batteries and course terrain.
Setup
- Verify your car model
- Park car
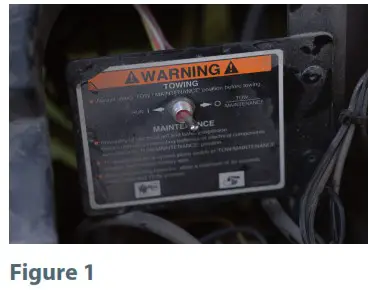
- Place car in Tow Mode to begin any electrical work (Figure 1).
Tools Needed
- Drill
- 5/16 inch drill bit
- 1/8 inch drill bit
- 5/16 inch hex nut driver
- Bit smaller than 1/8″
- 9/16″ Insulated wrench
- Phillips screw driver
- Socket set
- Heat gun (optional)
- Current clamp (optional)
- Digital multi-meter (optional)
- Electrical tape (optional)
Kit Contents
- (1) PowerDrive Golf Car Solar Panel
- (1) Charge controller (36V or 48V)
- (3) Plastic cabling clips (1 provided as an extra)
- (4) 3/4-inch self-tapping screws
- (10-13) 3/4-inch self-tapping male snaps
- (3) 1/4-inch rubber grommet (2 provided as extras)
- (1) 15-foot extension cable
- (1) 4-foot o-ring cable
Kit Dependent
- (10-13) 8-32 thread male snaps
- (10-13) 8-32 thread acorn nuts
- (10-13) #8 lock washers
| Step 1 Place the PowerDrive panel on the golf car top with the junction box (small box on panel) toward the rear of the car. Make sure that it is centered and as flat as possible (Figure 2). | 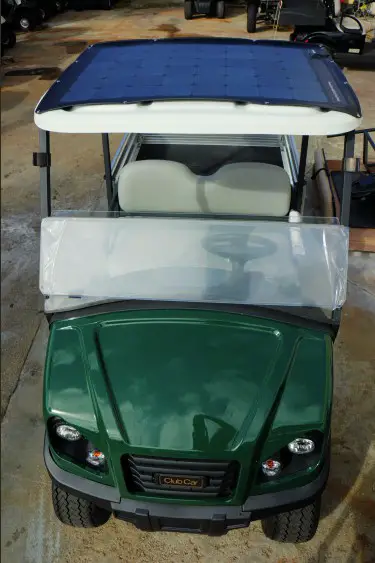 Figure 2 Figure 2 |
| Step 2 Using a marker, mark on the bottom surface of the snaps on the solar panel (Figure 3). Transfer the mark by pressing the snap on the panel down on the car top. | 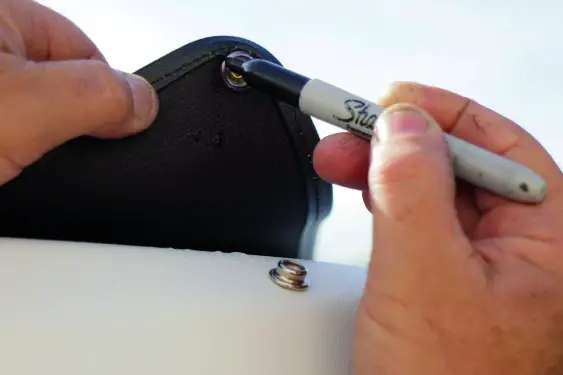 Figure 3 Figure 3 |
| Step 3 Using a 1/8 inch drill bit, drill through the center of the marks on the car top. The number of marks will depend on your vehicle model (Figure 4). | 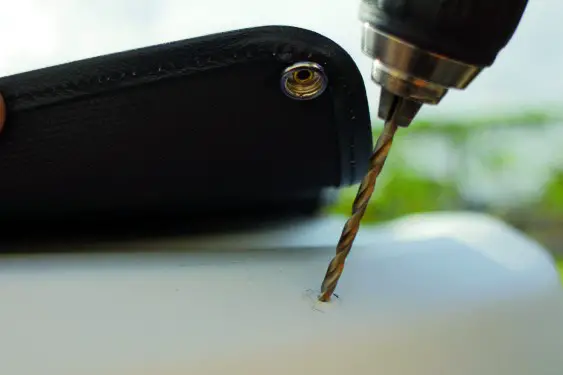 Figure 4 Figure 4 |
| Step 4 Use a hand held Phillips screwdriver to mount the snaps on the top (Figure 5). Make sure each snap is securely fastened without over tightening. If you have a thinner walled top, use the machine threaded screws with the acorn nut and lock washer on the back side (Figure 6). | 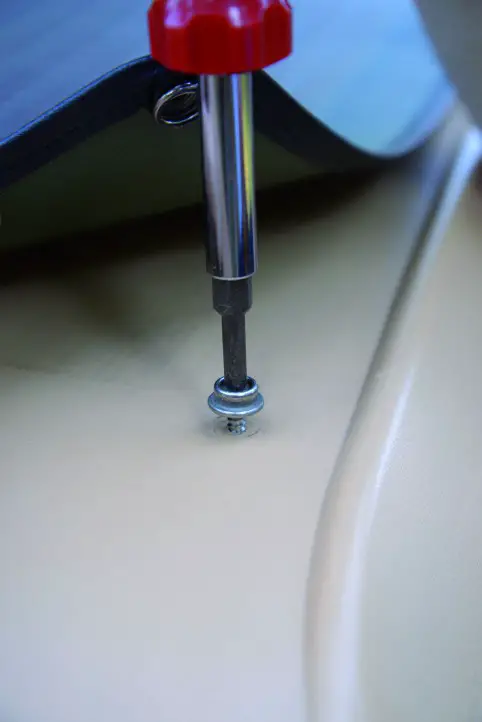 Figure 5 Figure 5 |
| Step 5 Snap the solar panel onto corresponding snaps so that one end is secure (Figure 7). Repeat steps 2-4 to mark and secure the opposite end, stretching the panel as you mark the holes so that the panel lays flat. Then repeat these steps for the side snaps. |  Figure 6 Figure 6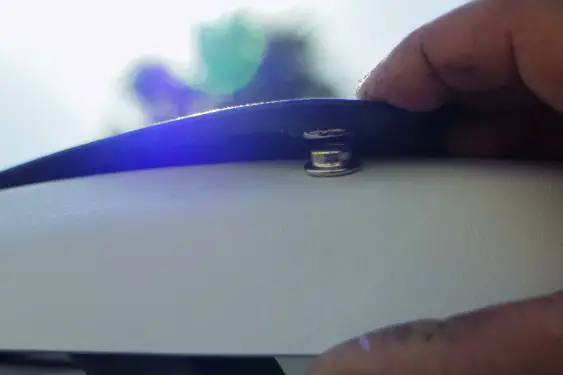 Figure 7 Figure 7 |
| Step 6 Locate the included 15 ft. extension cable (Figure 8). Note: Cable routing will differ depending on installation method. Follow your preferred installation method: Method A (recommended): Offers better wire concealment. Method B (optional): Offers faster installation | 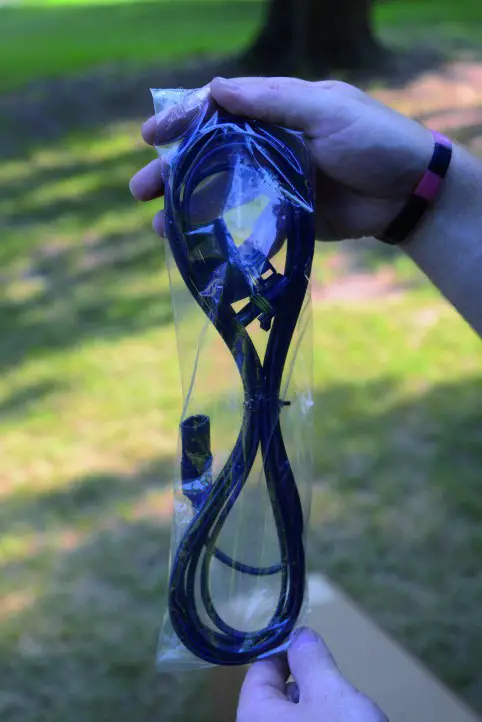 Figure 8 Figure 8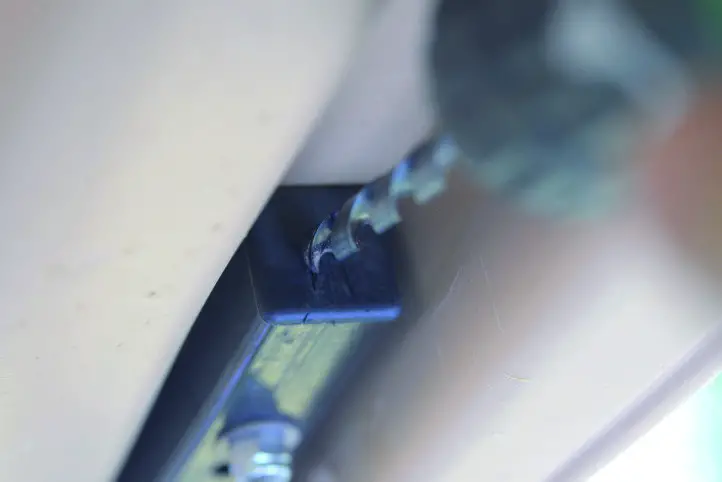 Figure 9 Figure 9 |
Method A
- Remove any bolts that pass through the down tube to ease routing of the cable.
- Drill a 5/16” hole in the side of the right rear strut shown in (Figure 9) then install the provided grommet. Drill the hole as close as possible to the top in order to hold the cable (Figure 10).
 Figure 10
 - Drill 5/16” holes into the under side of the car top as shown in (Figure 11) according to your model.Figure 11
- Snap plastic cabling clips into holes and clip the ring around the cable to secure the cabling (Figure 12 and 13).
 Figure 12Figure 13
 - Route the cable through the grommet, out the bottom of the strut and in between the seat support and the rubber boot (Figure 14-16).Figure 14Figure 15Figure 16
- To ensure that the cable is protected from rubbing or chaffing and that it is not routed over the batteries, pull excess cabling into the battery compartment (Figure 17-18).Figure 17Figure 18
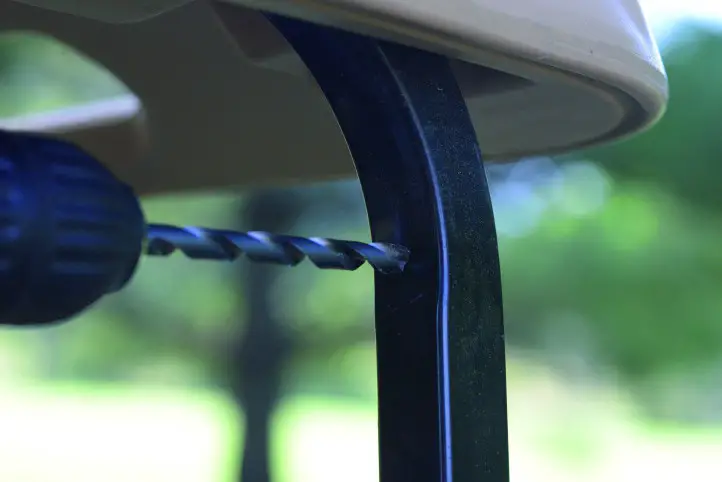 Figure 10
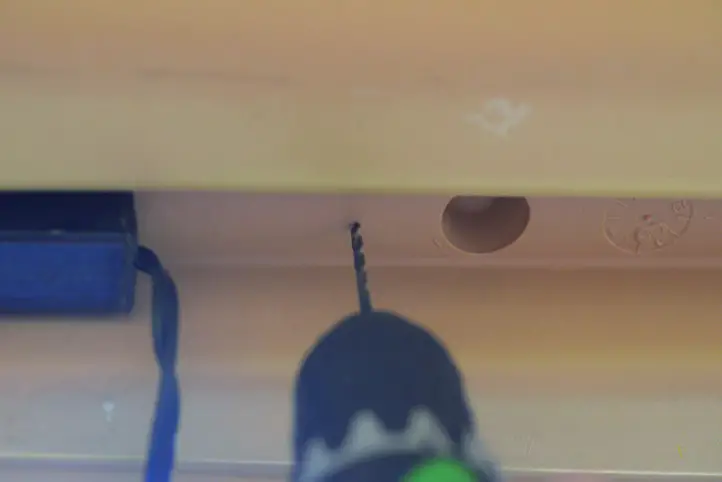 Figure 11
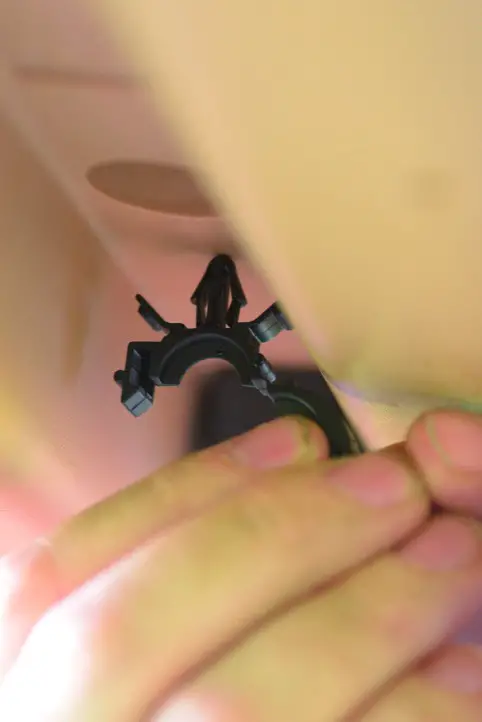 Figure 12
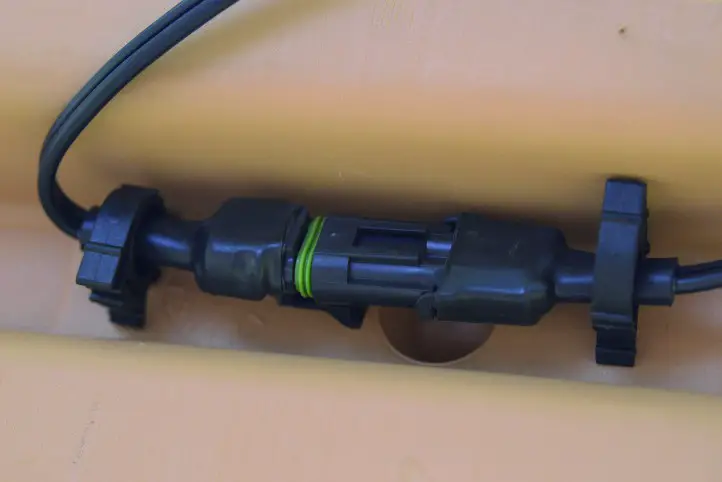 Figure 13
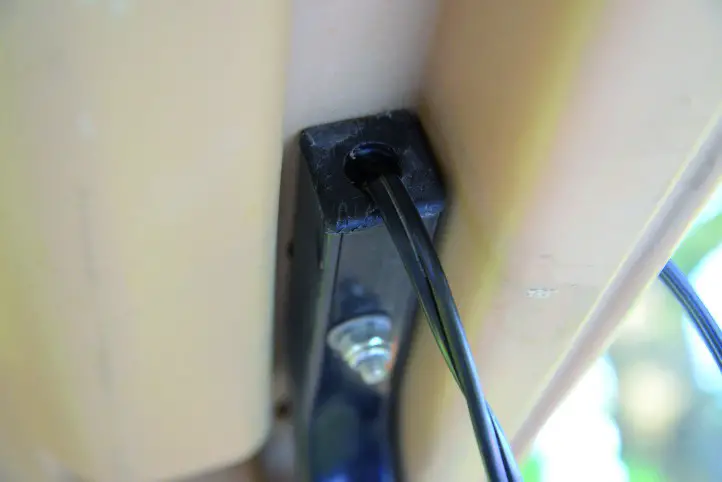 Figure 14
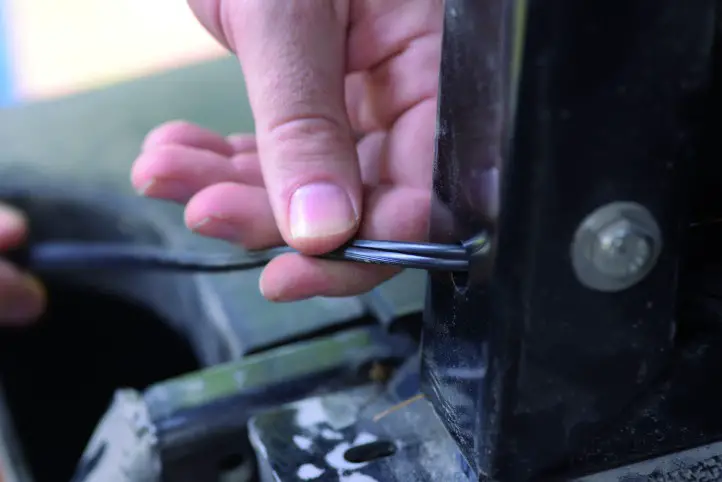 Figure 15
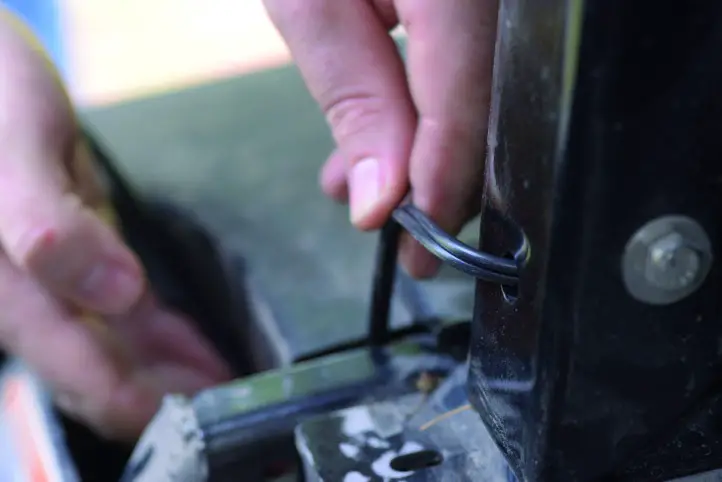 Figure 16
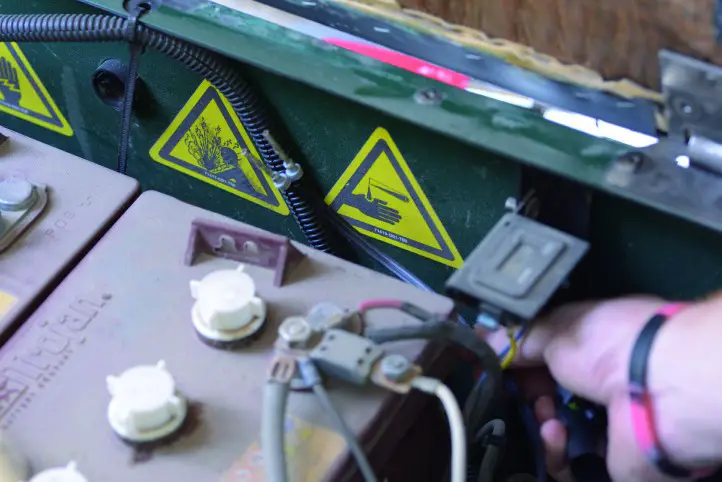 Figure 17
 Figure 18
Method B
- Route the cable along the strut and secure with zip ties (Figure 19).
- Secure the cable in between the seat support and the rubber boot (Figure 20).
- To ensure that the cable is protected frJom rubbing or chaffing and that it is not routed over the batteries, pull excess cabling into the battery compartment (Figure 21-22).
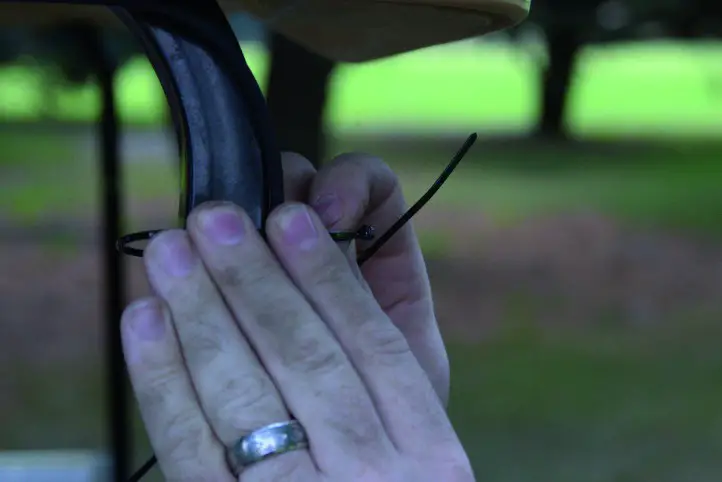 Figure 19 Figure 19 |  Figure 20 Figure 20 |
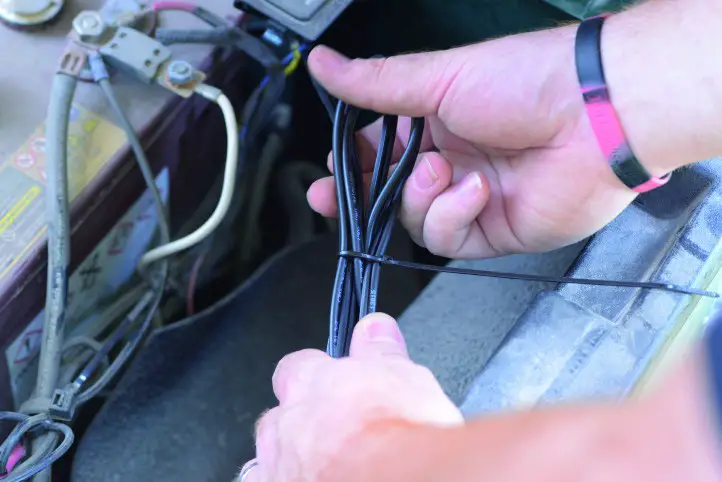 Figure 21 Figure 21 |  Figure 22 Figure 22 |
Step 7
If heat shrink is used (recommended), place it over the wire first before attaching the Delphi Connector (Figure 23-24).
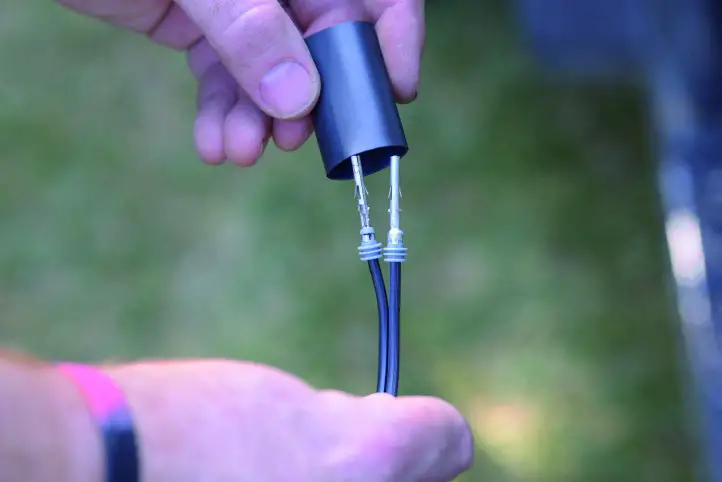
Figure 23
Step 8
The ribbed side of the wire should be placed into slot A of the Delphi Connector. The smooth side of the wire should be placed into slot B. Slide the metal pins inside their respective slots until a very light click is heard (Figure 25).
After inserting metal pins in the Delphi Connector and before heat shrinking, verify with a multi-meter or voltmeter that pin A is positive relative to pin B (panel must be in some light to take this measurement). The multi-meter/voltmeter connects with the red lead to pin A and the black lead to pin B and should read between +12v and +22v.
Note: A negative voltage reading on pin A, would indicate the cables are connected backwards. You should immediately stop the panel installation until it is corrected consulting PowerFilm if needed (515-292-7606).
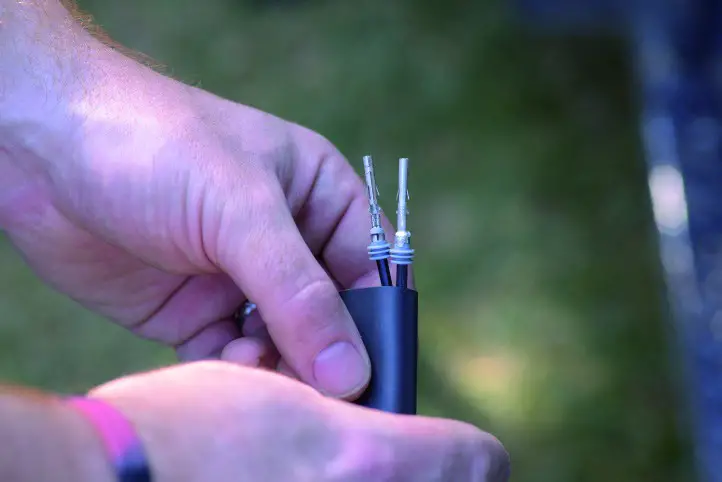 Figure 24 Figure 24 | 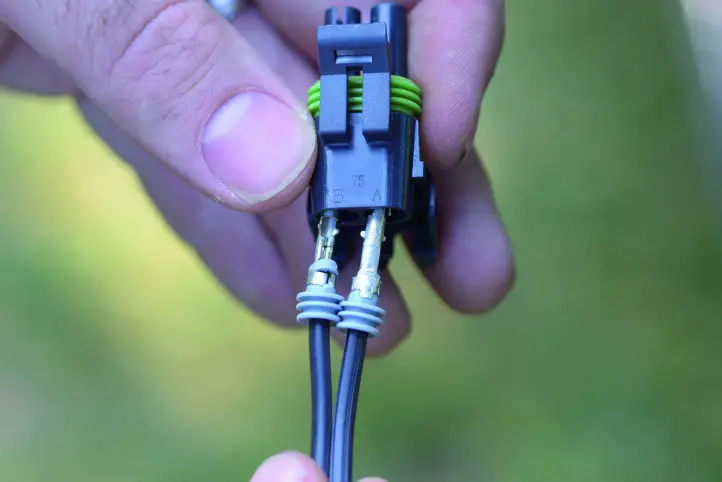 Figure 25 Figure 25 |
Step 9
If heat shrink is used, a heat gun can be used to secure the heat shrink around the rear of the connector. If you do not have access to a heat gun, the connector can be wrapped with electrical tape to help keep water out of the connector (Figure 26).
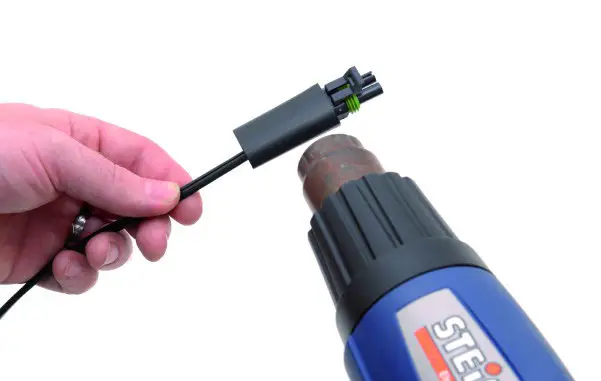 Figure 26 Figure 26 |  Figure 27 Figure 27 |
Step 10
Mount the charge controller beside the batteries on the floorboard using the two self-tapping screws and the 5/16” hex nut driver. Do not over tighten screws (Figure 27-30).
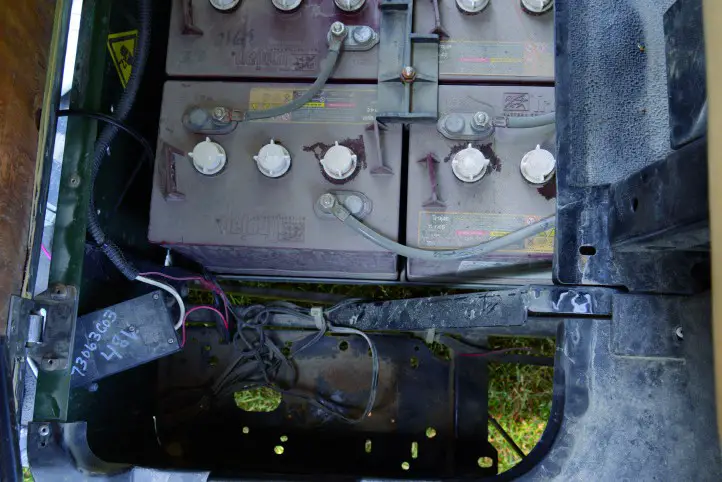 Figure 28 Figure 28 | 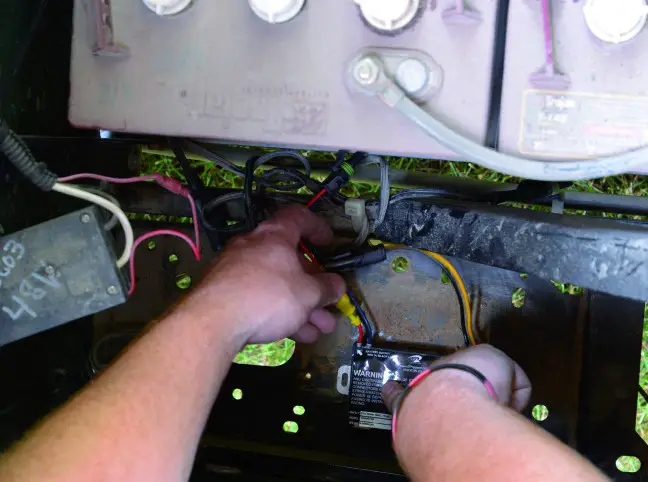 Figure 29 |
|
 Figure 30
Step 11
Insert the solar connector into its mating connector on the charge controller (Figure 31).
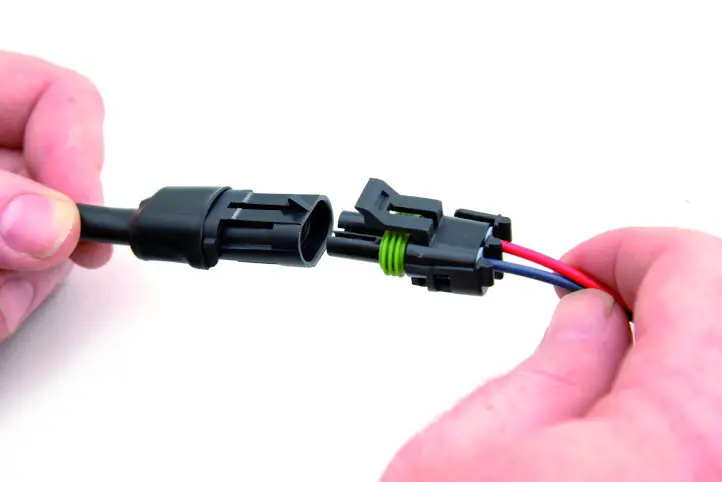 Figure 31
Step 12
Using the 9/16” insulated wrench, take the included ring terminal cable and connect the red marked end by placing it on the battery pack system (+). The remaining ring terminal should be placed on the battery pack system negative (-) (Figure 32-33).
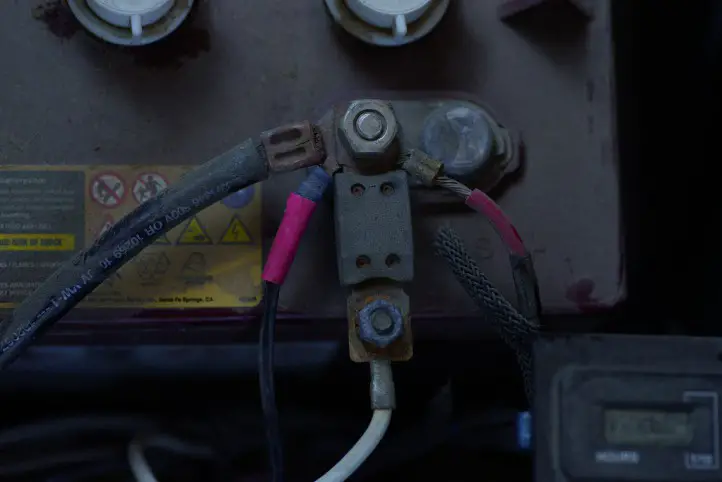 Figure 32 Figure 32 | 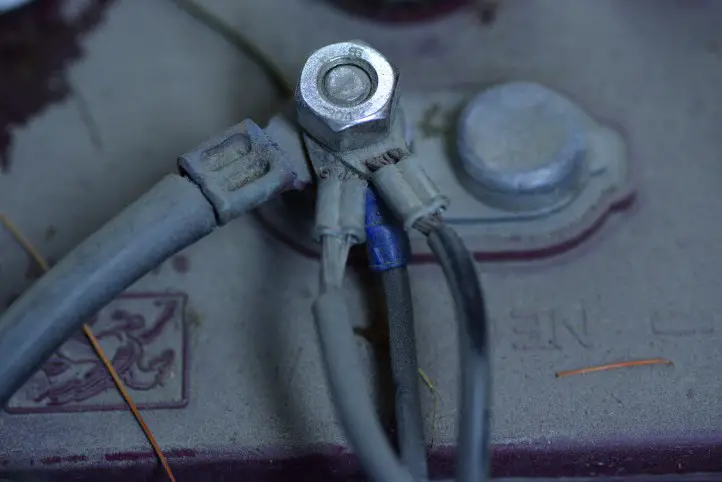 Figure 33 Figure 33 |
Step 13
Take the other end of the ring terminal cable and connect it to the charge controller output. There may be a “pop” as it is connected which is completely safe and is due to the internal capacitors in the charge controller being charged (Figure 34).
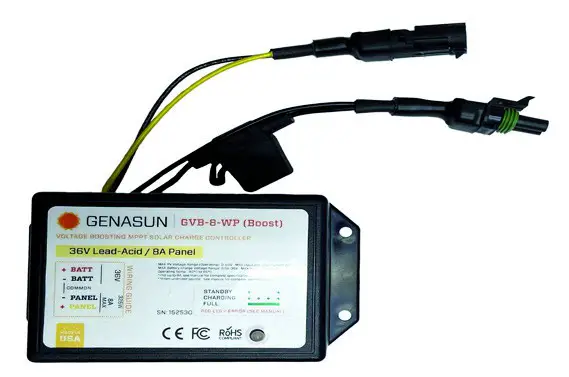
Figure 34
A current clamp can be used to indicate that a charge is entering the battery. Put the current clamp around the positive (ribbed) wire of the three foot o-ring cable (Figure 35 ). The current clamp should read (+ + +).
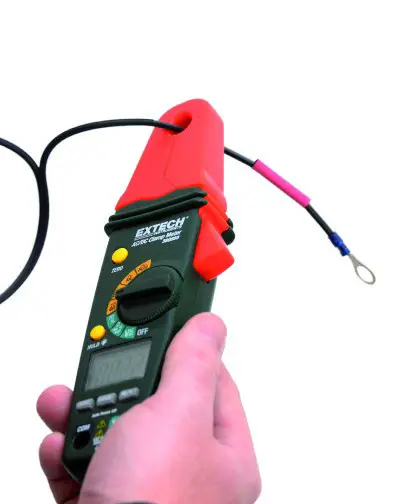 Figure 35
If only a digital multi-meter is available the installer can drive the car outdoors and measure the voltage on the battery system (Figure 36 ). Measure the battery voltage again after ten minutes to an hour to observe if the voltage has gone up.
NOTE: Voltage may go up as little as 0.1V depending on sun conditions and the time left to charge.
Congratulations on installing your PowerDrive Golf Car Solar Panel! We hope you enjoy the benefits it will add to your car for years to come.
For any questions please contact PowerFilm at www.powerfilmsolar.com or 515-292-7606
Certifications
- CE (Directives 2014/30/EU and 2014/35/EU)
- MIL-STD-810G
- RoHS
- Berry Amendment Compliance
Full compliance statements available at: www.powerfilmsolar.com
PowerFilm, Inc December, 2021


