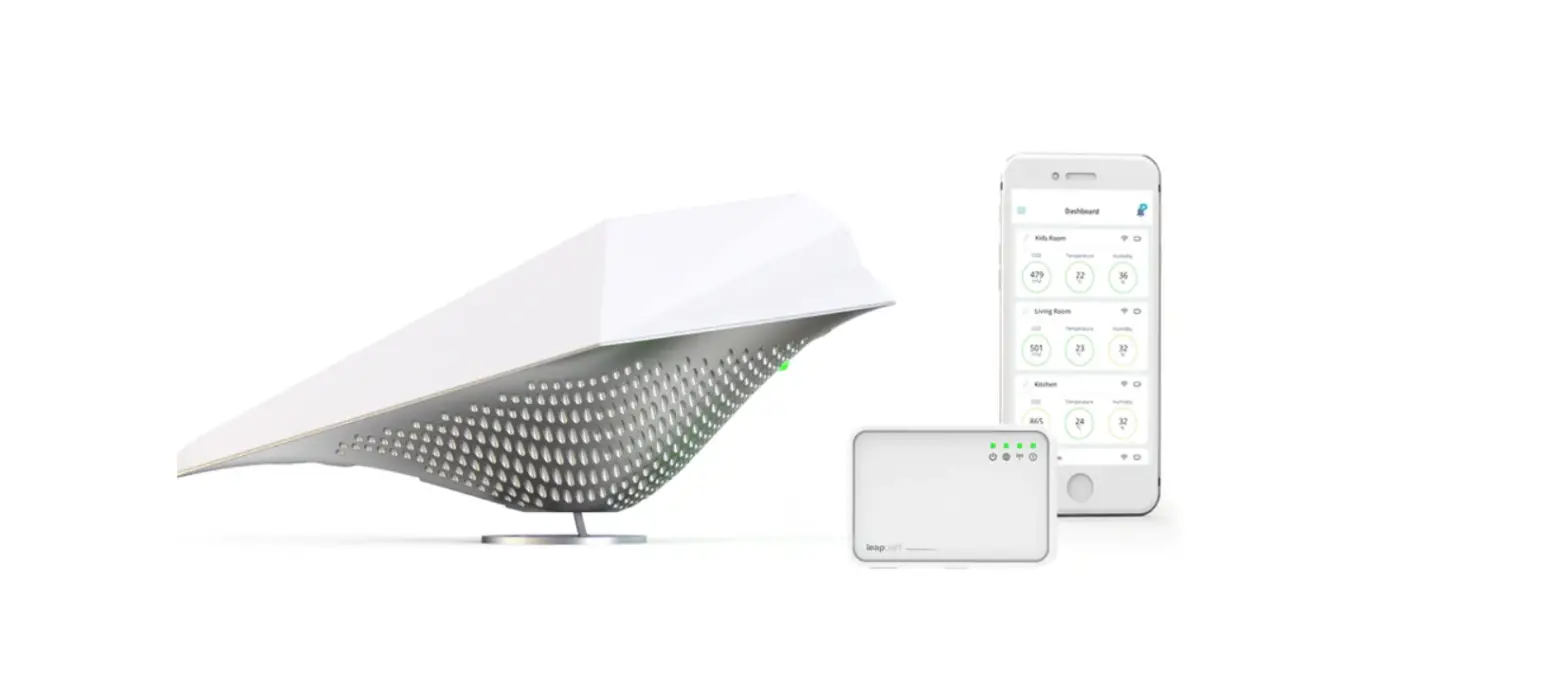
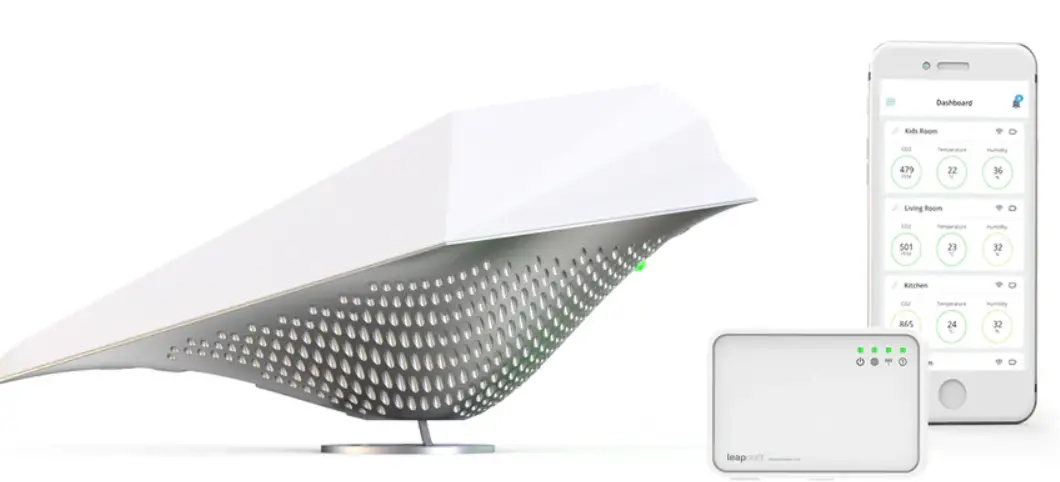
AirBird Leapcraft Wireless Pairing Gateway
Wireless pairing guide
- Part of the pairing process requires access to the buttons inside the AirBird®. It is therefore recommended to unscrew the top enclosure of the AirBird® device before starting the process.
- For further help to understand the overview of the configuration webpage – we recommend looking at the extended online manual on following link:
getairbird.com/pages/downloads
Wireless Gateway – setup
Accessing the Gateway configuration website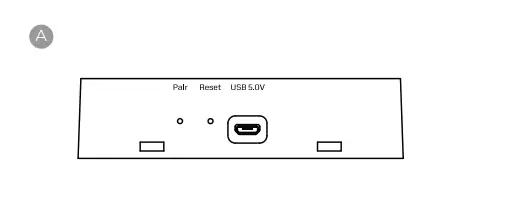
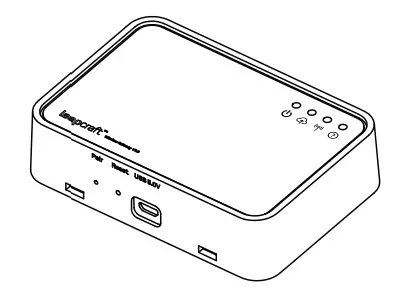
- Power on Wireless Gateway by inserting USB power cable. wait 1 minute before continuing.
- Use a paperclip or toothpick to press the Pair/Setup Button on your Wireless Gateway
- This action creates a wifi hotspot for you to connect and setup the gateway. The left most LED (power icon) will turn blue when its ready.

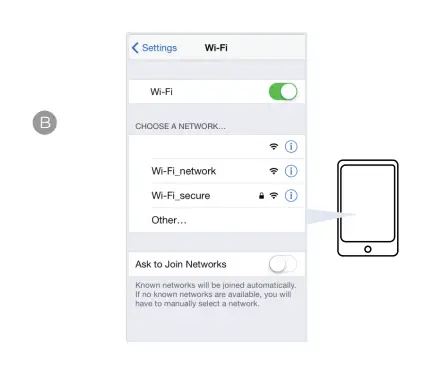
- Open your phone’s list of available WiFi look for * “Gateway_123456”
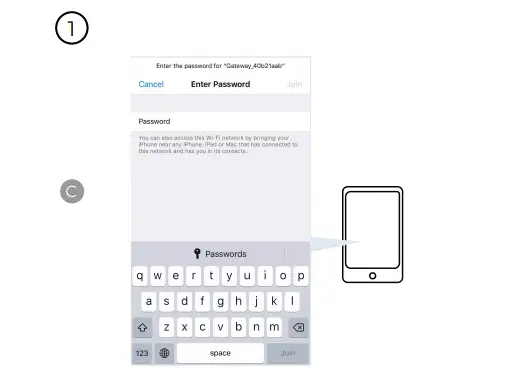
- Type default password for Gateway Wifi

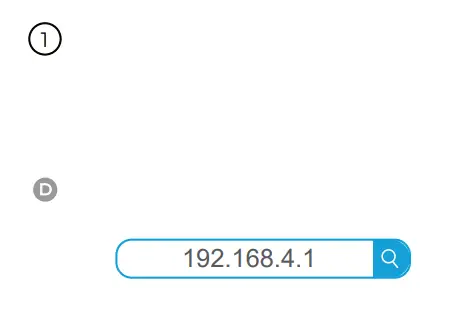
- Open your browser app on your phone select the URL search bar and type: 192.168.4.1 press enter/search
- Once connected to the wifi hotspot, your setup page should open automatically. If it does not, please follow the below steps.

Connecting your gateway to your wifi network
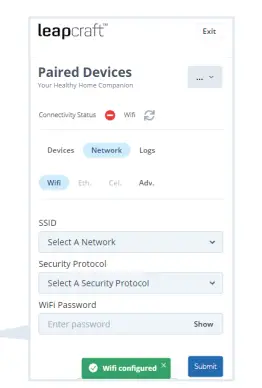
- Go to the network Page on the configuration website
- Choose your Wifi for your Airbird from SSID dropdown bar
- Please note the gateway currently supports 2.4 GhZ Wi-Fi only.
- Choose Security Protocol (see your router details) Enter the password for Wifi

Wireless pairing
Pairing process for Airbird®
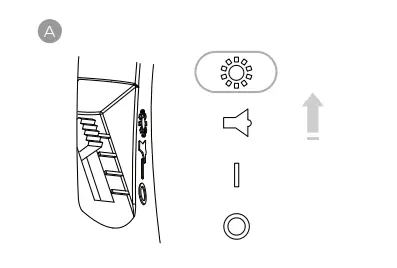
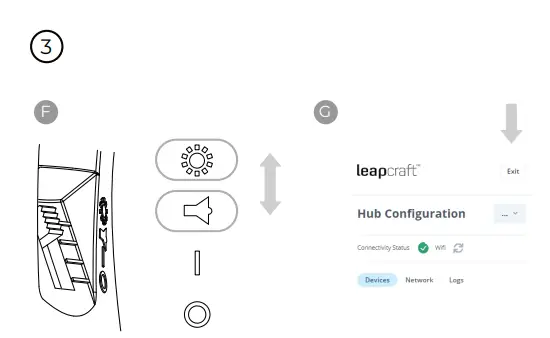
- Set the mode switch to Light mode

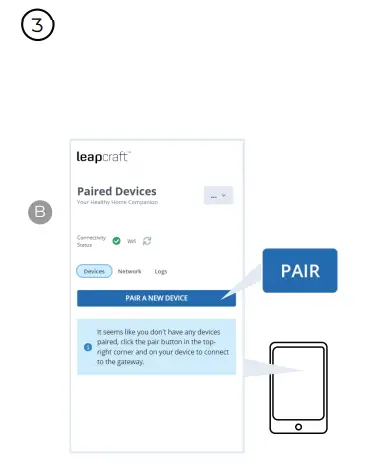
- Press pair button on the Gateway configuration website

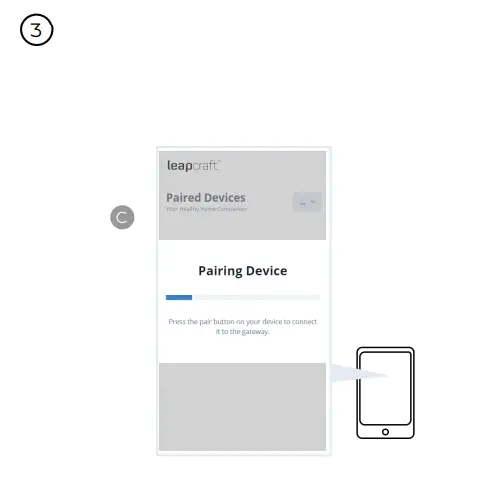
- On your screen you will see info box with the text “Pairing Device”

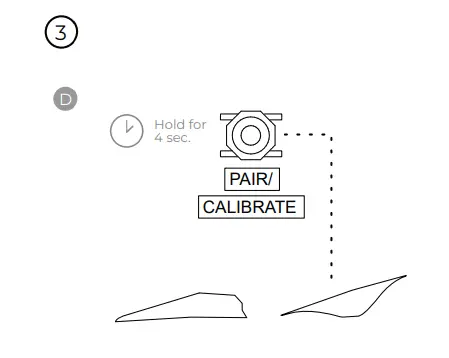
- Hold down Pair/Calibrate Button on Airbird® for about 4 seconds.
- Airbird® will switch to blue light indication
- Airbird® will respond: “Wireless pairing”

- When connection is established
- Airbird® will respond: “Wireless connected”
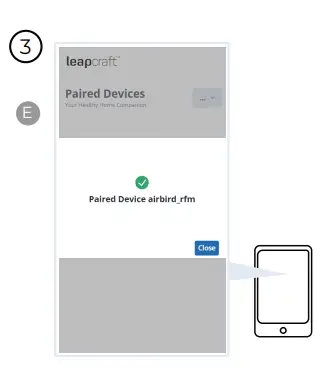
- Connected Airbird® will show in the Dashboard page
- The Gateway signal icon green.

- Set your Airbird mode switch
- You are now ready to start sensing. Set the modes switch to your desired mode.

- IMPORTANT:
- Press Exit in the top right corner of the configuration page before continue over to the setup steps in the Mobile App
To view the data, please goto IoS App store / Android Play Store and install the AirBird app and follow in-app instruction to connect your gateway to your app.


