
![]()
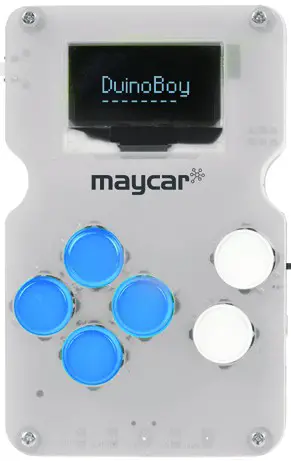
DIY Game Console
Compatible with Arduboy Games
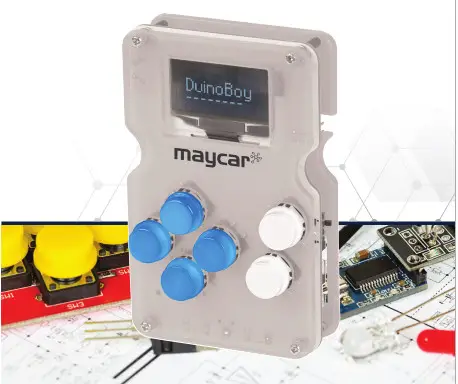
About the Kit
The maycar DIY game console is an Arduino-based 8-bit handheld game console that you can use to create your very own games or enjoy the creations of others via the ArduboyTM community.
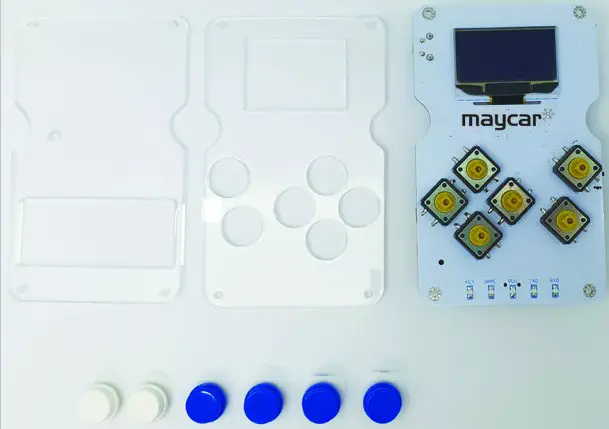
Components List
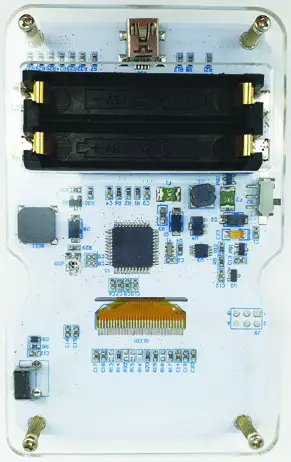
- 1 x Console Circuit Board
- 6 x White/Blue caps
- 4 x M2*6mm round-headed screws
- 4 x M2*10mm round-headed screws
- 4 x M2.0*11mm dual-pass coppar pillars
- 4 x White insulating column ABS
- 1 x 3*83mm black screw driver
- 10 x Arduino game console acrylic shells
- 1 x USB cable
Installation
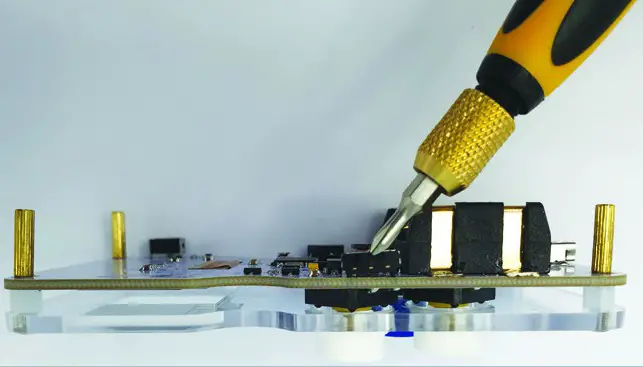
- Take out all the parts and lay them out on your desk.

- Fix the board and acrylic top board together with 4 M2*10mm roundhead screws, 4 white insulating columns, and 4 M2.0*11mm dual-pass copper pillars.

- Install 6 button caps

- Fix the bottom acrylic board and the 4 M2.0*11mm dual-pass copper pillars together with 4 M2*6mm round-head screws.
 Please Note: The holes of acrylic bottom board should be aligned with the potentiometer on the console when installing it.
 Please Note: The holes of acrylic bottom board should be aligned with the potentiometer on the console when installing it.
Distributed by:
Electus Distribution Pty. Ltd.
320 Victoria Rd, Rydalmere
NSW 2116 Australia
www.electusdistribution.com.au


