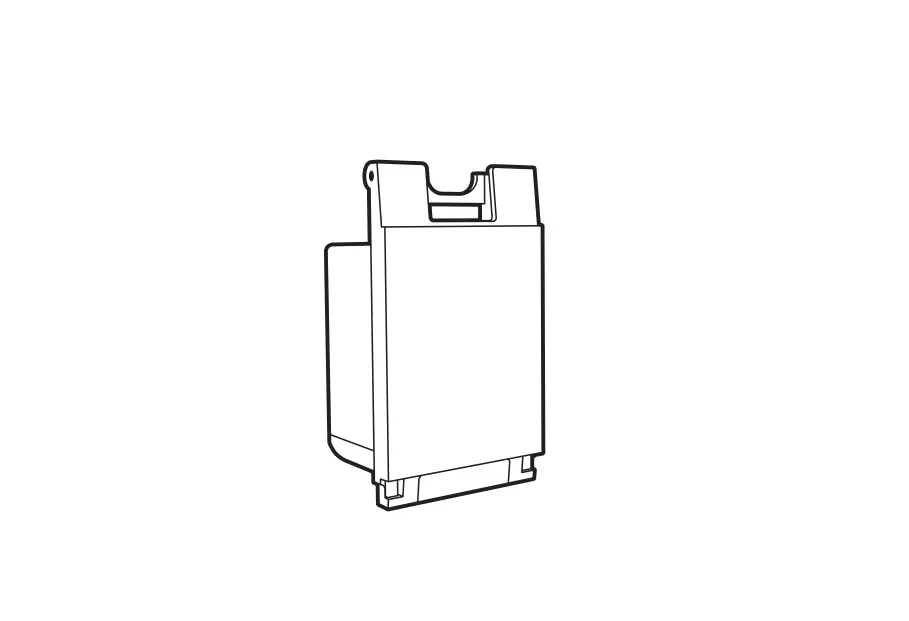
deako DS2005 120V Smart Switch
Get to know your Deako Switch
LED key
| LED COLOR WHAT IT MEANS | |
| Blinking green | Powering up |
| Blinking purple | Linking mode |
| Blinking blue | Pairing mode |
| Blinking white 4 | Pairing or Linking |
|
LED COLOR WHAT IT MEANS | |
| Solid white | Pairing or Linking successful |
| Blinking red | Error occured, try again |
| Solid red | Factory resetting |
|
| |
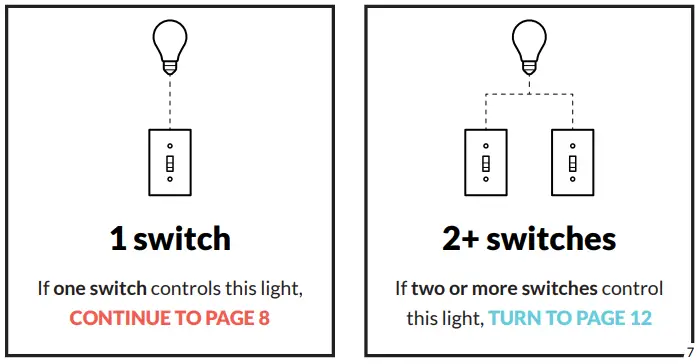
How many switches control this light?
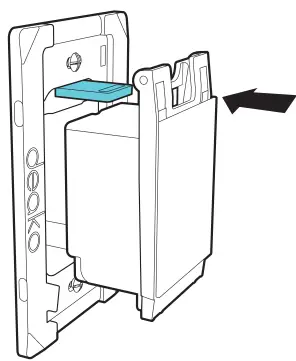
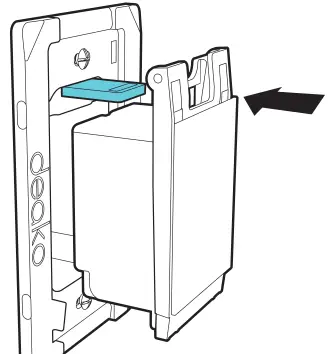
Insert switch
- Align the blue tab on the backplate with the top of the switch

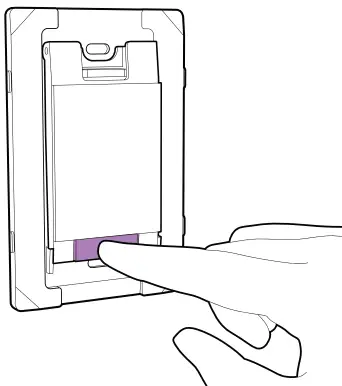
- While pressing the switch inwards, push in the blue tab


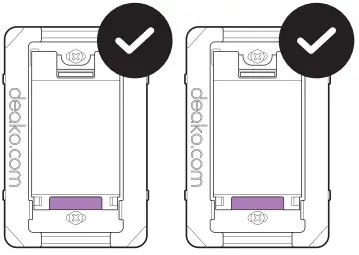
Installation complete! Now let’s get smart.
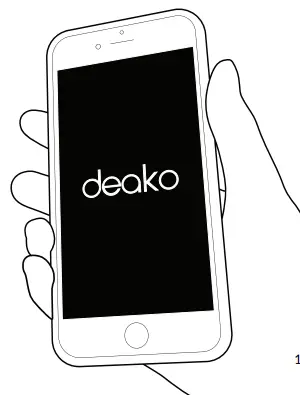
Pairing
Control your new smart switch by downloading the Deako App.

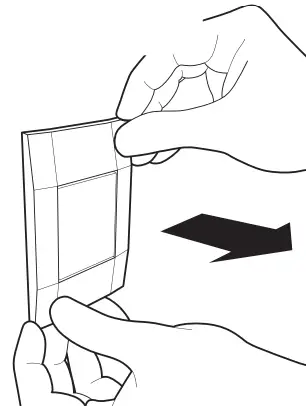
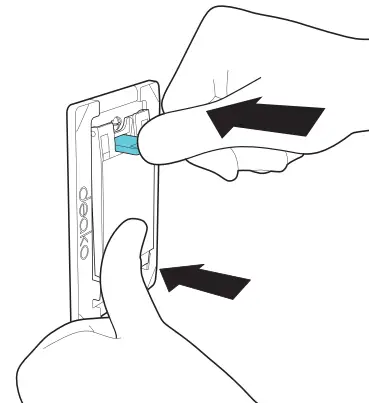
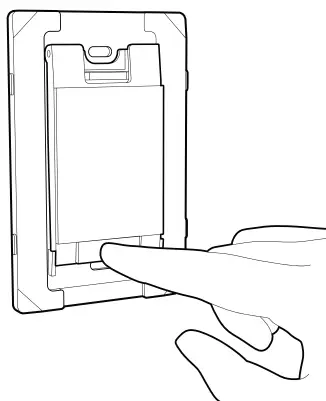
Remove existing switch
- If there is a switch installed in the back plate you want to upgrade, start by pulling the corner of the face plate

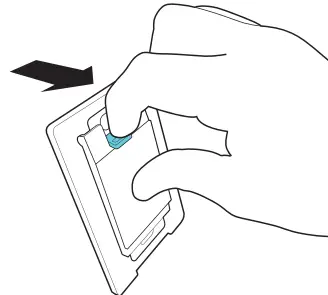
- Pull the blue tab outwards to release the switch

Insert a smart switch
- Locate the powered back plate in the circuit by inserting a smart switch into a back plate in the circuit
Align the blue tab on the back plate with the top of the switch
- While pressing the switch inwards, push in the blue tab
- If the back plate is powered, the switch will flash green
- If switch does not flash green, move to the next location & repeat step 1

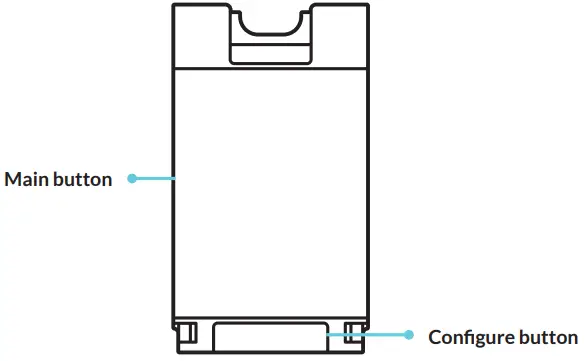
- Wait until the switch stops flashing green, then press & hold the configure button until it flashes purple

- Move to the next powered back plate, then repeat steps 1-5 for each switch in the circuit

- Once all switches in the circuit are flashing purple, press & hold the configure button on any switch until it flashes white Once the switches show solid white and turn off, linking is complete

- To test if they’ve been successfully linked, press each switch to confirm that they control the light
To pair your linked switches, see page 11

Troubleshooting
- Linking is only required for 3-way and 4-way wiring configurations
- If at any point a switch blinks red, factory reset it and try again
- To exit linking mode at any point, press & hold the configure button for 10 seconds to factory reset each switch before retrying
- If you have dead-end or other nontraditional wiring in your home, you can find wiring and setup instructions at deako.com/wiring
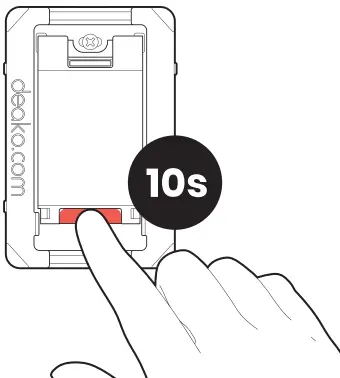
Factory reset
Press & hold the configure button for 10 seconds (the LED will be appear solid red).
Boring legal stuff
NOTE: This equipment has been tested and found to comply with the limits for a Class B digital device, pursuant to Part 15 of the FCC
Rules. These limits are designed to provide reasonable protection against harmful interference in a residential installation. This equipment generates, uses and can radiate radio frequency energy and, if not installed and used in accordance with the instructions, may cause harmful interference to radio communications.
However, there is no guarantee that interference will not occur in a particular installation. If this equipment does cause harmful interference to radio or television reception, which can be determined by turning the equipment off and on, the user is encouraged to try to correct the interference by one or more of the following measures:
- Reorient or relocate the receiving antenna.
- Increase the separation between the equipment and receiver.
- Connect the equipment into an outlet on a circuit different from that to which the receiver is connected.
- Consult the dealer or an experienced radio/TV technician for help.
- This device complies with Part 15 of the FCC Rules. Operation is subject to the following two conditions:
- This device may not cause harmful interference
- This device must accept any interference received, including interference that may cause undesired operation.
- FCC RF Radiation Exposure Statement Caution: To maintain compliance with the FCC’s RF exposure guidelines, place the product at least 20cm from nearby persons.
- This device contains licence-exempt transmitter(s)/receiver(s) that comply with Innovation, Science and Economic Development Canada’s licence-exempt RSS(s).
Operation is subject to the following two conditions: - This device may not cause interference.
- This device must accept any interference, including interference
NON-MODIFICATION WARNING:
WARNING:
- Changes or modifications to this device not expressly approved by the manufacturer could void the user’s authority to operate the equipment.
- Google Play and the Google Play logo are trademarks of Google LLC.
- App Store® is a trademark of Apple Inc., registered in the U.S. and other countries.
© 2020 Deako 1-Year Limited Warranty
Patents: deako.com/pat 4201 Roosevelt Way NE #100 Seattle, WA 98105, USA
Need help?
support.deako.com
1-844-673-3256


