Puig HONDA REBEL 500 Instruction Manual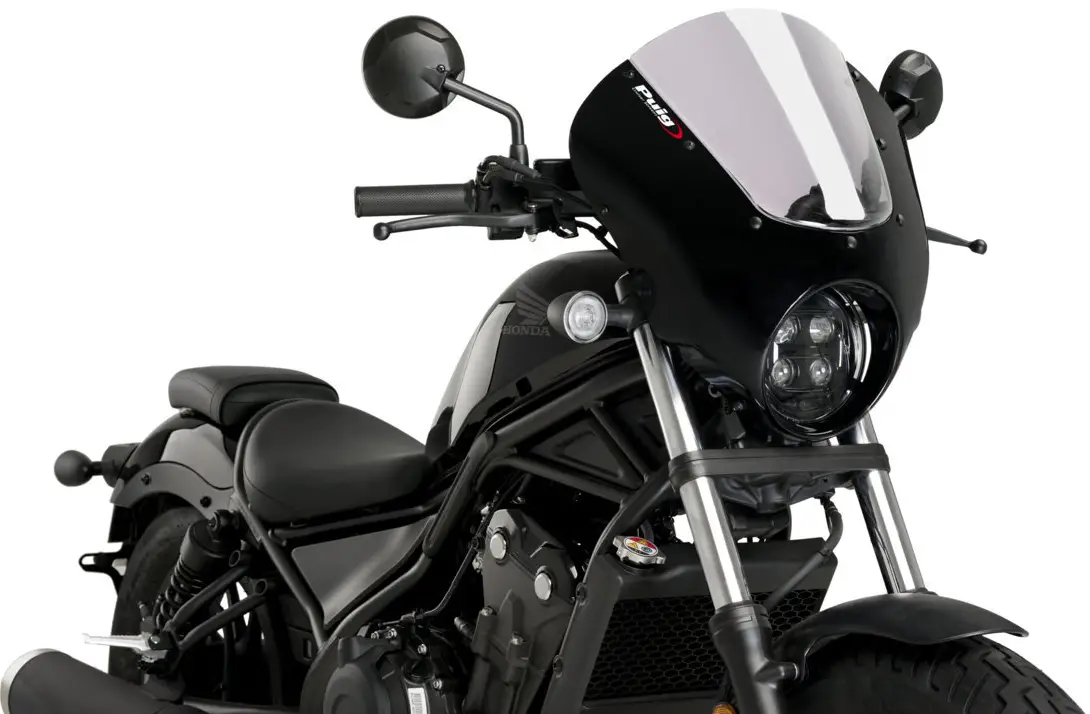
INSTRUCTIONS TO ASSEMBLE
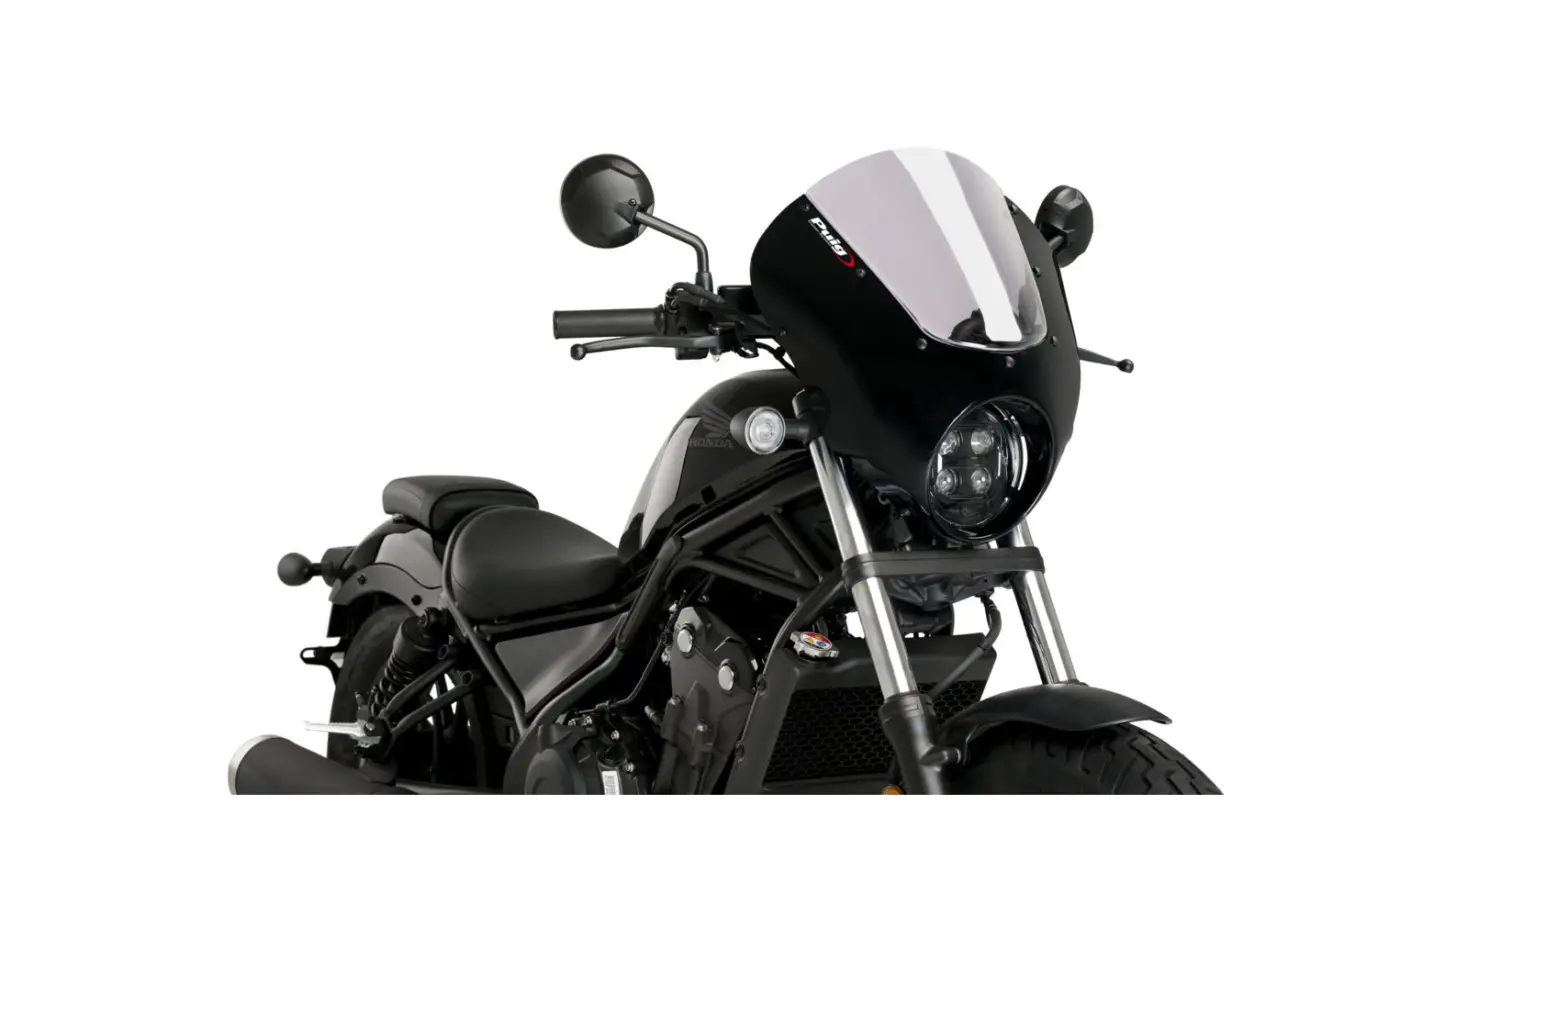
Remove the fasteners that subject the chassis to the engine. Mount the protectors on each own side as the figure below shows. Tight the set, and place the caps.
All the screws replaced, should be tightened to the torque specified in the oem maintenance manual for your motorcycle. if no torque specifications are provided in the oem maintenance manual, may be used 54Nm for all M10 screws.
Medium strength liquid thread-locker (i.e. “Loctite”) should be used to secure all screws, bolts and nuts. All screws, bolts and nuts should be checked after driving the first 50 km to ensure that all are tightened to the proper torque.
FOR TO ASSEMBLE THE CRASH PADS, IF YOU ARE NOT A TRAINED MECHANIC, PLEASE CONTACT A SPECIALIST. MOTOPLASTIC, S.A. TAKES NO RESPONSIBILITY FOR DAMAGES CAUSED BY IMPROPER INSTALLATION.
THE USE OF CRASH PADS DO NOT GUARANTEE A FULL PROTECTION IN CASE OF ACCIDENT. MOTOPLASTIC-PUIG DECLINE ANY RESPONSIBILITY IN CASE OF MOTORCYCLE DAMAGE.
| ID. | PART | DESCRIPTION | QTY. | REF.: |
| 1 | 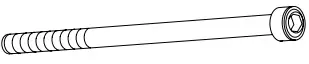 | M10/150×180 DIN912 screw | 2 | TORNIAD912–364 |
| 2 |  | M10 DIN125/A washer | 2 | M2AM10DIN125AZB |
| 3 | 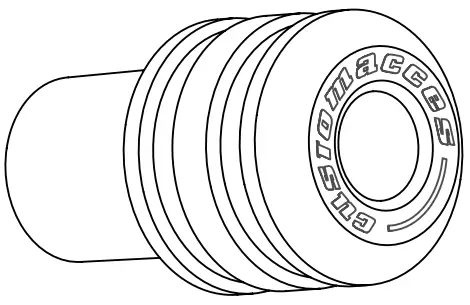 | Customacces Vintage nylon protector | 2 | CRASHPADCUSTOM |
| 4 | 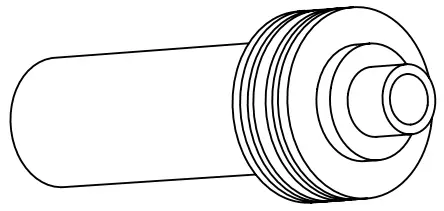 | Black aluminum spacer (Black) | 2 | CASQU470-0-1770 |
| 5 | 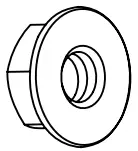 | M10 DIN6923 nut | 2 | TUERCAD6923M10Z |
The right side assembly is shown as an example, so the same steps can be performed for the left side assembly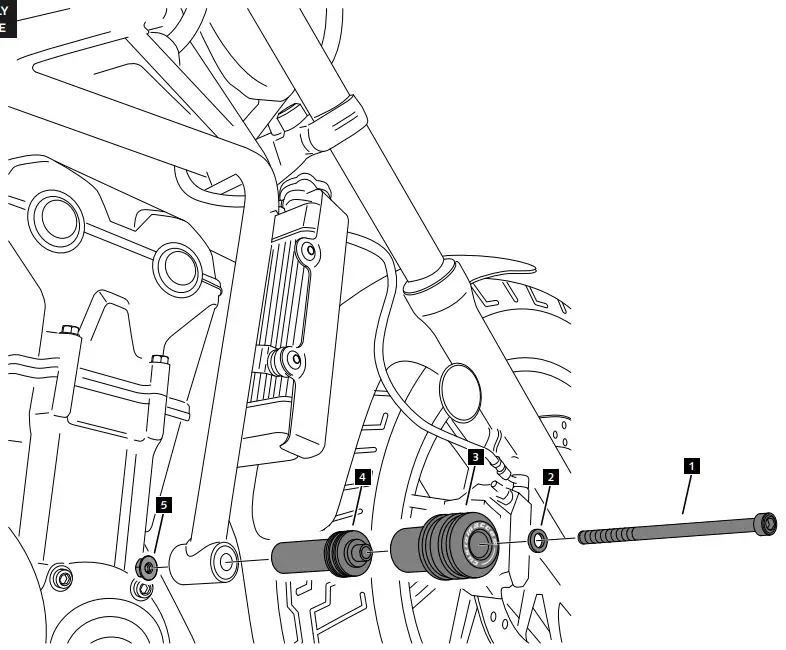
CONSULT OUR WEBSITE THE VIDEO MOUNT AVAILABILITY OF THIS REFERENCE.
Scan Me
Customer Support
www.puigusa.com
[email protected]
www.puig.tv
[email protected]


