![]() INSTALLATION GUIDE
INSTALLATION GUIDE
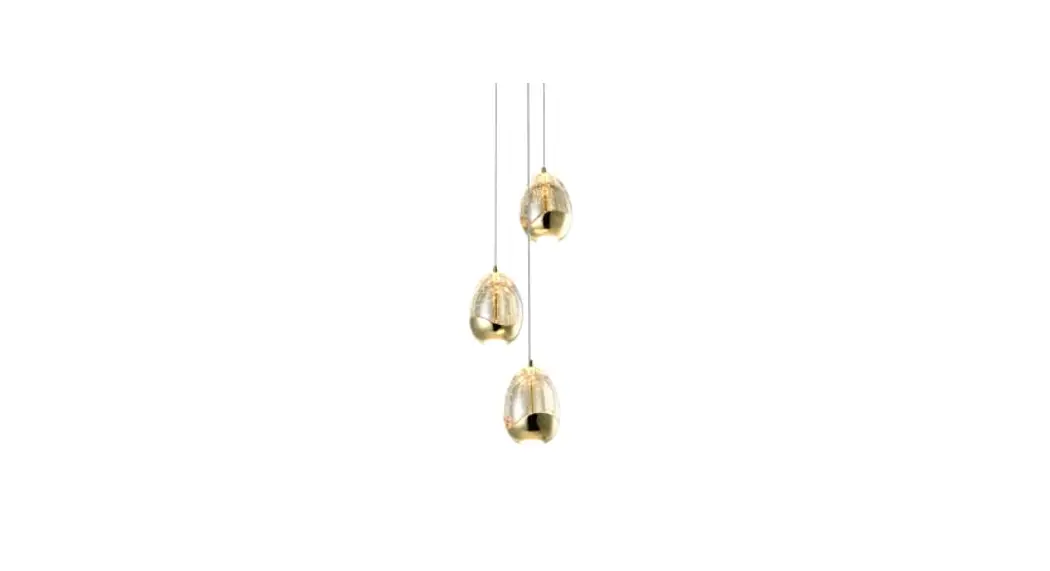
VONN LIGHTING MODEL#
VAP2203

TOOLS YOU MAY NEED

PARTS LIST
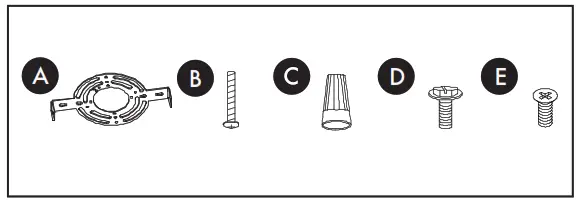 | A. Mounting Bracket x 1 B. Outlet Screw x 3 C. Wire Connector x 3 D. Ground Screw x 1 E. Canopy Cover Screws x 2 | 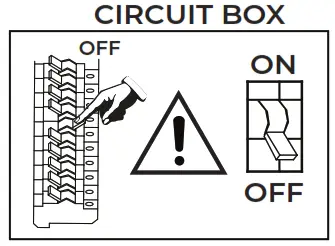 |
LED INFO & WARNINGS
| Please read and understand the entire manual before attempting to assemble, operate, or install the product. | Make sure that you have all the necessary parts by checking the parts list. If any part is missing or damaged please contact VONN LIGHTING CUSTOMER SERVICE at 888-604-8666 for a replacement. |
| All parts must be used as indicated in these instructions. Do not substitute any parts, leave parts out, or use any parts that are worn or broken. | Inspect the LED fixture prior to installation to make sure that it has not been damaged during shipping. |
| Please handle the LED light with care when unpacking. Do not apply pressure to the LEDs, do not open any factory-sealed compartments, and do not touch the LEDs with your hands. | VONN highly recommends using a qualified, licensed electrician to install the fixture . . |
| VONN recommends installing the fixture on its own independent circuit. Do not install the fixture on the same circuit with the other appliances, or HVAC systems. | Do not remove or replace VONN manufactured parts that are provided with the fixture. |
| DO NOT CUT WIRES | VONN recommends ELV (Electric Low Voltage) type dimmers for this fixture. |
| Place the wall switch in the “OFF” position of the room you are installing the fixture. | Shut “OFF” the electricity at the main fuse box. |
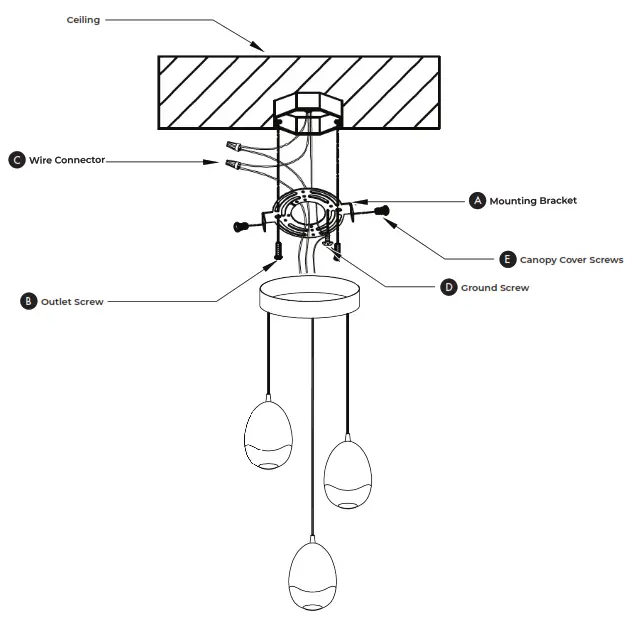
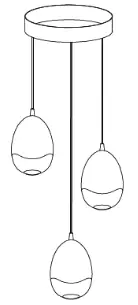
Fixture Diagram
Instructions
Step 1. Adjust Height
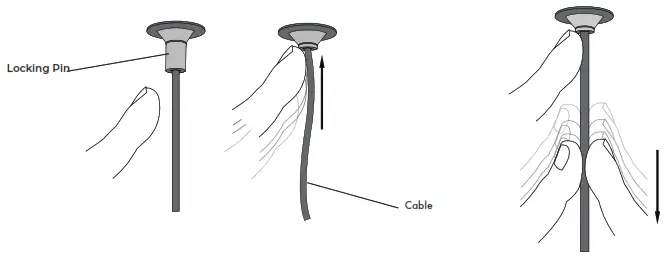
The length of the cable is adjustable. To determine the proper length of the fixture, hold the fixture canopy up against the outlet box in the ceiling to adjust the cable.
Depress the locking pin on the canopy, hold the pin in place, and pull down or push up on the cable. Repeat step for each cable.
Installer Tip (1): It is recommended that two installers are required to adjust the height of the fixture. One installer to hold the fixture, and the second installer to adjust the cables.
Step 2. Install Mounting Bracket
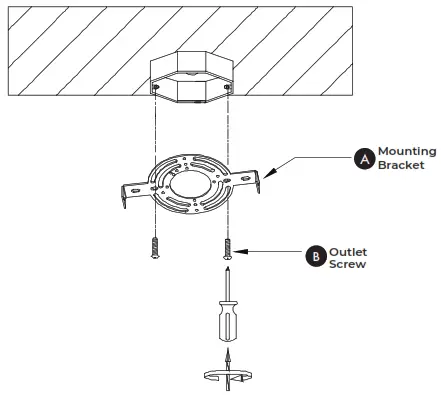
Secure mounting bracket (A) with outlet screws (B).
Step 3. Connect Wires

Supply Wires:
Connect Black (Line Wire) from fixture to Black (Hot Wire) from the outlet box.
Connect White (Neutral Wire) from fixture to White (Neutral Wire) from the outlet box.
Ground Wires:
Connect Bare Copper (Ground Wire) from fixture to Green or Bare Copper (Ground Wire) from the outlet box.
Twist wires together clockwise and secure with wire connector (C).
Installer Tip (2): If the ground wire is not available in the outlet box, then secure Bare Copper (Ground Wire) from fixture to ground screw (D) on the mounting bracket (A).
Installer Tip (3): It is recommended that two installers are required to install the fixture. One installer to hold the fixture, and the second installer to connect the wires.
Step 4. Mount Fixture
 |  |
Secure canopy to mounting bracket (A) with canopy screws (E).
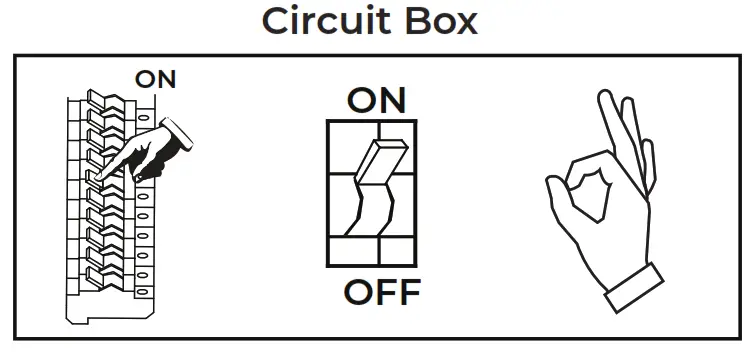
Step 5. Turn Power ON
Turn electricity “ON” at the main fuse box.
Place the recommended ELV type dimmer switch in the “ON” position to test the fixture.
www.vonn.com
© VONN Lighting, 2022


