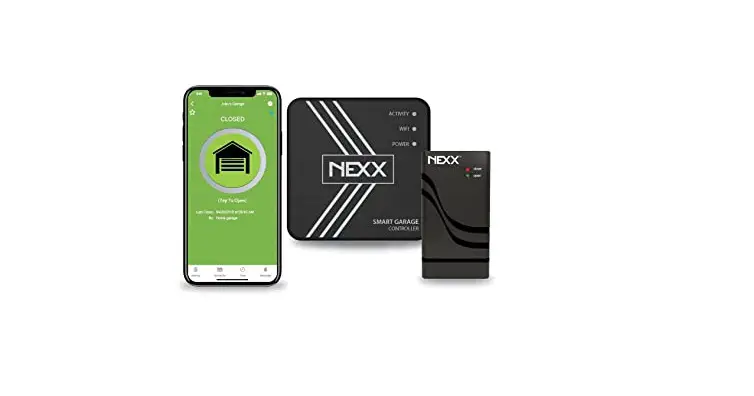
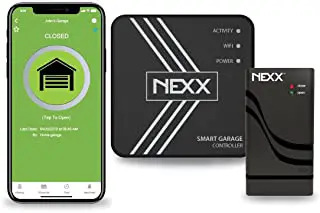
NEXX NXG-300 2.4G Smart WiFi Garage Controller
COMPATIBILITY CHECK
SAFETY WARNING: Make sure the garage door does not get obstructed by any child, person, or object.
- To verify that your garage door opener is compatible with Nexx Smart Garage Controller, check the opener compatibility list on our website: gotnexx.Bm/dwck
- If your opener is not on the list, perform the following test. Use the included compatibility test wire and put each end to the same terminals where your wall button wires are terminated to. By doing so, your garage door should activate (open close). Video tutorial: getnexx.com/nxg300/videc)s
 Terminals for wall button
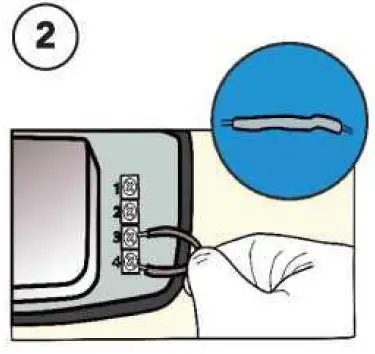 Terminals for wall button
Did your garage door open or dose?
0YES
Continue the installation.
Terminals for wall button
図NO
Send email with your garage door model to [email protected].
NEXX SMART GARAGE CONTROLLER NXG-300
- BEFORE YOU START CHECKLIST
- Compatibility check passed
- 2.4 GHz WiFi Internet Connection
- Garage Door Opener
- Step ladder
- Screwdriver
八SAFETY WARNING: Make sure the
/1\ garage door does not get obstructed by any child, person, or object. ® Check out our website for install videos:
getnexx.com/nxg300/videos
- NSTALL MOBILE APP
Download and install from
Apple App Store or Google Play Store:
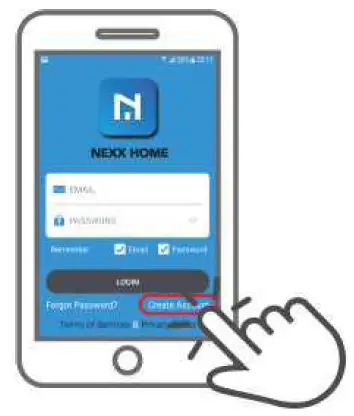
- CREATE ACCOUNT
Open Nexx Home app and create an account with Nexx.
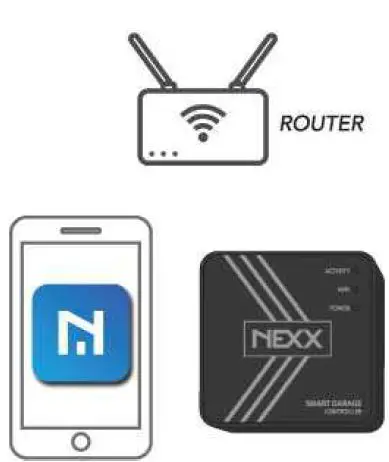
- STAND CLOSE TO YOUR ROUTER
Make sure yours WiFi singnal is strong.
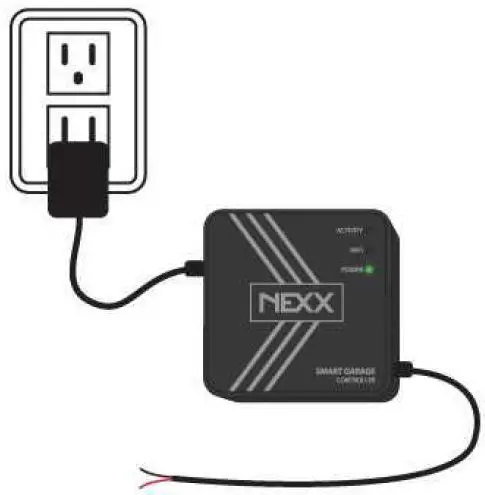
- Assemble and CONNECT TO POWER

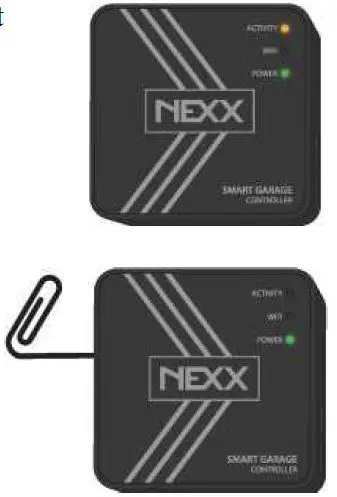
- CHECK STATUS OF NXG-200
A. Steady Activity Grange Light is ON: Continue to next step B. No Activity Orange Light:
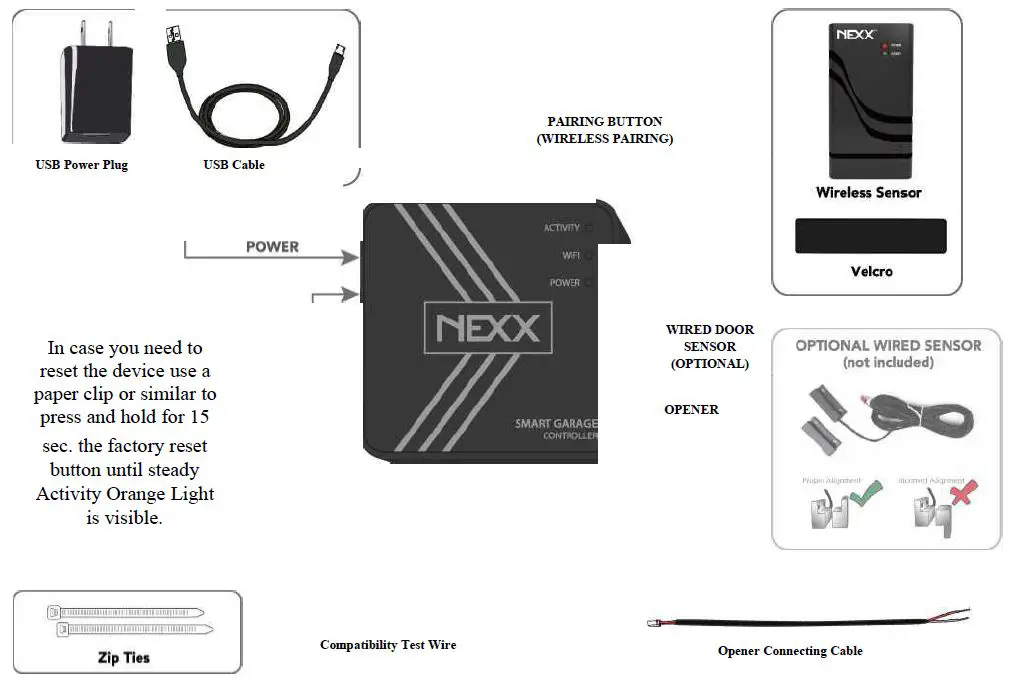
Press and hold the factory reset button using a paper clip or similar until steady Activity Orange Light is visible. - ADD NXG-200 TO NEXX HOME
Log in Nexx Home app and tap ) to add Ndevice.
=> Follow the configuration process.
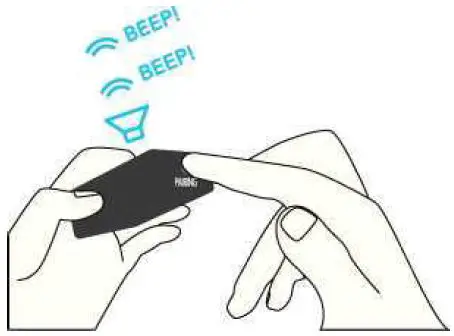
- SENSOR PAIRING
- Press the PAIRING button on the device.
The device will beep 2 times.
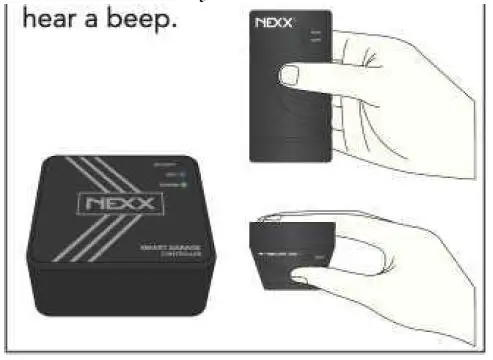
- SENSOR PAIRING
Move SLOWLY the sensor (imitating garage door movement) from a vertical (upright) to a horizontal position (led lights facing the floor) back and forth a few times until you
- SENSOR PAIRING
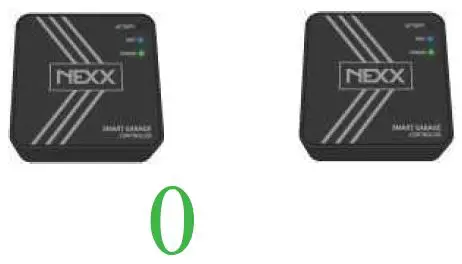
0 PAIRED
When pairing is successful, the device will beep 3 times. 図NOT PAIRED
If pairing has failed, the device will beep once for two seconds.
<=> Retry sensor pairing from step 8.1.
- Press the PAIRING button on the device.
- CONNECT TO OPENER
Use opener connecting cable to connect to the terminals on the back of your opener. It does not matter which wires goes to which terminals.


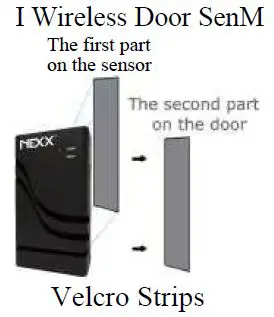
- SENSOR INSTALLATION
Attach the Wireless Door Sensor using the Velcro provided to the top of your garage door farthest from LED lamps.

 B. No Activity Orange Light:
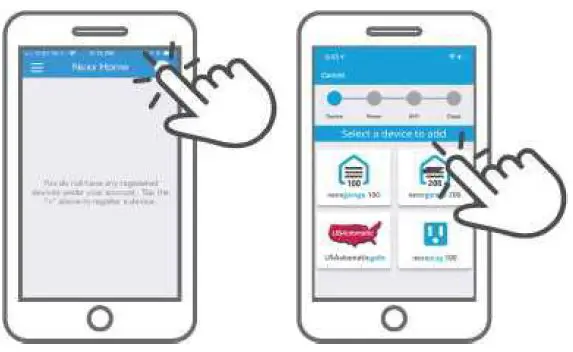
 図NOT PAIRED
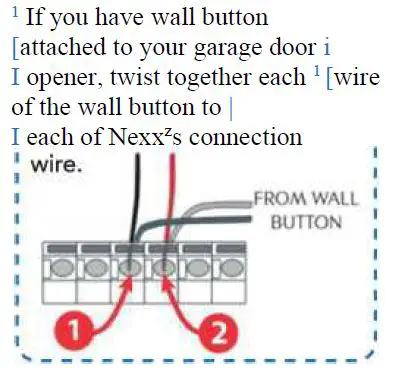

CONGRATULATIONS
You are good to go.
If you have any issues or questions, please reach us at [email protected]
Follow us for promotions,tips and tricks, and more on:
@getnexx
get.nexx
FCC WARNING
This device complies with part 15 of the FCC Rules. Operation is subject to the following two conditions:
- this device may not cause harmful interference, and
- this device must accept any interference received, including interference that may cause undesired operation.
Any changes or modifications not expressly approved by the party responsible for compliance could void the user’s authority to operate the equipment.
NOTE: This equipment has been tested and found to comply with the limits for a Class B digital device, pursuant to Part 15 of the FCC Rules. These limits are designed to provide reasonable protection against harmful interference in a residential installation. This equipment generates, uses and can radiate radio frequency energy and, if not installed and used in accordance with the instructions, may cause harmful interference to radio communications.
However, there is no guarantee that interference will not occur in a particular installation.
If this equipment does cause harmful interference to radio or television reception, which can be determined by turning the equipment off and on, the user is encouraged to try to correct the interference by one or more of the following measures:
- Reorient or relocate the receiving antenna.
- Increase the separation between the equipment and receiver.
- Connect the equipment into an outlet on a circuit different from that to which the receiver is connected.
- Consult the dealer or an experienced radio/TV technician for help.
To maintain compliance with FCC’s RF Exposure guidelines, This equipment should be installed and operated with minimum distance between 20cm the radiator your body: Use only the supplied antenna.


