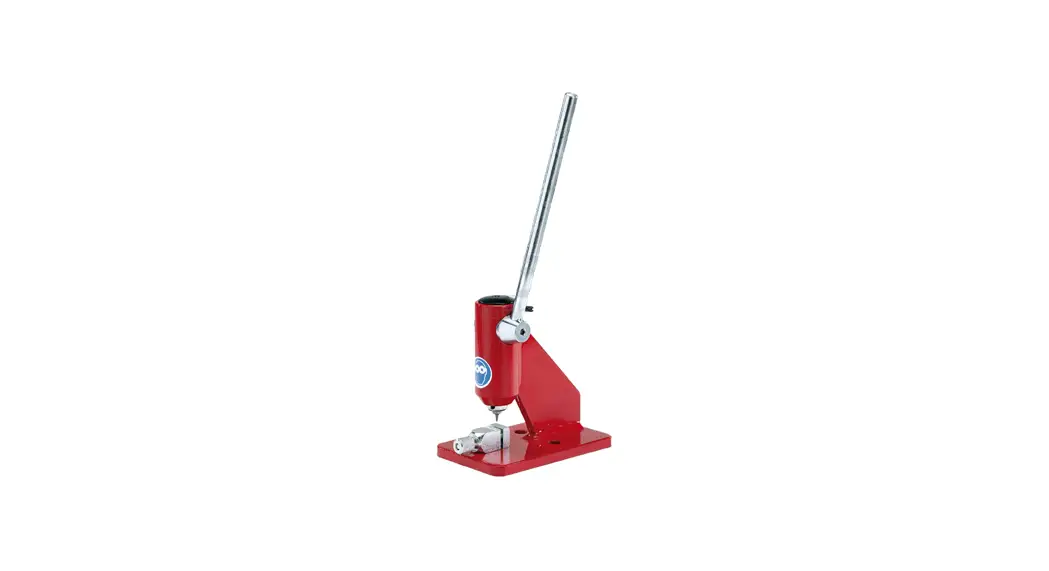
CHAINE BREAKER
OPERATING INSTRUCTION
99-137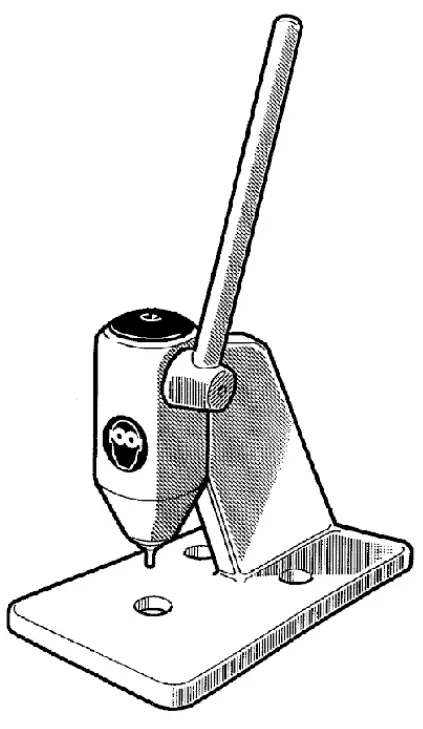
 SAFETY RULES
- In order to avoid injuries to you and/or somebody else, carefully read operating instructions before starting any work with your Chain Breaker.
- Make sure that the Chain Breaker is steadily fixed on a Hat and clean surface of your bench.
- Check that all components of the Chain Breaker are well fixed and in sound working conditions.
- Always wear approved protecting goggles and a pair of gloves when working with a Chain Breaker.
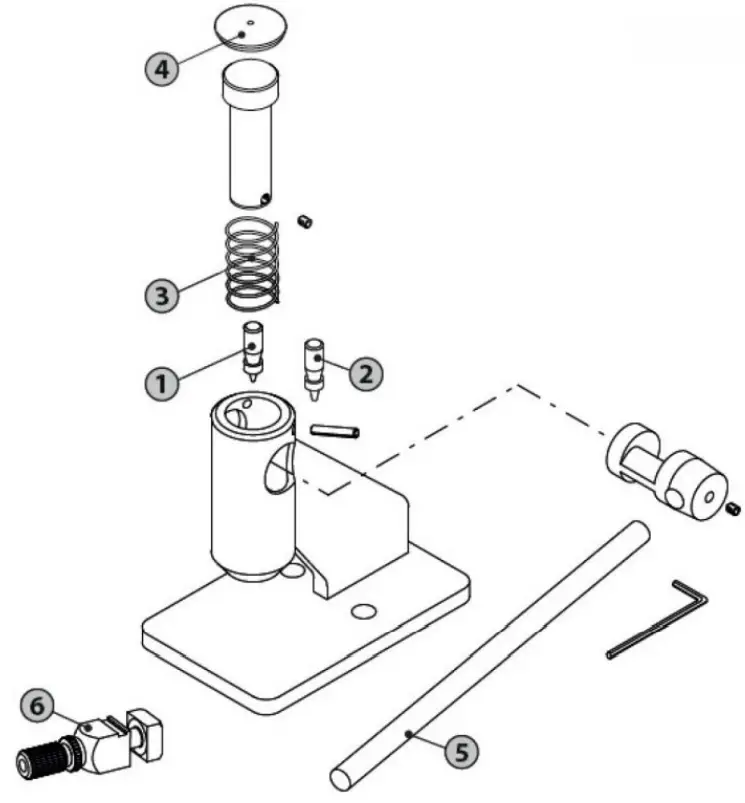
ASSEMBLY.
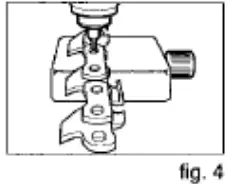
The Chain Breaker Is sup-plied already assented, except the lever (2). To mount this lever, release screw (1) (fig.1 ). Supplied wrench. Insert lever as shown in tig.4 then tighten screw (1).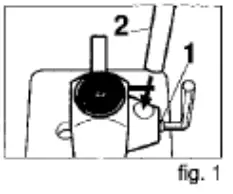 BENCH MOUNTING.
Position the Chain Breaker at the end or front of your workbench. Fix 2 screws through the 2 holes (A – B). 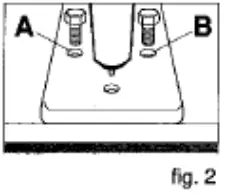
HOW TO BREAK RIVETS
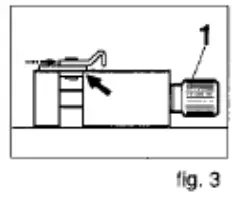
Position chain on the vice as shown in fig.3. Gently tighten the vice by means of a knob (1). Posit on the rivet head under the punch, then lower the lever step by step (2) 041; till the rivet has come out. Do not force too much.
 |  |
IMPORTANT:
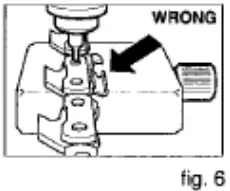
When you break rivets near the cutter, check that the latter is positioned as shown in fig 5.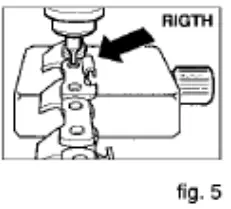 REPLACEMENT OF THE PUNCH.
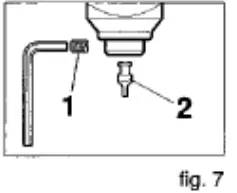
To replace a damaged or worn punch, take-off screw (1 ) (fig.7) to loosen punch (2). Insert the new punch then tighten the screw (1).
 |  |
REPLACEMENT OF A BROKEN DRIVE LINK
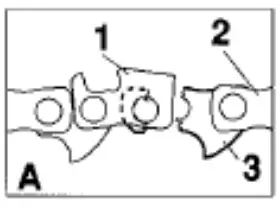
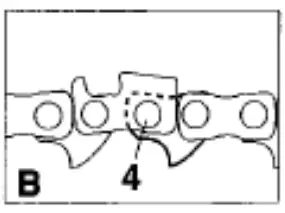
The point of breakage is usually near the rivet hoe. To remove the cutter (1) and the tie strap (2). place the drive link (3) in its original position (Et). Center the punch over the rivet head (4) then lower lever (2) (fig.1) till the rivet has come out.
 |  |
99-137