PENTAIR WHW-10BB-SG-6 Whole Home Heavy Duty Housing Wrench Instruction Manual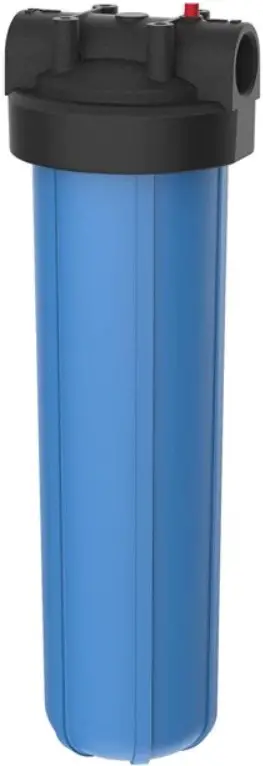
PRECAUTIONS
![]() WARNING: Do not use with water that is microbiologically unsafe or of unknown quality without adequate disinfection before or after the system. Systems certified for cyst reduction may be used on disinfected waters that may contain filterable cysts.
WARNING: Do not use with water that is microbiologically unsafe or of unknown quality without adequate disinfection before or after the system. Systems certified for cyst reduction may be used on disinfected waters that may contain filterable cysts.
CAUTION: Housing must be protected against freezing, which can cause cracking of the filter and water leakage.
CAUTION: The rubber O-ring provides the water-tight seal between the cap and the bottom of the housing. It is important that the O-ring be properly seated in the groove below the threads of the housing or a water leak could occur.
CAUTION: Because of the product’s limited service life and toprevent costly repairs or possible water damage, we strongly recommend that the bottom of all plastic housings be replaced every five years for clear and ten years for opaque. If the bottom of your housing has been in use for longer than this period, it should be replaced immediately. Date the bottom of any new or replacement housing to indicate the next recommended replacement date.
CAUTION: Clear housings may crack or craze in time causing failure and leakage if exposed to organic solvents such as those found in aerosol sprays for cleaning products and insecticides.
Materials Required (not supplied)
- Depends on location and type of pipe
- Galvanized fittings must be used on galvanized pipe
Tools Required
- Pencil
- Screwdriver
- 2 adjustable wrenches
- Pipe cutter or hacksaw
- File
NOTE:
- For cold water use only.
- Do not install where system will be exposed to direct sunlight.
- Make certain that installation complies with all state and local laws and regulations.
- The contaminants or other substances removed or reduced by the selected filter are not necessarily in your water. Ask your local water municipality for a copy of their water analysis, or have your water tested by a reputable water testing lab.
- After prolonged periods of non-use (such as during a vacation) it is recommended that the system be flushed thoroughly. Let water run for 5–6 minutes before using.
- The filter cartridges used with this system have a limited service life. Changes in taste, odor, and/or flow of the water being filtered indicate that the cartridge should be replaced.
- Some harmless bacteria may attack cellulose media cartridges. If your cartridge seems to disintegrate or develops musty or moldy odor, switch to a synthetic media cartridge or consult the manufacturer.
- Please read all instructions, specifications, and precautions before installing and using this housing.
- pent adsorption media will not be regenerated and used.
- If adsorption media is affected by chlorine, influent will need to be treated to remove chlorine.
SPECIFICATIONS
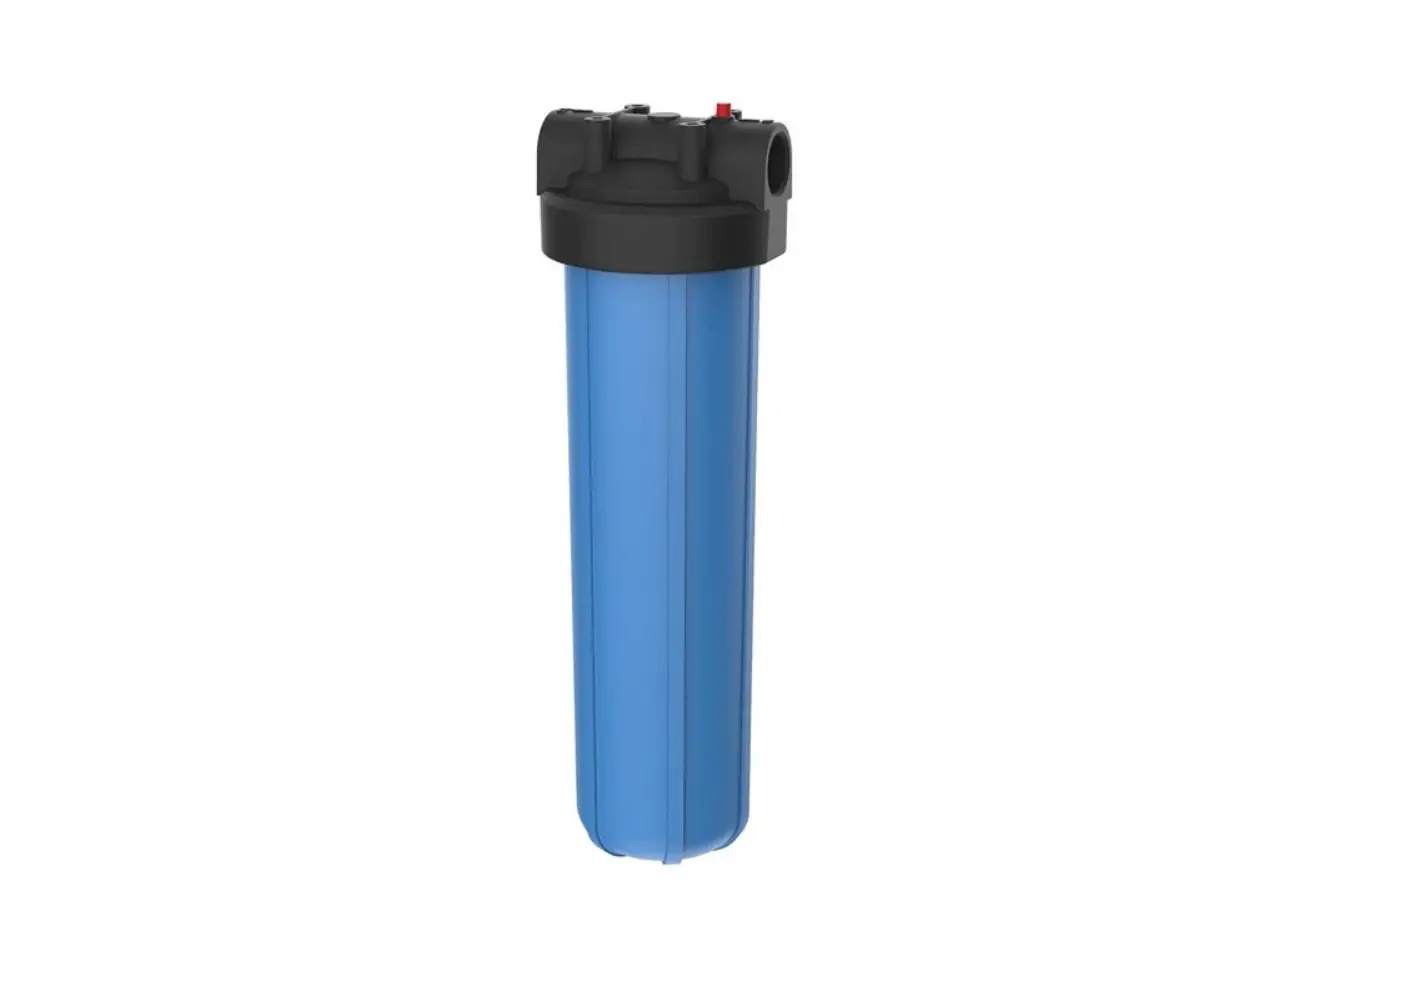
Model WHH-10BB-SG-1
Pressure Range: 30–100 psi (2.1–6.9 bar) Flow Rate: varies by cartridge Temperature Range: 40–100°F (4.4–37.7°C))
Model WHH-20BB-SG-1
Pressure Range: 30–90 psi (2.1–6.1 bar) Flow Rate: varies by cartridge Temperature Range: 40–100°F (4.4–37.7°C)
System Includes
- Housing
- Mounting bracket kit
- Housing wrench
REPLACEMENT PARTS
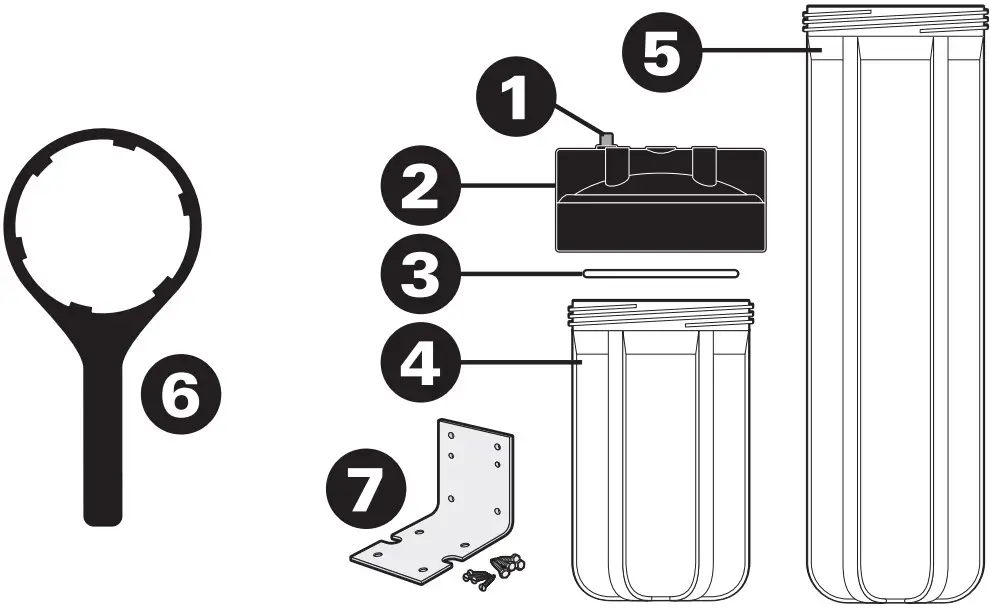
| 1 | 151039 | Pressure Relief Button Kit |
| 2 | 154166154167 | Black Cap, 1-inch I/O for WHH-10BB-SG-1Black Cap, 1.5-inch I/O for WHH-20BB-2SG-1 (not shown) |
| 3 | 143273 | O-ring |
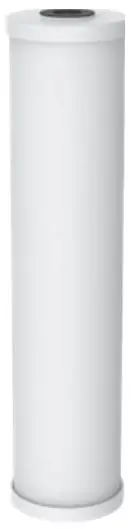
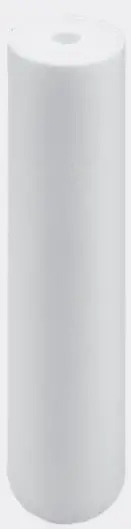
| 4 | 153029 | 10-inch Blue Housing for WHH-10BB-SG-1 |
| 5 | 153070 | 20-inch Blue Housing for WHH-20BB-2SG-1 |
| 6 | 150296144368 | Housing Wrench for WHH-10BB-SG-1 Housing Wrench for WHH-20BB-2SG-1 |
| 7 | 244718 | Mounting Bracket Kit |
INSTALLATION
NOTE:
• For installation on galvanized, copper or plastic pipe. Style of fittings may vary from those shown, depending on type and size of pipe.
• Use only plumber tape for fitting housing connections.
• Install filter cartridge in filter housing according to the filter cartridge replacement instructions (below) before proceeding with installation.
• Install filter after water meter or pressure tank.
• Numbered diagrams correspond with numbered steps.
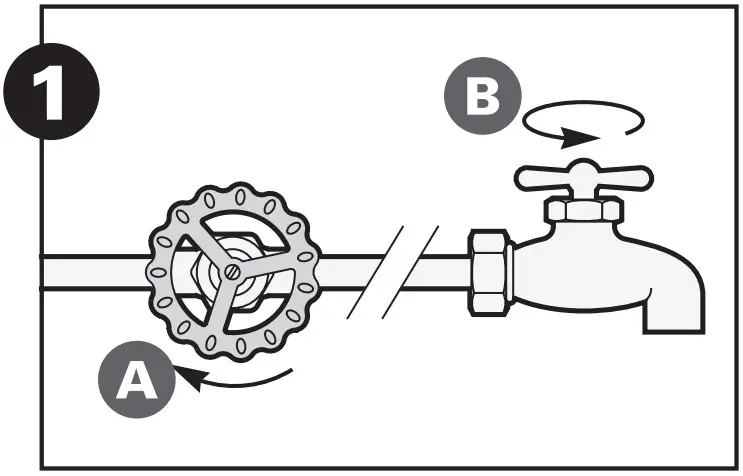
- Turn off cold water supply (A) and open nearest faucet (B) to release pressure in pipes before starting installation.
- Assemble all fittings. Start adapters into cap by hand. Use a wrench to tighten firmly. Do not over-tighten.
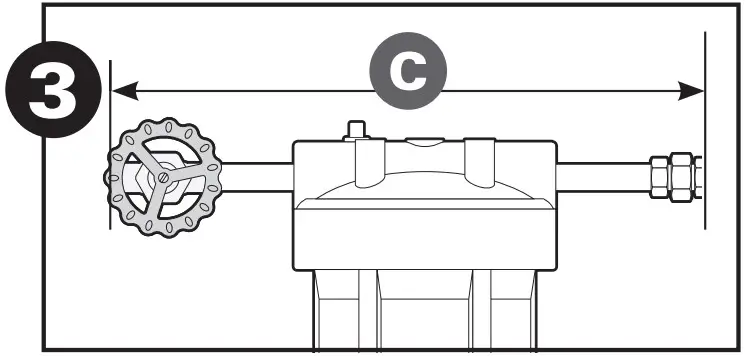
- Measure length (C) across assembled fittings and subtract 1-inch if you are installing on 3/4-inch pipe, or 11 ⁄2-inch if you are installing on 1-inch pipe. Mark section of main line pipe to be removed. Using a pipe cutter or hacksaw, cut pipe and remove marked section (C) and thread ends of the remaining pipe. Wrap threads with plumber tape. Align filter assembly with ends of pipe, making certain cap opening marked “IN” is facing your incoming water supply. It will be necessary to spread ends of pipe apart to install filter assembly. Using two adjustable wrenches, hold inlet adapter securely with one wrench and tighten with second wrench. Repeat process for outlet adapter
CAUTION: If water pipes are used to ground electrical systems, appliances or phones, be certain to install a jumper wire.
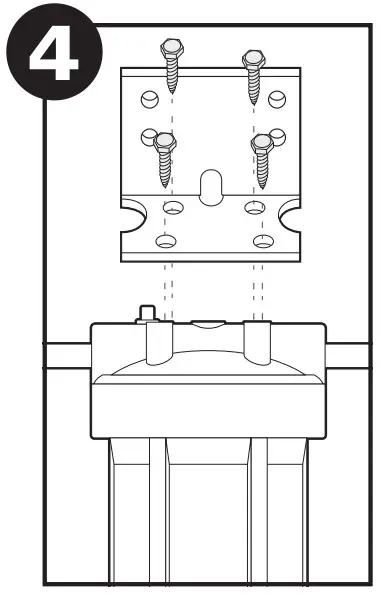
4. Attach bracket to cap with screws. Attach bracket with cap to wall.
NOTE: The top of the bracket should be no less than 24-inches off the floor (10-inch system) or 34-inches off the floor (20-inch system) allowing a 5-inch clearance below housing to enable filter cartridge changes.
FILTER CARTRIDGE REPLACEMENT
A. (1) Turn off water supply to filter. (2) Depress red pressure-relief button to release trapped air.
B. Place a bucket or container under bottom of housing.
C. Remove bottom of housing by turning clockwise.
NOTE: If turning off water supply to the filter will also turn off water to the rest of the home, be sure to fill a bucket of water first to allow you to clean housing after it has been removed.
D. Locate and remove large O-ring (3), wipe clean of lubricant and set aside. Discard used cartridge (4). Rinse out bottom of housing and fill 1/3 full with water. Add 2 tablespoons of bleach and scrub cap and bottom of housing with nonabrasive sponge or cloth. Rinse thoroughly. Lubricate O-ring (3) with clean silicone grease. Insert O-ring back into groove and smooth into place with finger.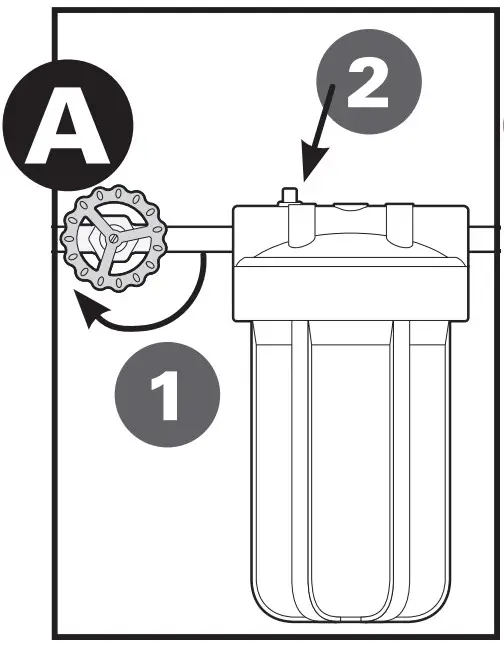
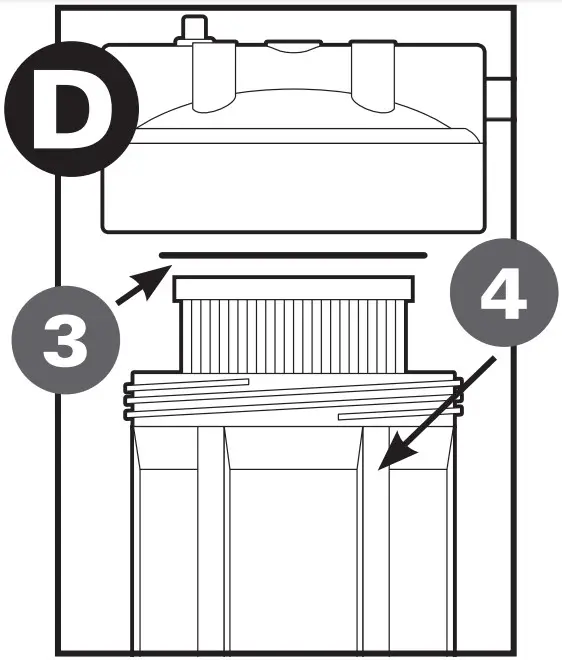
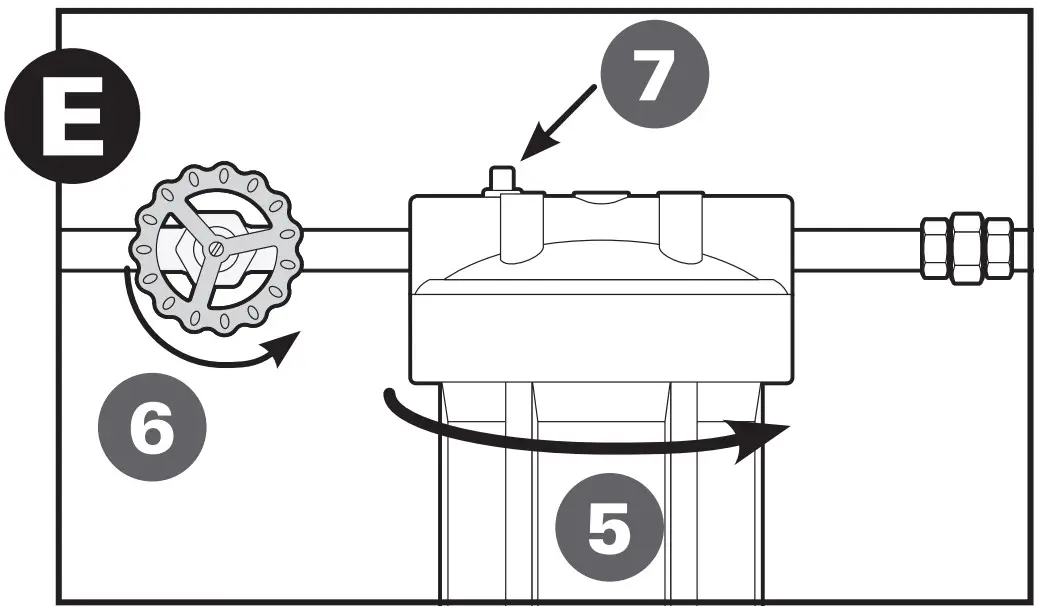
NOTE: This step is important to ensure proper housing seal. Make sure O-ring is seated level in the groove. Insert new cartridge (3) over standpipe in bottom of housing.
E. (5) Screw bottom of housing onto the cap and hand-tighten. Do not over-tighten. Make certain cap standpipe slips into cartridge. (6) Turn on water supply slowly to allow filter to fill with water. (7) Depress red pressure-relief button (if present) to release trapped air. Flush cartridge for 5 minutes before use. Check for leaks before leaving installation.
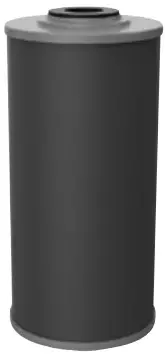
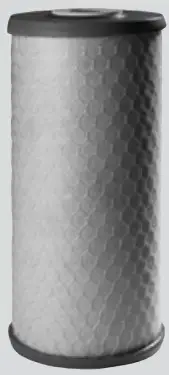
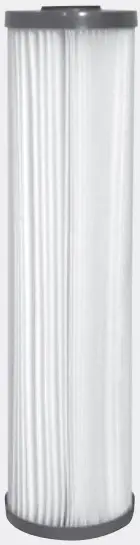
| OMNIFILTER® REPLACEMENT 10-INCH CARTRIDGE SELECTION GUIDE | |||||||||
| Cartridge | Media | Micron Size(Nominal) | Reduces Sediment | Iron | Reduces Chlorine Taste & Odor | Filter Capacity† | Recommended Flow Rate | Well Water Use | |
 | RS6 | Pleated | 30* | Yes | — | — | 30,000 gals or6 months | 10 gpm | Yes |
| WHC-10BB-SP-30M-SG-6 | |||||||||
| RS15 | Pleated | 5* | Yes | — | — | 15,000 gals or3 months | 10 gpm | — |
 | RS22 | String Wound | 5* | Yes | — | — | 3,000 gals or1 months | 10 gpm | Yes |
 | DGD-5005 | Polyspun | 5* | Yes | — | — | 6 months | 10 gpm | Yes |
| WHC -10BB-SP-5M-SG6 | |||||||||
 | RS16 | Polyspun | 1* | Yes | — | — | 3,000 gals or1 months | 10 gpm | Yes |
 | RS18 | Polyspun | 50* | Yes | — | — | 30,000 gals or6 months | 10 gpm | Yes |
| TO6 | Pleated Carbon Wrap | 5* | Yes | — | Yes | 15,000 gals or3 months | 5 gpm | — | |
| WHC-10BB-CS-5M-SG-6 | |||||||||
 | TO8 | Radial Flow Carbon | 25* | Yes | — | Yes | 40,000 gals | 4 gpm | Yes |
 | CB6 | Carbon Block | 1* | Yes | — | Yes | 15,000 gals or3 months | 5 gpm | Yes |
| RO6 | KDF and Granular Carbon | 5* | Yes | Yes | — | 3000 gal or1 month | 5 gpm | Yes |
| WHC-10BB-I-5M-SG-2 | |||||||||
Nominal: Smaller micron rating equals finer filtration.
Filter capacity is approximate and varies depending on conditions.
| OMNIFILTER REPLACEMENT 20-INCH CARTRIDGE SELECTION GUIDE | ||||||||||
| Cartridge | Media | Micron Size (Nominal) | Reduces Sediment | Reduces Rust Staining | Reduces Chlorine Taste & Odor | Lead | Filter Capacity† | Recommended Flow Rate | Well Water Use | |
 | RS6-20 | Pleated | 30* | Yes | No | No | No | 60,000 galsor 6 months | 20 gpm | Yes |
 | TO8-20 | Radial Flow Carbon | 25* | Yes | No | Yes | No | 100,000 galsor 9 months | 8 gpm | Yes |
| RS18-20 | Spun Polypropylene | 50* | Yes | No | No | No | 60,000 galsor 6 months | 20 gpm | Yes |
 | DGD-5005-20 WHC-20BB-SP-5M-SG6 | Polypropylene | 5* | Yes | No | No | No | 12 months | 20 gpm | Yes |
 | RFC20-BBWHC-20BB-CS-25MSG6 | FloPlus Carbon | 1* | Yes | No | Yes | No | 50,000 gallons/ 12 months | 25 gpm | Yes |
 | RFFE20-BBWHC-20BB-I-5M-SG-2 | Iron Reduction | <3 PPM | Yes | Yes | No | No | 26,000 gallons/ 6 months | 6 gpm | Yes |
| LR-FB20BBWHC-20BB-L-05M-SG-2 | Lead Reduction | 1* | Yes | No | No | Yes | 40,000 gallons/ 5 months | 10 gpm | Yes |
Nominal: Smaller micron rating equals finer filtration.
Filter capacity is approximate and varies depending on conditions.
PENTAIR OMNIFILTER WHH-10BB-SG-1 & WHH-20BB-SG-1 / HEAVY-DUTY HIGH-FLOW HOUSING
- INSTALLATION AND OPERATING INSTRUCTIONS 5
TROUBLESHOOTING
Leaks…
between cap and bottom of filter housing:
- Turn off water supply and open a faucet closest to the system to release trapped air. Remove bottom of housing.
- Clean O-ring and O-ring groove (located directly beneath threads of housing). Lubricate O-ring with clean silicone grease and replace securely into groove. Screw bottom of housing onto cap and hand-tighten. Do not over-tighten
on inlet/outlet connections:
- Turn off water supply. For brass fittings, tighten nut snugly about half of a turn with a wrench.
- Turn on water supply. If leaks persist, or if there are other leaks on the system, turn off water supply. Call Pentair Technical Support at 800.279.9404.
MAINTENANCE
Filter must be maintained according to manufacturer’ sinstructions, including replacement of the filter cartridge. Contact your nearest Pentair water filter dealer for replacement cartridge pricing, or call 800.279.9404.
For Pentair Product Warranties visit:
Pentair.com/assets/residential-filtration-warranty
13845 BISHOPS DR., SUITE 200, BROOKFIELD, WI 53005 U.S.A. P 262.238.400 | CUSTOMER SERVICE: 800.279.9404 |tech [email protected] pentair.com © 2022 Pentair. All rights reserved. All indicated Pentair trademarks and logos are property of Pentair. Third party registered and unregistered trademarks and logos are the propertyof their respective owners. 4006731 Rev A AU22