RAIN HARVESTING RHLC20 Leaf Catcha Rain Head Dual Fit
PRODUCT DETAILS
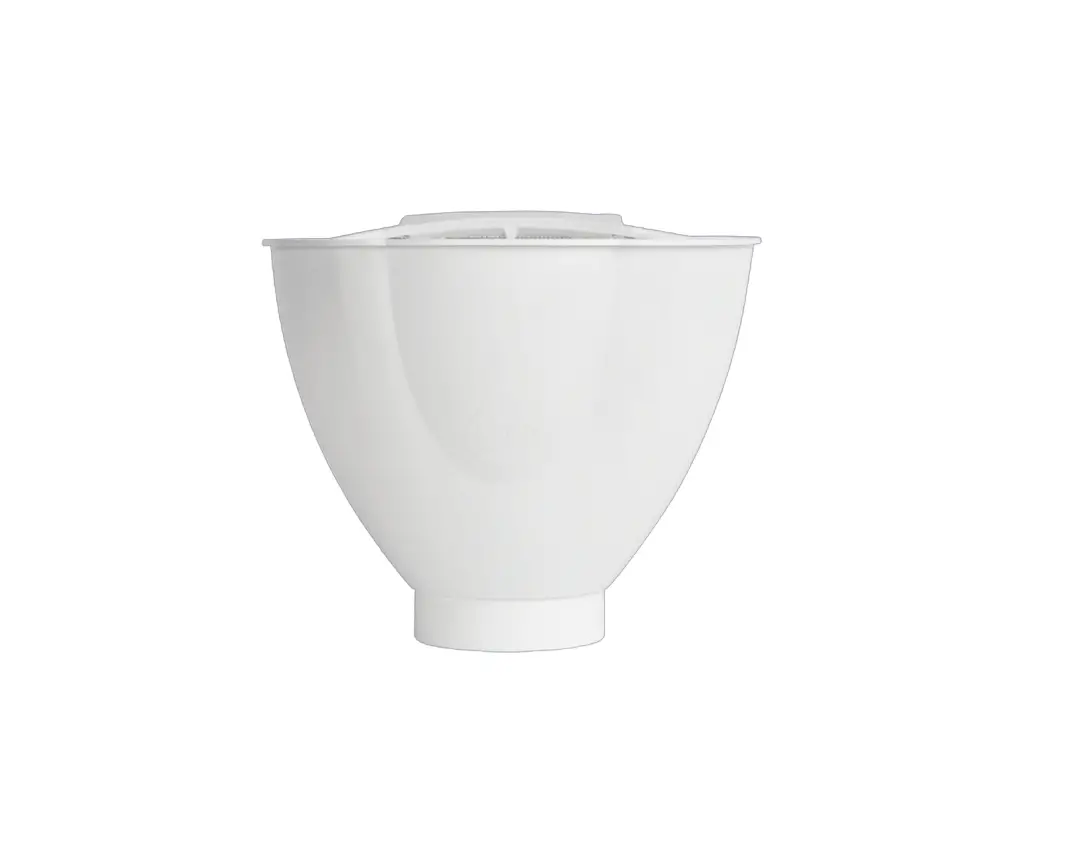
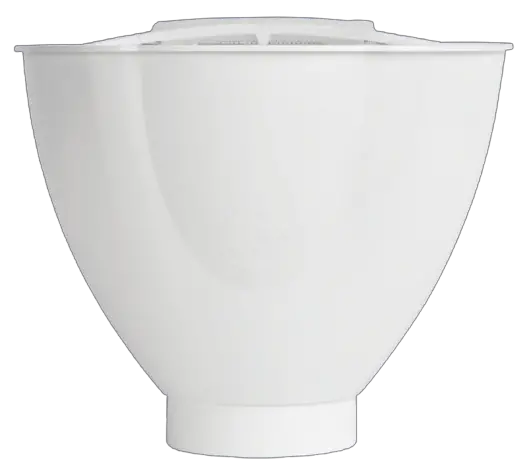
The simplicity of the Leaf Catcha’s bucket design ensures you catch every drop of water while filtering out leaves and debris.
By installing it in a location which is easy to reach and periodically clean, you’ll be rewarded with huge amounts of great quality rainwater.
| Code | Size | Country |
| RHLC20 | 90mm /100mm Dual Fit | Australia
|
| RHLC25 | 100x50mm | |
| RHLC26 | 100x75mm | |
| RHLC20 | 110mm | UK |
| RHLC320 | 80mm/110mm | South Africa |
| RHLC620 | 75mm/90mm | Europe |
| RHLC20 | 90mm/110mm | India |
Installation
WHAT’S IN THE BOX?
- Leaf Catcha
TOOLS/MATERIALS YOU MAY REQUIRE
- Tape measure
- Marker pen
- Saw
- Bracket
- Screws
- Screwdriver or drill
GUTTER MOUNT
- To install your Leaf Catcha rain head on a vertical downpipe directly under your gutter, measure down from the underside of your gutter and mark the downpipe in two locations. First at 70mm and the second at 240mm. Cut the downpipe at both these locations to create a 170mm gap to install the Leaf Catcha.
Whether this is directly under your eave or midway down your downpipe, it must be a minimum of 500mm above your tank inlet and tank overflow pipe. Ensure all cut edges are clean and smooth. - Fit and bracket the pipe to the wall.
- Place the mesh screen in your Leaf Catcha, snapping the screen under the rear retaining ledge first, then under the front and side ledges.
- Slightly rotate your Leaf Catcha to slip it under the upper section of downpipe, then slide it into line and push the unit down onto the lower section of downpipe. Do not glue in place.
- If desired, you can paint your rain head to match your downpipes, building or tank.
EAVE & “MID” MOUNT
- Locate the position at which you will be installing your Leaf Catcha rain head. Whether this is directly under your eave or midway down your downpipe, it must be a minimum of 500mm above your tank inlet and tank overflow pipe.
- Remove a 170mm section of pipe at your desired installation point. Ensure all cut edges are clean and smooth.
- Fit and bracket the pipe to the wall.
- Place the mesh screen in your Leaf Catcha, snapping the screen under the rear retaining ledge first, then under the front and side ledges.
- Slightly rotate your Leaf Catcha to slip it under the upper section of downpipe, then slide it into line and push the unit down onto the lower section of downpipe. Do not glue in place.
- If desired, you can paint your rain head to match your downpipes, building or tank.
Product Specifications
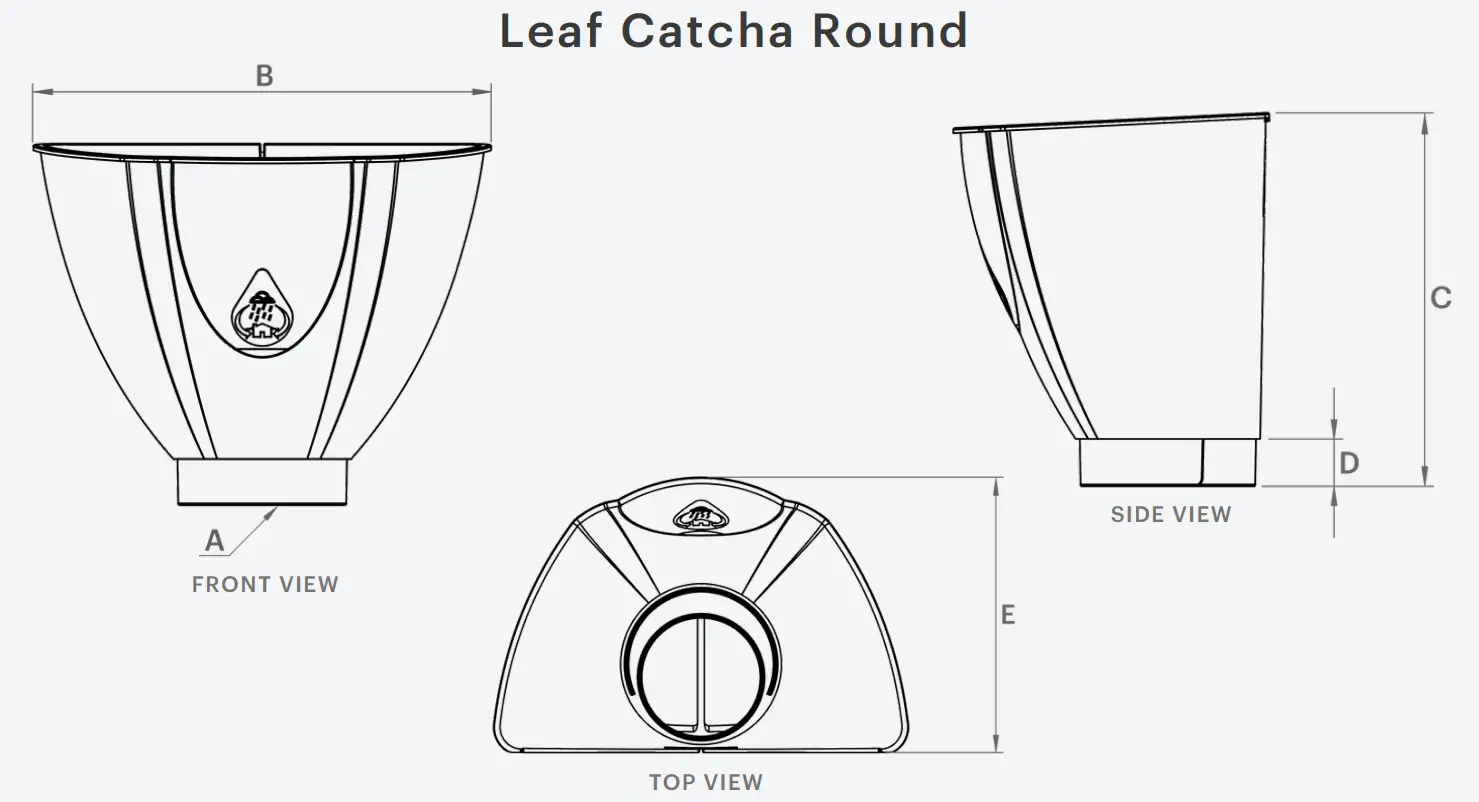
| Country | Code | A | B | C | D | E |
| Australia | RHLC20 | 901P | 280 | 220 | 28 | 185 |
| 1001P | 280 | 220 | 28 | 185 | ||
| RHLC25 | 100×50 IP | 280 | 270 | 50 | 185 | |
| RHLC26 | 100×75 IP | 280 | 270 | 50 | 185 | |
| UK | RHLC20 | 110 IP | 280 | 220 | 28 | 185 |
| South Africa | RHLC320 | 80F | 280 | 245 | 20 | 185 |
| 110IP | 280 | 220 | 28 | 185 | ||
| Europe | RHLC620 | 75 F | 280 | 244 | 20 | 185 |
| 901P | 280 | 220 | 28 | 185 | ||
| India | RHLC20 | 901P | 280 | 220 | 28 | 185 |
| 110 IP | 280 | 220 | 28 | 185 |
All dimensions are in mm unless otherwise stated.
Fitting guide:
F = Female / Socket Fitting
M = Male / Spigot Fitting (Pipe size)
IP = In-Pipe Fitting
Maintenance
For best performance, check and empty your Leaf Catcha rain head on a regular basis.
To clean, simply lift your Leaf Catcha up, rotate it slightly, slide it out of the downpipe and empty any captured leaves and debris. Hose or brush the mosquito-proof screen clean, then re- fit it and re-insert your rain head into the downpipe.
Support by rain harvesting
A common misconception about collecting rainwater is that all you need is a roof, a tank and some rain. This ‘tanking’ approach cannot always be relied on to deliver the volume – or quality – of water that you require. That is where we can help.
With some thought, your rain harvesting system can provide you with cleaner water and lots of it. Whether you’re completely reliant on tank water or wanting to keep the garden green, our simple steps will help you achieve your goal.
The Rain Harvesting approach to rainwater collection involves using tested and proven products to make quality rainwater available for use in and around your property. You don’t need much to get started and you will be surprised how easy it is to get the most out of your rainwater system.
How can we help you?
COMPLIANCE
- AS/NZS 3500.3:2003 Plumbing and Drainage
– Stormwater Drainage - Australian Standard AS/NZS 4020:2005 (Testing of products for use in contact with drinking water)
DISCLAIMER This product specification is not a complete guide to product usage. Further information is available from Rain Harvesting Pty Ltd and from the installation and Operating instructions. This specification sheet must be read in conjunction with the installation and Operating Instructions and all applicable statutory requirement. Product specifications may change without notice. © Rain Harvesting Pty Ltd
For more information or to find out
how we can help, just give us a call on
+61 7 3248 9600
Or visit our website at
rainharvesting.com


 Installation Guide")


