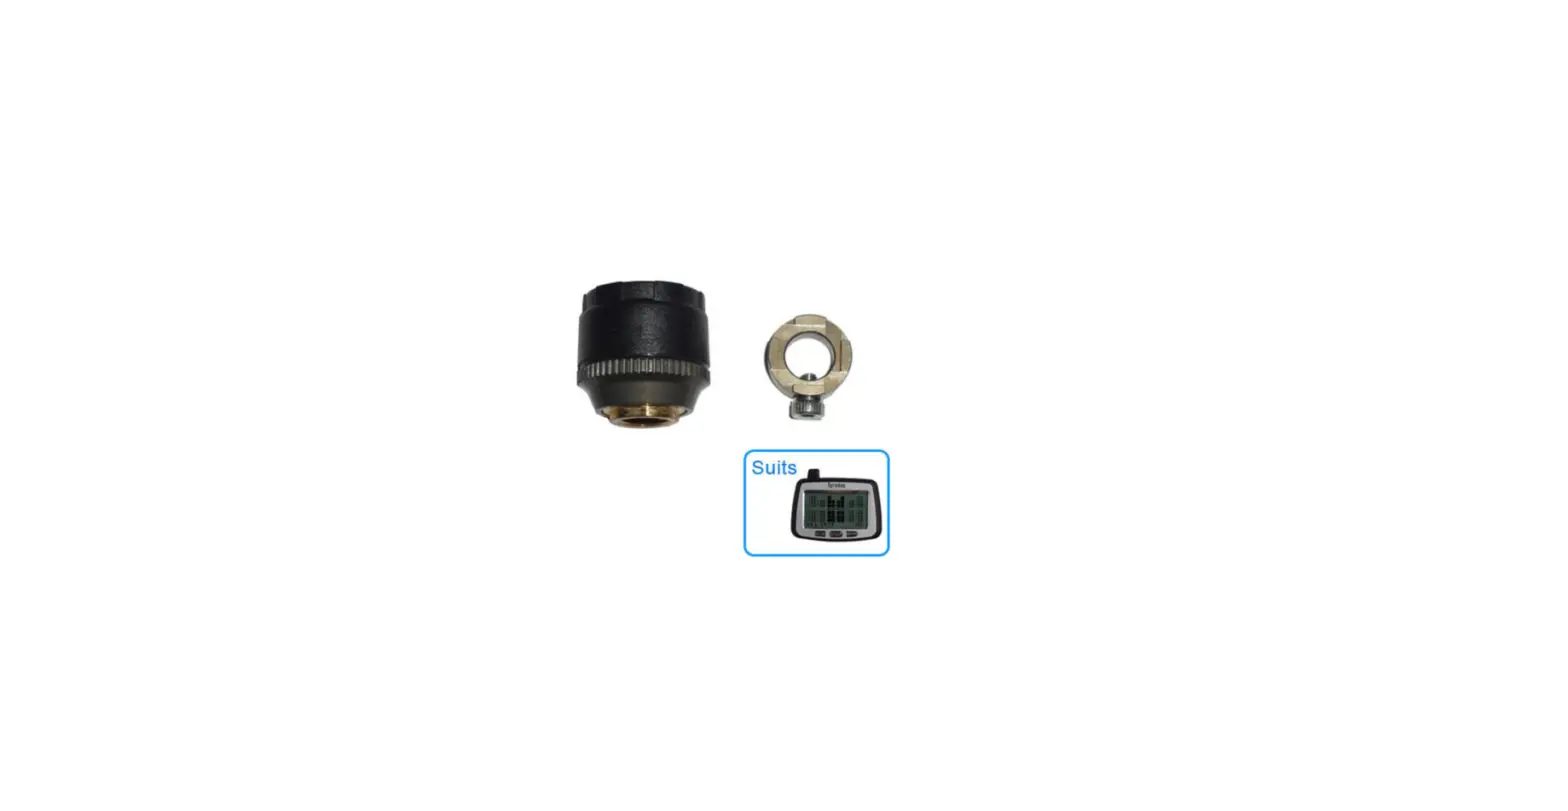
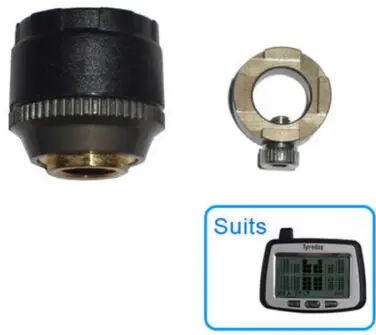
TYREDOG TD-2300A Expanding your kit
Example. Changing a 4 Wheel kit to an 8 Wheel kit by adding additional sensors 5,6,7,8.
Before you start
Make sure the batteries are out of the new sensors, the monitor has power, the relay has power and the relay top cover is removed (If top cover is fitted remove 2 screws to remove cover) so you can access the programming button. To program additional sensors into your kit, you first need to change the vehicle layout on the monitor before you can program the extra sensors in.
Step 1: Changing the Layout and Saving the new layout to the relay.
| Press and hold the Mute (Left) button down for a few seconds until the Unit settings menu appears. | 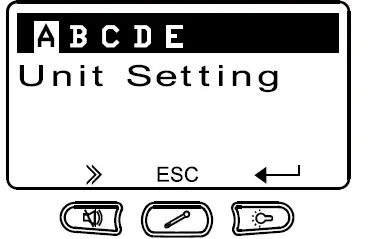 | |||
| Press the Mute (Left) button a couple of times to scroll across to menu C (Type of vehicle), | 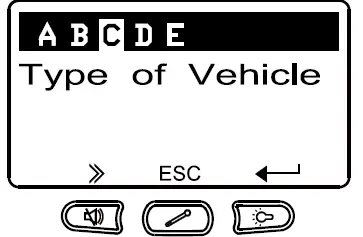 | |||
| Press the Backlight (Right) button to enter this menu. TYPE of TRUCK HEAD and your current Layout No. will be displayed. |
| |||
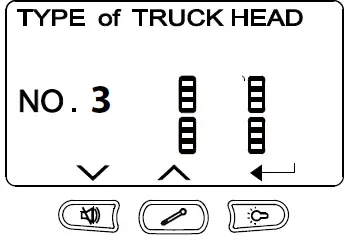
| Use the Mute (Left) or Temperature (Middle) button to scroll through the vehicle layouts until you find your new layout then press the Backlight (Right Button). | 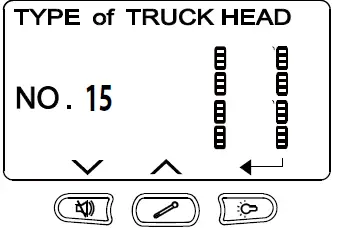
| |||
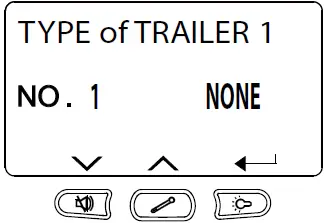
| Make sure TYPE of TRAILER is set to NO.1 NONE by using the Mute (Left) or Temperature (Middle) button to scroll through the vehicle layouts then press the Backlight (Right Button). |
| |||
| Press the Mute (Left) button to scroll across to menu D (Add new Relay). | 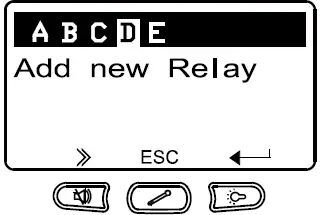 |
| Press the Backlight (Right) button to enter this menu. PUSH BUTTON ON RELAY TRUCK HEAD your current Layout No. will be displayed. | 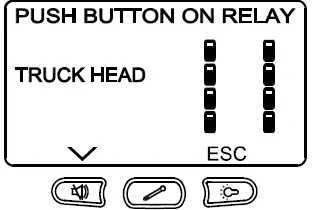 |
| Now Press the reset button on the relay once (short press only). | 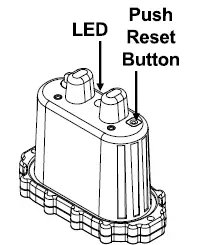 |
| The Monitor will beep and will briefly show an ID for the relay for a couple of seconds.
Now press the Backlight (Right Button) and this will take you back to the settings menu. | 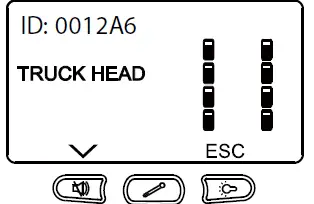 |
The New Layout has now been saved to the Monitor and Relay and you can now program in the new sensors.
Step 2: Programming new Sensors.
| Press the Mute (Left) button to scroll across to menu E (Add new Sensor). | 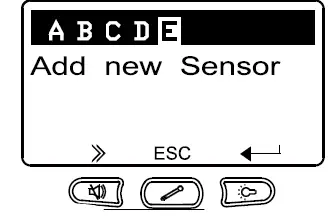 |
| Press the Backlight (Right) button to enter this menu. SET TIRE ID PUSH BUTTON ON RELAY will be displayed. | 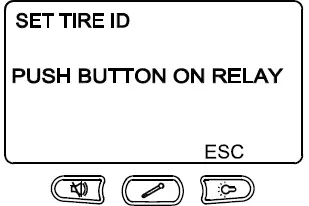 |
| Now Press the reset button on the relay once (short press only). The Monitor will beep and will briefly show an ID for the relay for a couple of seconds. The LED on the relay will also illuminate solid red to indicate the relay is in Learning mode. | 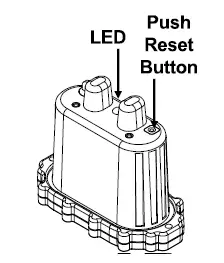 |
| Then it will display SET TIRE ID TRUCK HEAD and your selected Layout will be shown. | 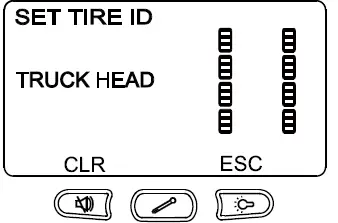 |
| Now insert a battery into the new sensor.
The Monitor will beep once the battery is inserted and the wheel location on the monitor will go solid black. Repeat this step for the rest of the new sensors until they are all programmed in. Note: You only need to do this for the new sensors, the old original sensors will be already programmed in. | 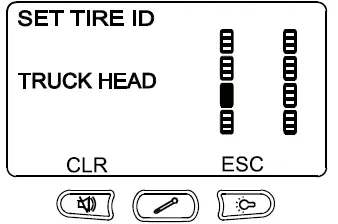 |
| Once all new sensors are programmed in, press the reset button on the relay once (short press) and the LED on the relay will turn off to exit learning mode. | 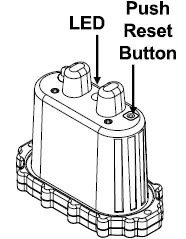 |
Now either switch the monitor OFF and ON using the switch on the side of the monitor. Or Press the Backlight (Right) button then the Temperature (Middle) button to exit the menu on the monitor. Test all sensors are working and programmed and set the Alarm Warning Thresholds if required.


