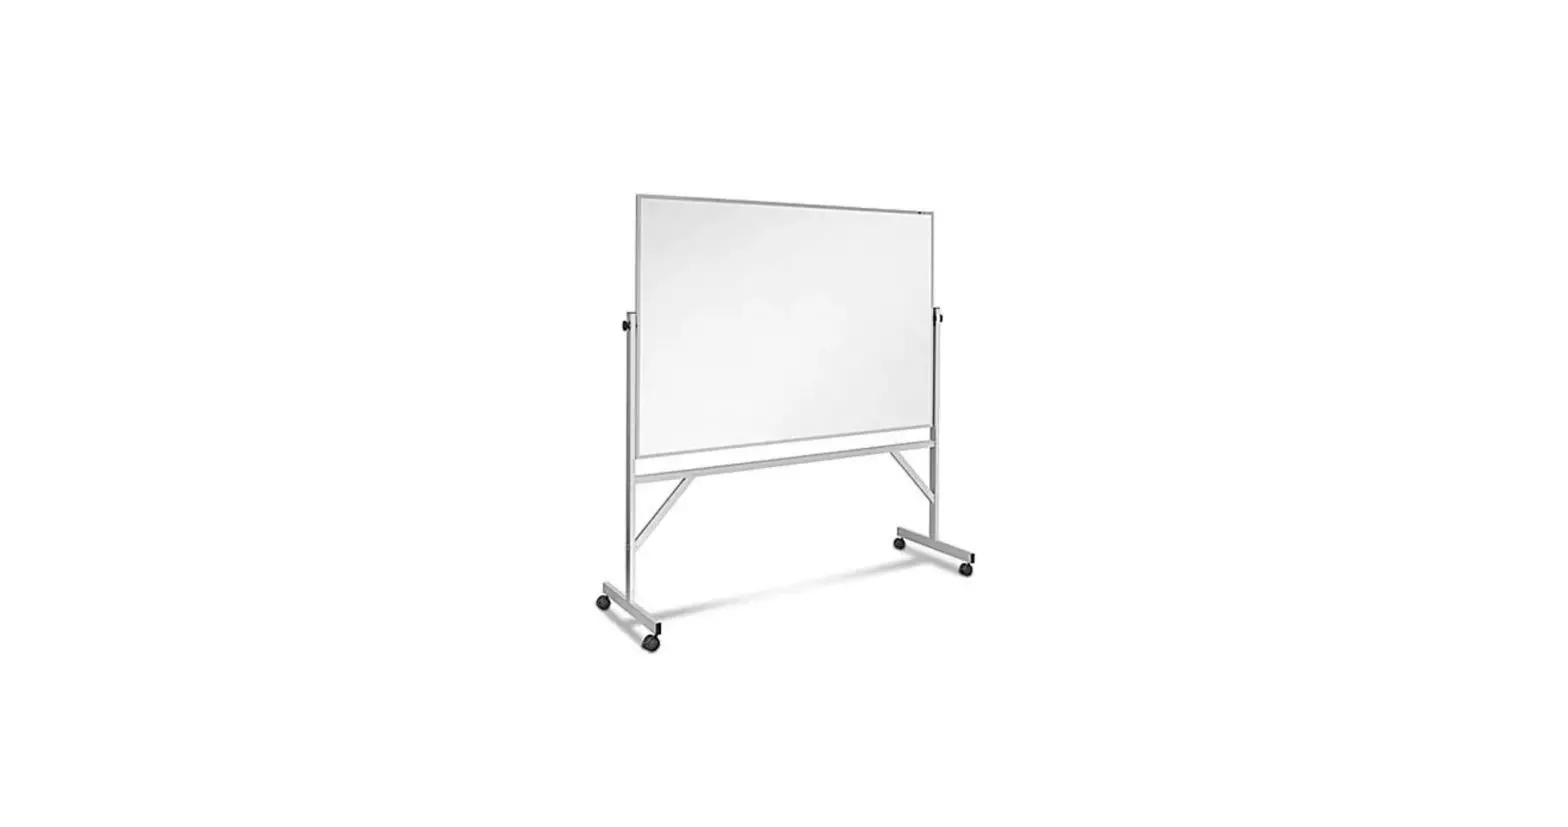
ULINE Mobile Glass Dry Erase Board User Guide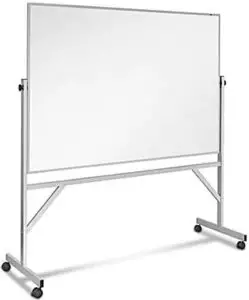
TOOLS NEEDED
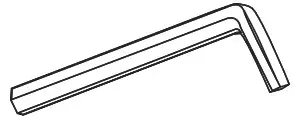
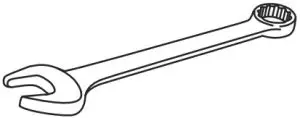
- 3.5 mm Hex Required Wrench (included)

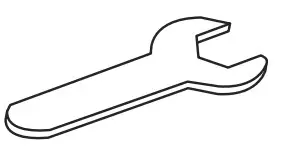
- Wrench

- 14 mm Wrench

- Three-Person Assembly 3.5 mm Hex Required


PARTS
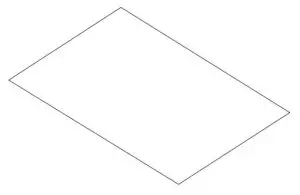
- Glass Board x 2

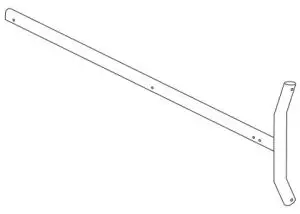
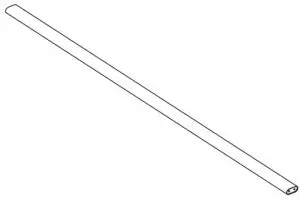
- Leg x 2

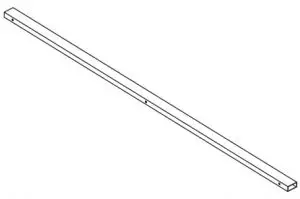
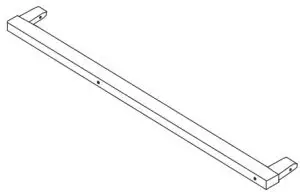
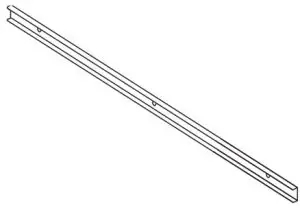
- Horizontal Tube x 2

- Vertical Tube x 2

- Leg Connector x 1

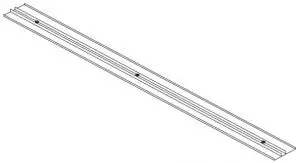
- Marker Tray x 1

- Top Cap x 1

- Plastic End Cap x 6

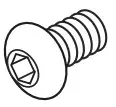
- 1/4 x 15 mm Screw x 6

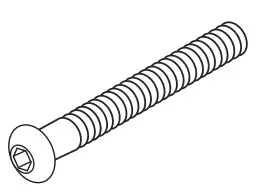
- 1/4 x 50 mm Screw x 8

- Lock Washer x 4

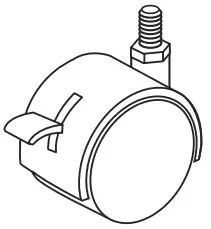
- Locking Caster x 2

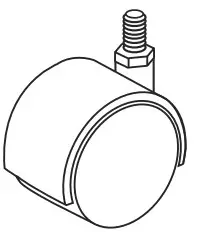
- Non-Locking Caster x 2

ASSEMBLY
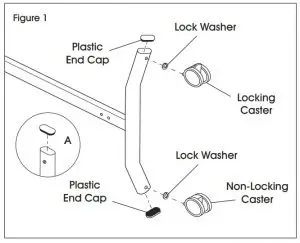
- Place a lock washer on each caster’s stem and screw one locking and one non-locking caster onto each leg. Fully tighten the nuts that accompany each caster. (See Figure 1)

- Insert one plastic end cap into top end of each leg. (See Figure 1A)
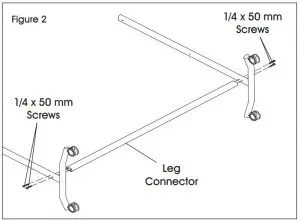
NOTE: Make sure the curve of the legs are oriented facing inward. - Connect legs with leg connector. Use two 1/4 x 50 mm screws on each leg. Tighten completely. (See Figure 2)

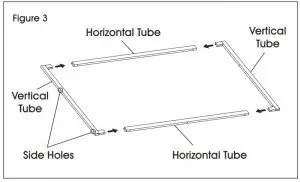
- 4. Insert the vertical tubes into the horizontal tubes. (See Figure 3)

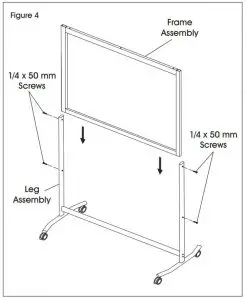
NOTE: Ensure the side holes in both vertical tubes are oriented as shown. - Slide the frame assembly from step 4 between the leg assembly from step 3. Align the holes and attach using two 1/4 x 50 mm screws on each side. (See Figure 4)

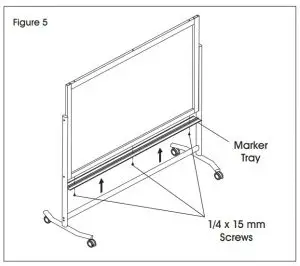
- Attach marker tray to bottom of frame assembly using three 1/4 x 15 mm screws. Tighten screws completely. (See Figure 5)

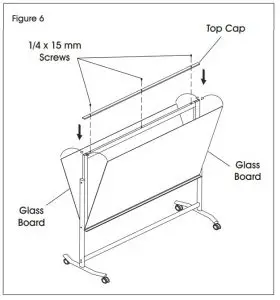
- 7. Place a glass board into marker tray’s inner flanges on each side of the board. (See Figure 6)

NOTE: Glass boards on the H-8533 (3 x 4′) are vertical. Glass boards on the H-8534 (6 x 4′) are horizontal. - Hold both glass boards against frame and lower the top cap over frame. Insert three 1/4 x 15 mm screws. Tighten completely. (See Figure 6)
Phone: 1-800-295-5510
Website: uline.com


