X-SENSE SMS01 Motion Sensor User Manual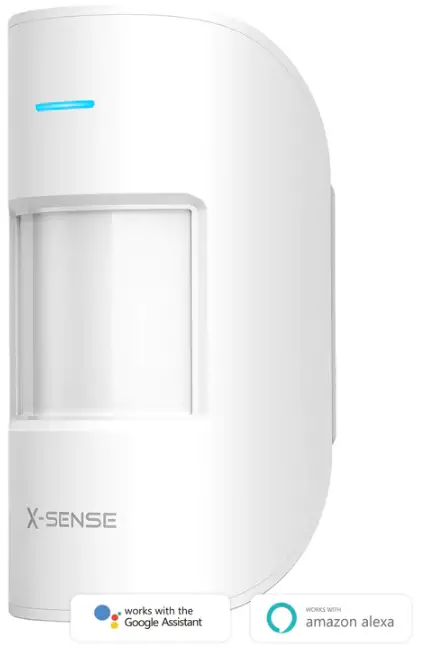
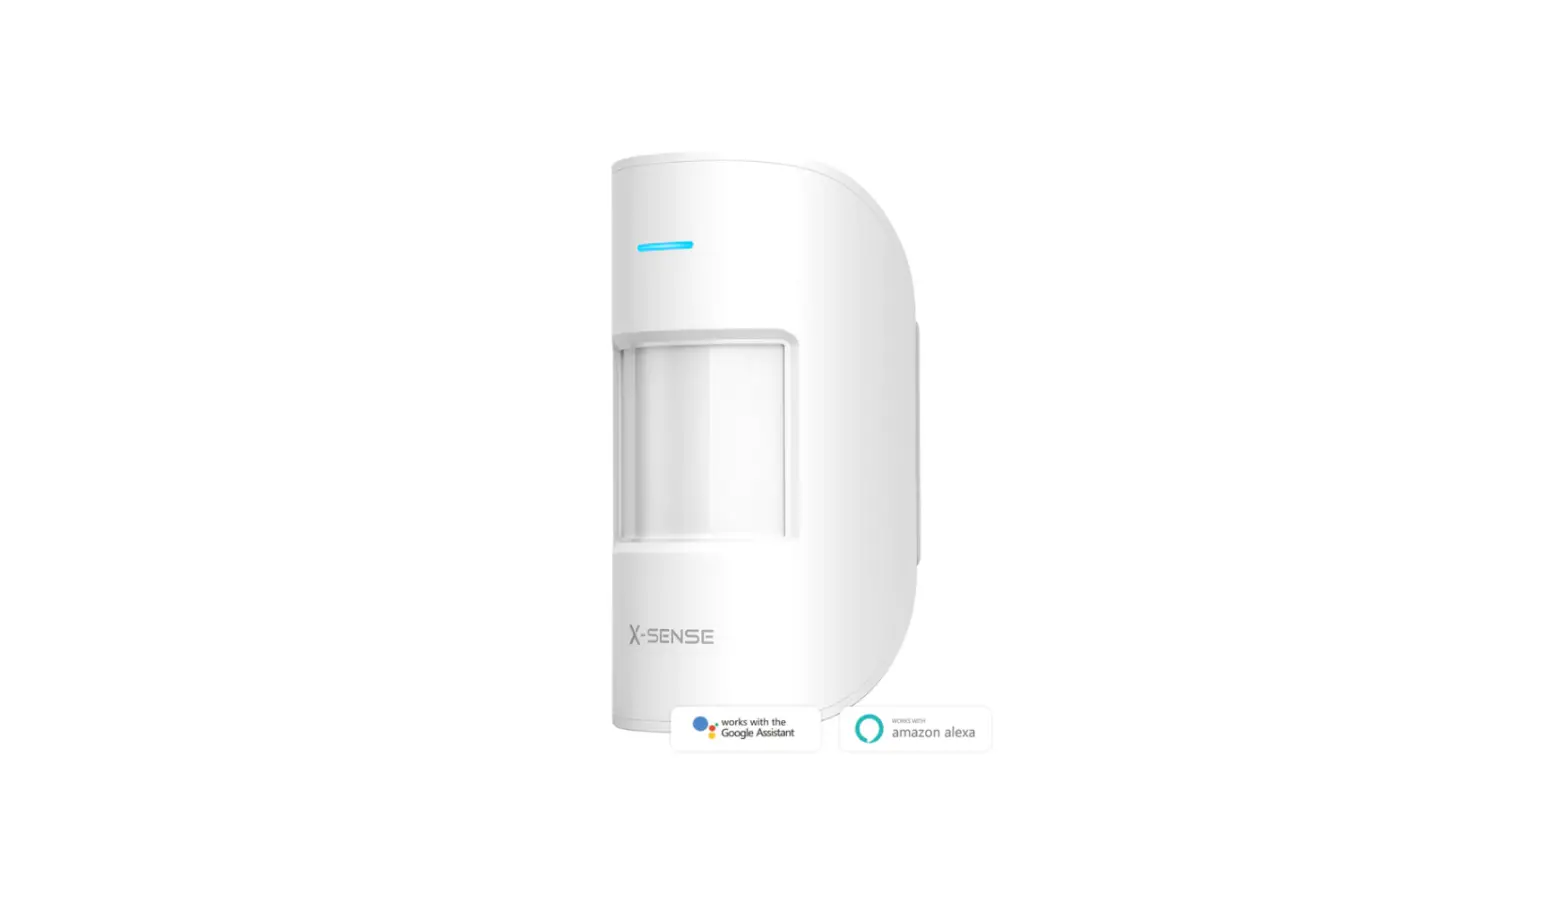
The X-Sense home security system provides security monitoring and remote control of your devices via the X-Sense Home Security app. As one of the sensors within your home security system, a motion sensor will alert you to movements inside the detection area of your house. Please note that it is only compatible with the X-Sense base station SBS10.
What’s Included
- Motion sensor

- Mounting screws

- Acrylic foam tapes

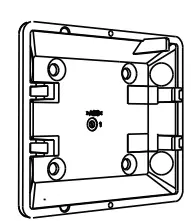
- Mount

- CR123A battery

- Anchors


Specifications
| Model | SMS01 |
| Detection range | Up to 12 m (39 ft) |
| Detection angle | 110° |
| Battery | CR123A |
| Operating temperature range | 0–40°C (32–104°F) |
| Operating humidity | Up to 75% |
| Product size | 124 x 67 x 55 mm(4.9 x 2.6 x 2.2 inches) |
| Product weight | 105 g (0.2 lb) |
Device Power-Up
Remove the battery compartment cover from the motion sensor, then remove the insulating film from the battery compartment.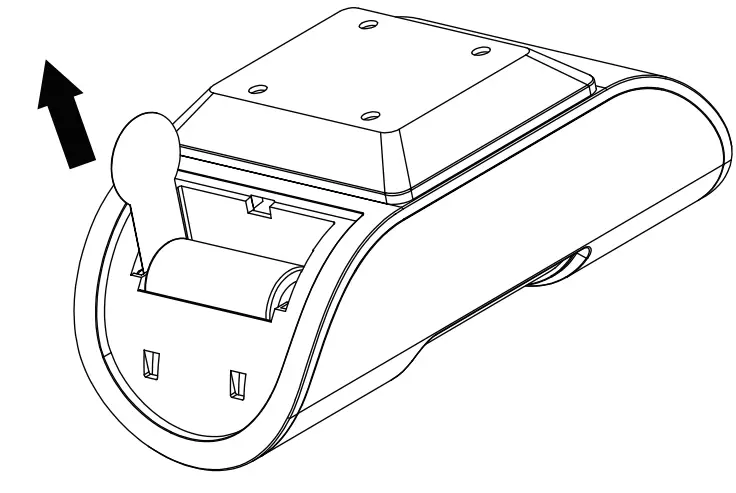
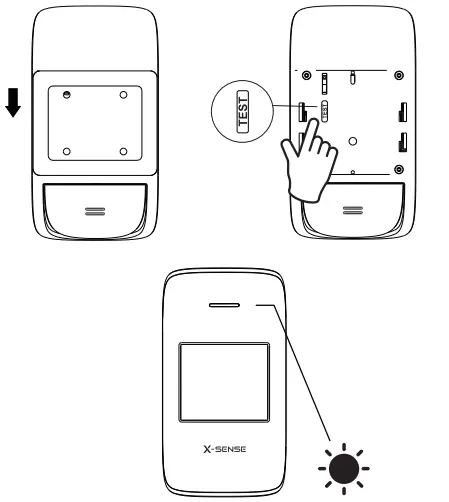
Device Connection
- Tap
 the button in the app.
 - Remove the back cover of the motion sensor, then press and hold the TEST button until its LED indicator turns blue.
- Follow the in-app instructions to add the motion sensor.

Note:
The LED indicator has 2 colors, red and blue.
| LED Color | Meaning |
| Red | The device is not connected to the base station. |
| Blue | The device is connected to the base station. |
Device Installation
Make sure that the motion sensor faces the detection area and the field of view is not obstructed. Mount the motion sensor on a wall, 2 m (6.56 ft) above the floor.
Using Acrylic Foam Tapes:
Attach the tape to the mount. Remove the film and place the motion sensor on the wall. Please note that the mount is pre-installed to the back of the motion sensor.
Using Mounting Screws:
- Remove the mount from the motion sensor.
- Place the mount against the wall at your desired location for mounting and use a pencil to mark the hole positions.
- Drill holes at each marking. Insert anchor plugs into the holes and fix the mount onto the wall with the provided screws. Clip the motion sensor back onto the mount.
Device Test & Setup
Testing the Motion Sensor
Follow the instructions in the “Device Settings” menu in the app to test the motion sensor.
Note:
To avoid excessive alerts, the sensor will limit alerts to once every 2 minutes. This prevents the sensor from responding to motion within 2 minutes of a previous alert.
Setting Up the Motion Sensor
- Sensor Sensitivity Settings: Depending on your desired level of detection, you can adjust the sensitivity level from Level 1 (lowest) to Level 5 (highest).
- Personalized Settings: You can change the settings, including Sensor and Room Name, and Notification Sound, all within the app.
Warranty
Thank you for purchasing our product. We provide a
1-year worry-free guarantee from the date of purchase. If you have any questions, please feel free to contact the dealers or distributors in your region. They will get back to you within 1-3 working days.
Environmental Protection
Waste electrical products should not be disposed of with household waste. Please recycle where facilities exist. Check with local authorities or retailers for recycling advice