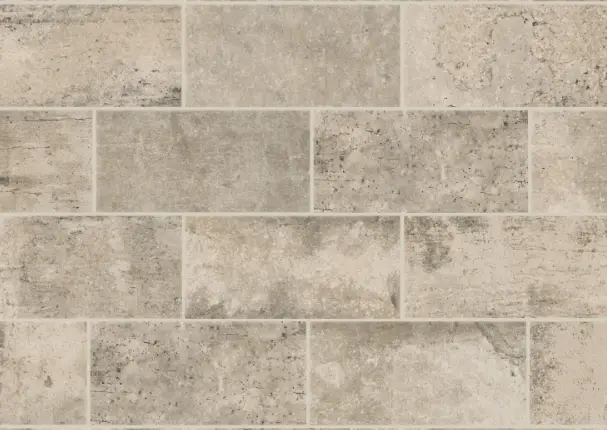
AMERICAN OLEAN WR3148HC1P2 Porcelain Brick Look Floor and Wall Tile
Installation Instructions
Porcelain Tile Installation for Exterior Application
STEP 1: SURFACE PREPARATION
- Tile may be installed over most structurally sound substrates.
- Make sure surface is clean, smooth, dry and free of wax, soap scum and grease.
- Any damaged, loose or uneven areas must be repaired, patched and leveled.
- Remove any mouldings, trim, appliances or anything that could interfere with installation.
- Doorjambs may be undercut for tile to slip under.
STEP 2: LAYOUT
- Mark the center point of all four walls or edges of your outdoor space.
- Snap chalk lines between the center points of opposite walls/edges. (Adjust if necessary.)
- Lay out a row of loose tiles along the center lines in both directions. Leave space for uniform joints.
TIP: If cuts leave tiles smaller than half of their original size, adjust the center line by snapping a new line a half tile closer to the wall. Repeat along other center line if necessary. - Divide the space into smaller grids (approx. 2 ft. x 3 ft.) by snapping additional lines parallel to center lines.
STEP 3: APPLYING ADHESIVE
- Mix only enough adhesive or mortar to be used within 30 minutes.
- Using the type of trowel recommended on the adhesive package, spread a 1/4 in. coat on the surface of one grid area, using the flat side of the trowel.
NOTE: Do not cover guide lines or a larger area than can be set in 15 minutes. - Use the notched side of trowel to comb adhesive into standing ridges by holding trowel at a 45° angle.
- Remove excess adhesive, leaving a uniform, ridged setting bed.
- For large format tiles, butter the backside of the tile to ensure proper full-coverage. Use a medium bed mortar for tiles with a dimensional length greater than 15 inches on any one side.
NOTE: 90% mortar contact is recommended.
STEP 4: CUTTING TILE
- Carefully measure tiles and mark with a pencil or felt-tip pen.
- Make straight or diagonal cuts with a tile cutter, curved cuts with a nipper (chipping away small pieces for best results), and full-length curved cuts with a rod saw. Smooth out sharp-cut edges with a carborundum stone.
STEP 5: SETTING TILE
- Install tiles in the center, one grid at a time. Finish each grid before moving to the next. Start with the first tile in the corner of the grid and work outward. Set tiles one at a time using a slight twisting motion. NOTE: Don’t slide tiles into place.
- As each tile is set, leave equal joints between tiles.
- Fit perimeter tiles in each grid last, leaving 1/4 in. gap between tile and wall.
- When finished, tap in all tiles with a rubber mallet or hammer and wood block, to ensure a good bond and level plane.
- Remove excess adhesive from joints with a putty knife, and from tile with a damp sponge.
- Do not walk on tiles until they are set (usually in 24 hours).
STEP 6: GROUTING JOINTS
- Using the instructions on the package, make enough grout to use in about 30 minutes.
- Spread grout on the tile surface, forcing down into joints with a rubber grout float or squeegee.
- Tilt the float at a 45° angle and remove excess grout from surface immediately with the edge of float.
- Tilt it at a 90° angle and scrape it diagonally across tiles.
- Wait 15–20 minutes for grout to set slightly, then use a damp sponge to clean grout residue from surface and smooth the grout joints, rinsing sponge often.
- Let dry until grout is hard and haze forms on tile surface, then polish with a soft cloth and wait 72 hours for heavy use.
NOTE: Don’t apply sealers or polishes for three weeks, and then only in accordance with manufacturer’s recommendations.
STEP 7: INITIAL CLEANING
- The complete removal of grout and construction dirt after products have been installed will improve daily maintenance.
- Clean successfully by scrubbing the installation with hot water and a pH neutral liquid cleaner (soapless), followed by a thorough rinsing, then remove the rinse water with a wet vacuum or dry toweling.
- If some residue remains, further cleaning will need to be done in consultation with the grout manufacturer.
- For more aggressive cleaning, floor scrubbing machines equipped with nylon pads or brushes should be used. Wet vacuuming of the suspended dirt and grout is recommended.
A GLOSSARY OF TERMS
- Back-butter
spreading of a bond coat to the back of a ceramic tile before placing the tile to ensure a strong bond with the thin-set mortar. - Balanced cuts
perimeter tile cut at equal size and installed on opposite sides of an area; also, equally sized cuts on each side of a miter. - Butt joint
a plain square joint between two members with no grout joint. - Grout
a mix used for filling tile joints, commonly based of cement. - Mortar
a mixture of cement paste and fine aggregate used to bond masonry together. - Plumb
perpendicular to true level. - Substrate
the underlying support for a ceramic tile installation
ATTENTION
Do not dry cut using motorized equipment due to the potential for exposure to harmful silica dust. Use a wet saw or a score and snap tool when cutting is necessary during the installation process.


