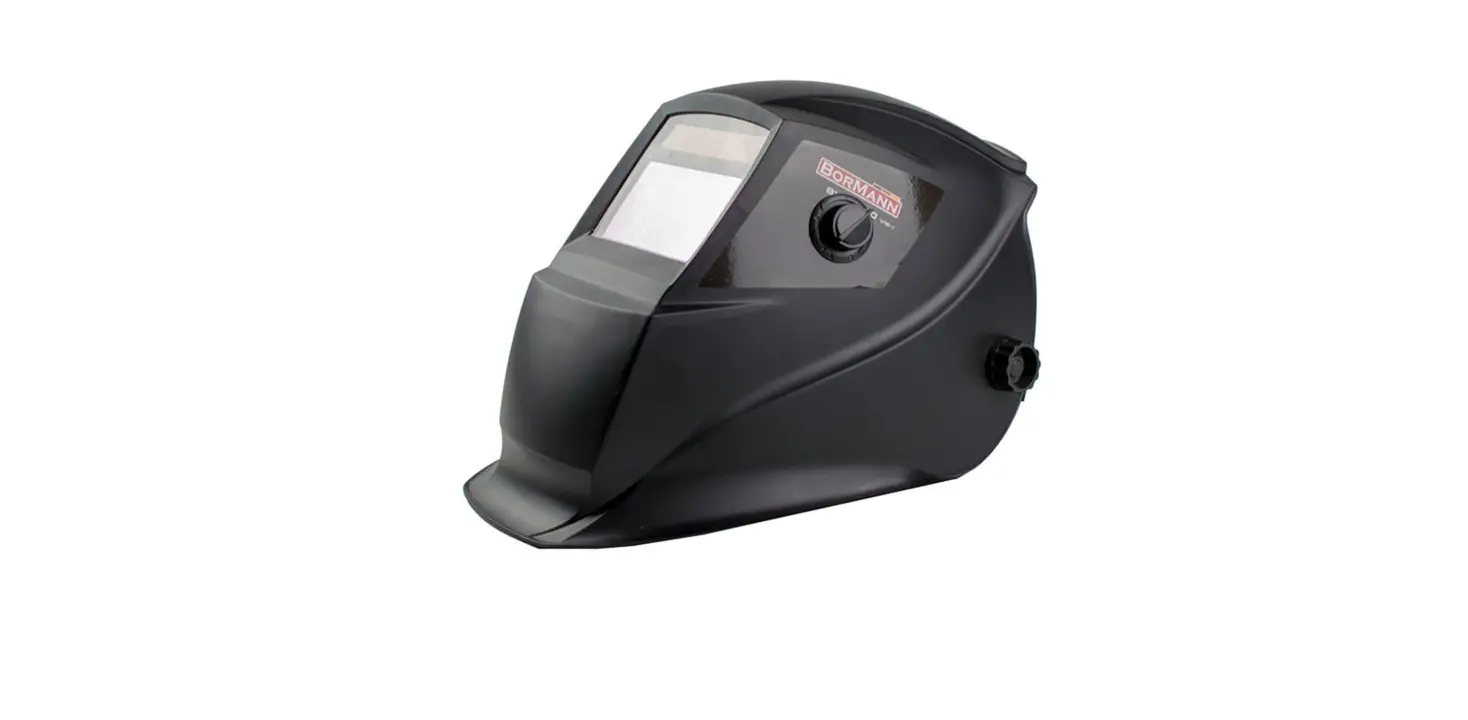
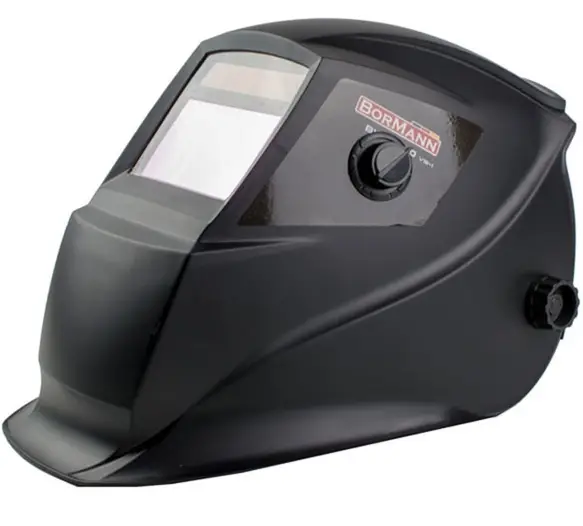
BORMANN BIW1500 Electronic Welding Mask
WARNING: Please read and understand all instructions before use. Retain this manual for future reference.
Safety instructions
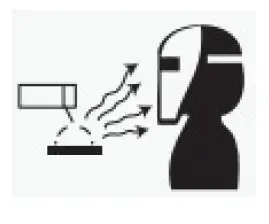
- ARC Rays can injure eyes and burn skin
- Before welding, always inspect the helmet and auto-darkening filter (ADF) to be sure they are fitted properly and in good condition.
- Keep the sensors, solar cells,s, and filter lenses clean. Clean the filter cartridge using a soap water solution and a soft cloth. Do not use solvents or abrasive cleaning detergents.
- Do not weld in the overhead position while using this helmet.
- Inspect the filter lens frequently and immediately replace any scratched, cracked, or pitted filter lens or cover lenses.
- Always wear safety glasses or goggles under the welding helmet, and protective clothing to protect your skin from radiation, burns, and spatter.
Technical data
| Model: | BIW1500 |
| Viewing Area | 90X35mm |
| Arc Sensors | 2 |
| UV/IR Protection | DIN16 |
| Light State | DIN3 |
| Dark State | DIN11 |
| Switch Time (Light to Dark) | 1/5000s |
- The manufacturer reserves the right to make minor changes to product design and technical specifications without prior notice unless these changes significantly affect the performance and safety of the products. The parts described/illustrated in the pages of the manual that you hold in your hands may also concern other models of the manufacturer’s product line with similar features and may not be included in the product you just acquired.
- Please note that our equipment has not been designed for use in commercial, trade or industrial applications. Our warranty will be voided if the machine is used in commercial, trade or industrial businesses or for equivalent purposes.
- To ensure the safety and reliability of the product and the warranty validity, all repair, inspection, repair or replacement work, including maintenance and special adjustments, must only be carried out by technicians of the authorized service department of the manufacturer.
Description of main parts

| Part # | Description |
| 1 | LCD |
| 2 | Arc Sensors |
| 3 | Solar Panel |
| 4 | UV/IR Filter |
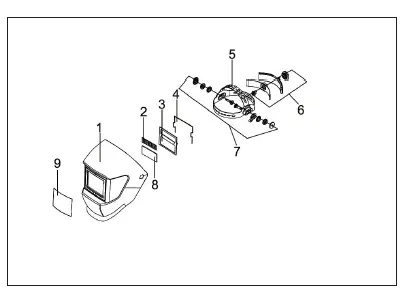
| Part # | Description |
| 1 | Helmet Shell |
| 2 | Solar panel |
| 3 | Fixed plate |
| 4 | Cartridge frame |
| 5 | Headband height adjusting pin |
| 6 | Headband diameter adjusting Knobs |
| 7 | Headband angle adjusting knob |
| 8 | Fiter lens |
| 9 | Front Cover Lens |
Operating instructions

- Adjust the headgear diameter with the twist knob on the back. The knob is locked until pushed in. Once unlocked, twist clockwise to tighten and counterclockwise to loosen.
- Adjust the height by snapping the pin into the hole to lock securely in place.
- To adjust the viewing angle, loosen the knob on both sides of the helmet and change angle locker to the desired tilt position (5 selection and positioned in the middle by default). Once achieving the desired angle, tighten the knobs until snug. The helmet should still swing up, but it should not drift downward when in place for welding.
- To adjust the distance between the user’s face and ADF, loosen the knobs on both sides of the helmet until the headband can move back and forth freely, and reposition the headband at one of the 3 slots as desired (The headband is positioned in the middle by default). This should be done one side at a time and both sides should be located at the same position for proper auto-darkening filter operation.
Shade Control/Grind Mode
Select the shade 11 based upon the welding process you will use by consulting the “Shade Guide Table”. The variable shade control knob is mounted to shell for external adjustment. The welding helmet can also be used to protect the face when grinding. Grind mode prevents filter lens from auto-darkening.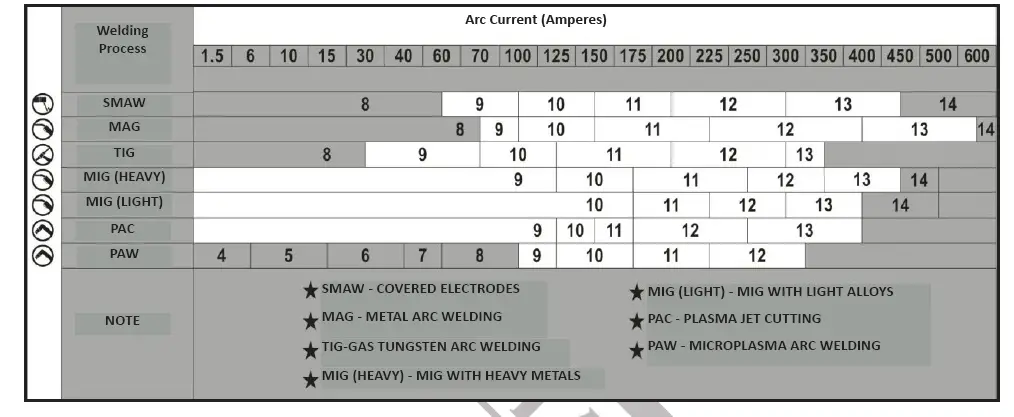
Maintenance
Front Cover Lens Replacement
Replace the front cover lens if it is damaged (cracked, scratched, pitted or dirty). Place your finger or thumb into the recess and flex the inside cover lens up-wards until it releases from one edge. Then remove any protective film before installing the new one.
Inside Cover Lens Replacement
Replace the inside cover lens if it is damaged (cracked, scratched, pitted or dirty). Place your finger or thumb into the recess and flex the inside cover lens up-wards until it releases from one edge. Then remove any protective film before installing the new one.
Cleaning and Storing
Keep the sensors, solar cell and filter lens clean. Clean filter cartridge and helmet shell by using a soapy water solution and soft cloth. Do not use solvents or abrasive cleaning detergent. Switch the product to Grind Mode and put it in a clean, dry location for storage.
Troubleshooting
| Troubleshooting | ||
| Problem(s) | Possible cause(s) | Suggested solution(s) |
| Difficult to see through filter | Front lens dirty | Clean or replace front cover lens |
| Filter lens dirty | Clean filter lens | |
| Filter does not darken when arc is struck | Grind Mode Selected | Adjust Shade from 11 |
| Sensors or Solar Panel blocked | Make sure sensors or solar panel are exposed to weld arc without blocking | |


