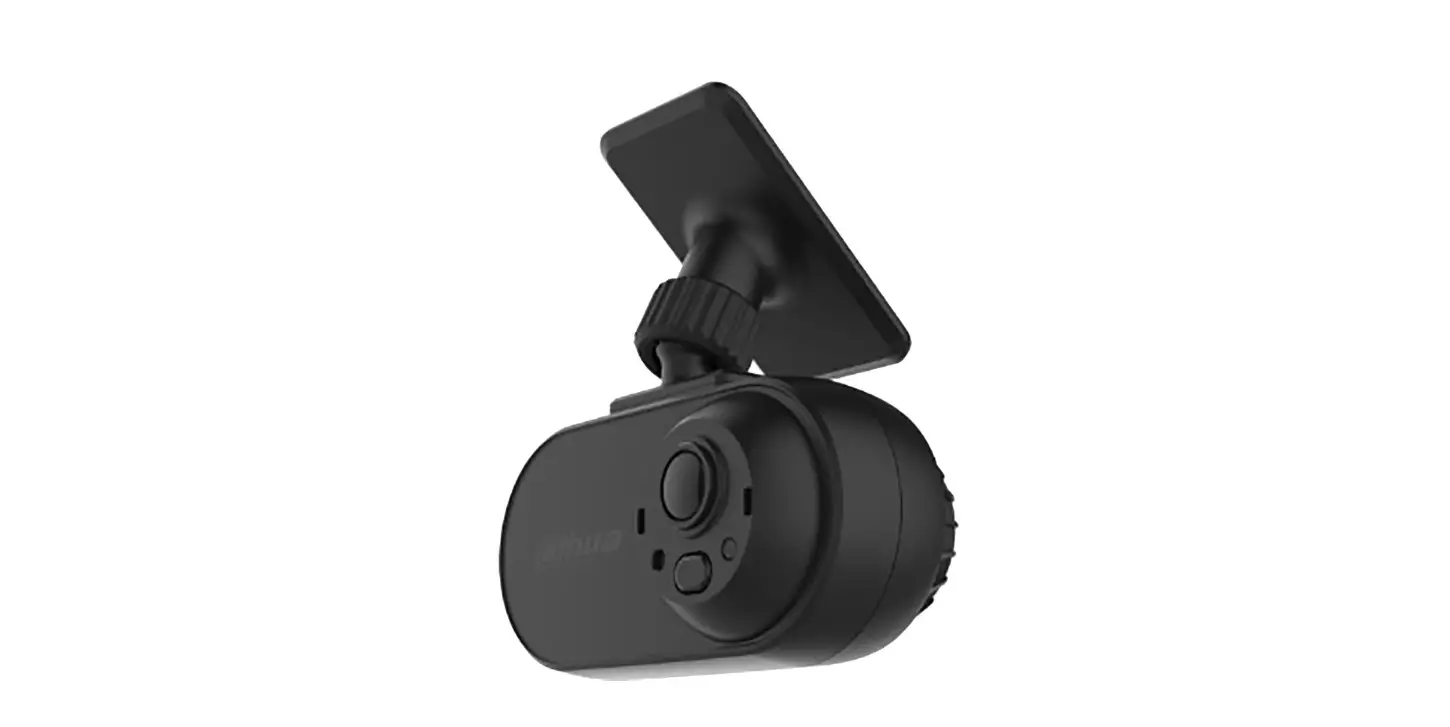
dahua M1 Dash Camera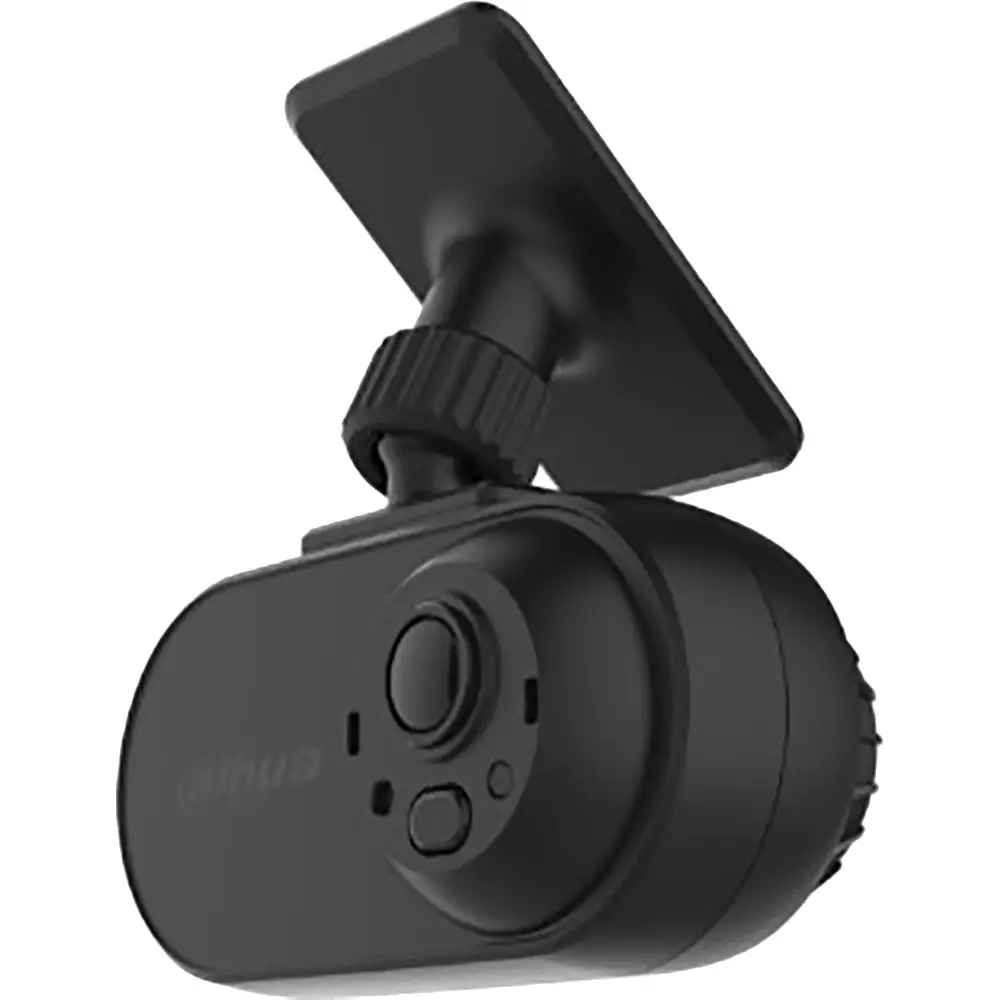
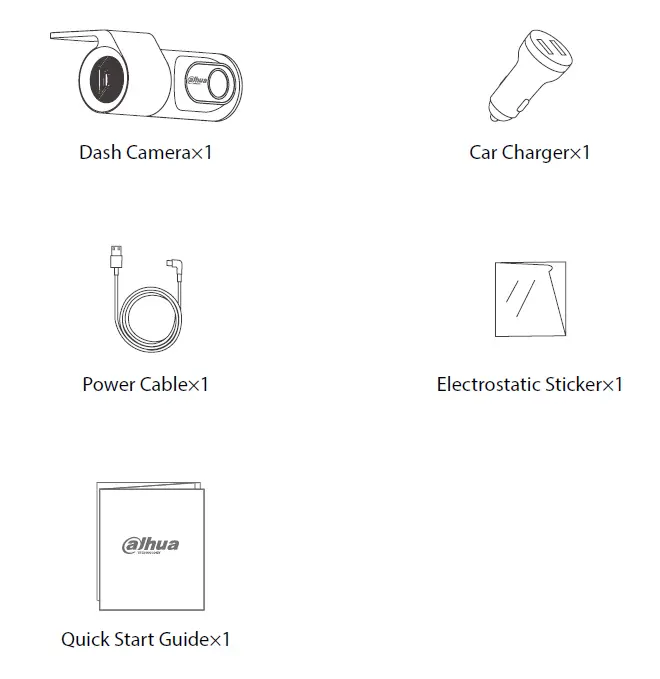
Packing List
Camera Introduction
Cut off the power supply before installing TF card.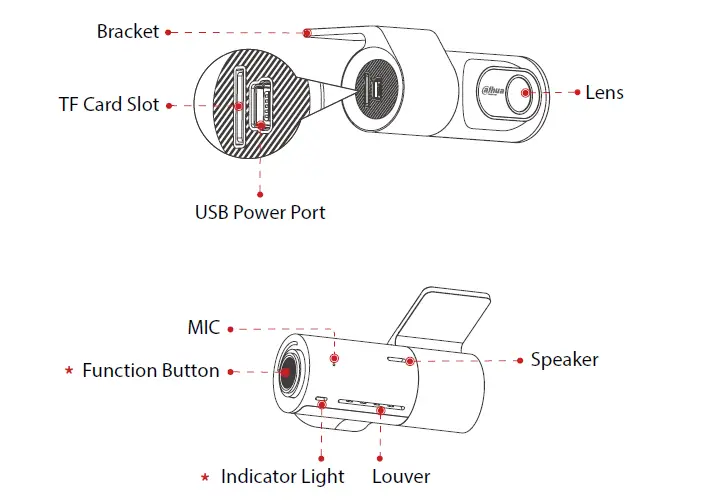
- Function Button: Stop/start recording
- Indicator Light Status:
- Solid red: TF card not inserted
- Red flashes: Normal condition
Camera Installation
- Wipe the front windshield clean. Stick the electrostatic sticker on the glass and ensure that it is free of bubbles.

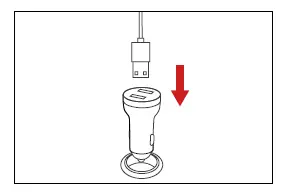
- Insert one end of the power cable into the USB power port.

- Tear off the 3M glue on the bracket, paste the dash camera on the electrostatic sticker, and lay cable as shown in the figure.
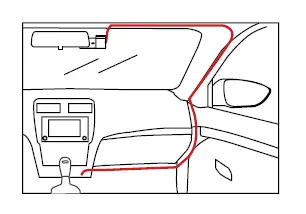
- Insert the car charger into the cigarette lighter and connect the power cable of the camera.
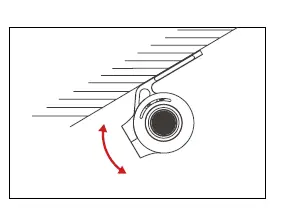
- Adjust the lens to the appropriate angle, and the installation is completed.
Operating with App
Download and register the App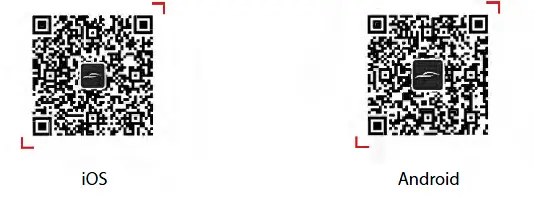
- Scan the following QR code to download and install the App.
- Run the App, select and connect the Wi-Fi of the camera.
- After a successful connection to the camera, you can set parameters and real-time preview video.
Factory Default Information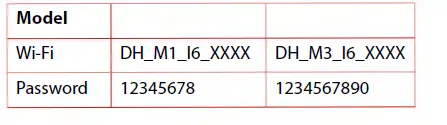
Functions
Start and shut down
Connect the dash camera to the vehicle power supply through the cigarette lighter. When the vehicle starts, the dash camera will start and record. After the car stops, the dash camera shuts down.
Video Recording
Video recording is divided into normal recording and emergency recording. When recording, you can set whether to collect sound or not In App.
Voice Control
The dash camera supports voice control. After the device Is turned on, directly say the command to trigger the corresponding function.
FAQ
If some functions do not work properly or the relevant setting values are changed, try restarting the camera or restoring the factory settings.
- Q: The dash camera is frequently powered off?
A: Confirm whether the power cable of the dash camera is connected normally and whether each port is loose. Ensure that the power cable of the dash camera is normal and free from damage. - Q: The dash camera can not be started?
A: Confirm whether the vehicle is started and whether the power supply is normal. Confirm whether the car charger is loose. Restore the factory settings of the dash camera in App. - Q: The video is blurred?
A: Check whether the lens protective film is removed.
Check whether the windshield or camera lens is dirty. - Q: The dash cam cannot record normally?
A: Confirm that the dash camera is started. Confirm whether the TF card is inserted. Confirm whether the TF card is normal: whether the TF card is formatted and whether the service life of the TF card is too long. Replace the TF card. - Q: The mobile phone cannot be connected to the dash camera?
A: Confirm that the correct App has been installed on the mobile phone. Restart the dash camera and App. - Q: The mobile phone cannot play the video?
A: The situation may be related to the player or system of the mobile phone. Please put the TF card into the computer to read and play.
Technical Specification
| Parameter | ||
| Camera Pixel | 2 MP | 2K |
| Frame Rate | 1080P@30fps | 1440P@30fps |
| Iris | F2.0 | F1.4 |
| Field of View | 124° | 131° |
| Storage | 1 TF card port, supports 16 GB-128 GB. | |
| G-sensor | Built in, supports locking video after collision. | |
| Wi-Fi | Support | |
| Sound Recording | Support | |
| Power Supply | DC 5V/1.5A | |
| Operating Temperature | –20°C to 70°C(–4°F to 158°F) | |
| Operating Humidity | 95%(MAX) | |
| Size | 78mm×55mm×38mm(3.07”×2.17”×1.50”) | |
| Weight | 50g | |
FCC Statement
This equipment has been tested and found to comply with the limits for a Class B digital device, pursuant to part 15 of the FCC rules. These limits are designed to provide reasonable protection against harmful interference in a residential installation. This equipment generates, uses and can radiate radio frequency energy and, if not installed and used in accordance with the instructions, may cause harmful inter1erence to radio communications. However, there is no guarantee that interference will not occur in a particular installation. lf this equipment does cause harmful interference to radio or television reception, which can be determined by turning the equipment off and on, the user is encouraged to try to correct the interference by one or more of the following measures:
- Reorient or relocate the receiving antenna.
- Increase the separation between the equipment and receiver.
- Connect the equipment into an outlet on a circuit different from that to which the receiver is connected.
- Consult the dealer or an experienced radiofTV technician for help.
To assure continued compliance, any changes or modifications not expressly approved by the party.
Responsible for compliance could void the user’s authorities equipment complies with Part 15 of the FCC Rules. Operation is subject to the following two conditions: y to operate this equipment. (Example- use only shielded interface cables when connecting to computer or peripheral devices).
This equipment complies with Part 15 of the FCC Rules. Operation is subject to the following two conditions:
- This device may not cause harmful interference, and
- This device must accept any interference received, including interference that may cause undesired operation.
FCC Radiation Exposure Statement:
The equipment complies with FCC Radiation exposure limits set forth for uncontrolled enviroment. This equipment should be installed and operated with minimum distance 20cm between the radiator and your body. Any Changes or modifications not expressly approved by the party responsible for compliance could void the user’s authority to operate the equipment.


