Emerson Lumity Cooking Oil Tester Instructions

Emerson Lumity Cooking Oil Tester Instructions

Probe Replacement Instruction
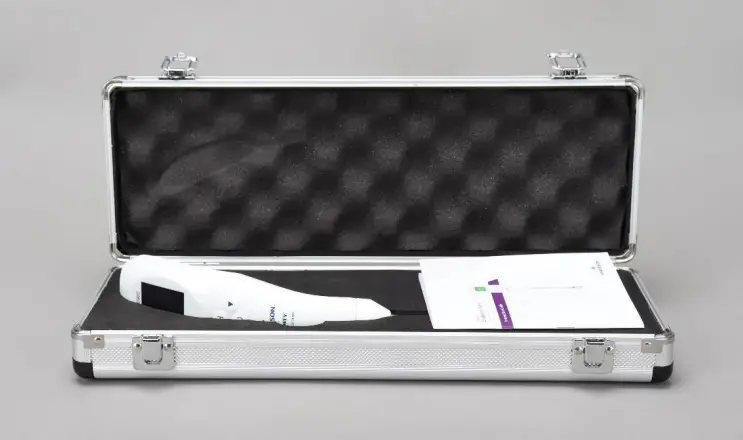
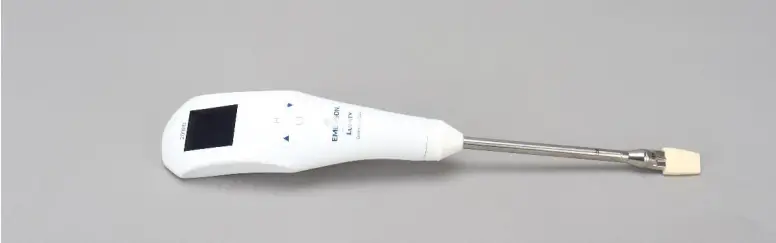
  1. Take out the device
    EMERSON Lumity Cooking Oil Tester - parts 1
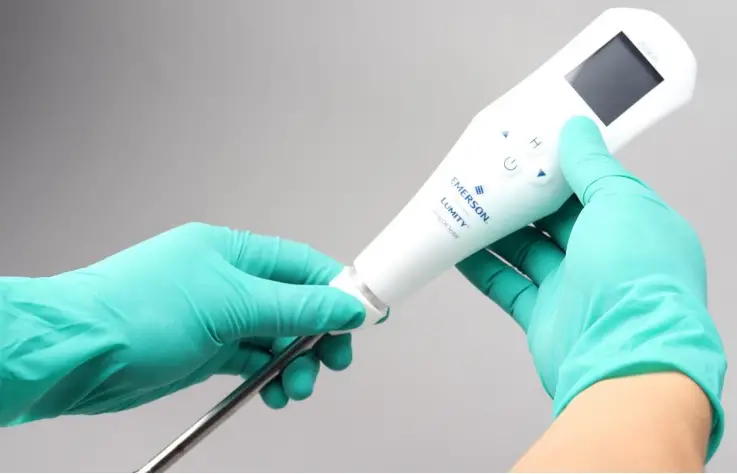
  2. Rotate and pull down the silicone cap along the front of the probe
    EMERSON Lumity Cooking Oil Tester - parts 2EMERSON Lumity Cooking Oil Tester - parts 2b
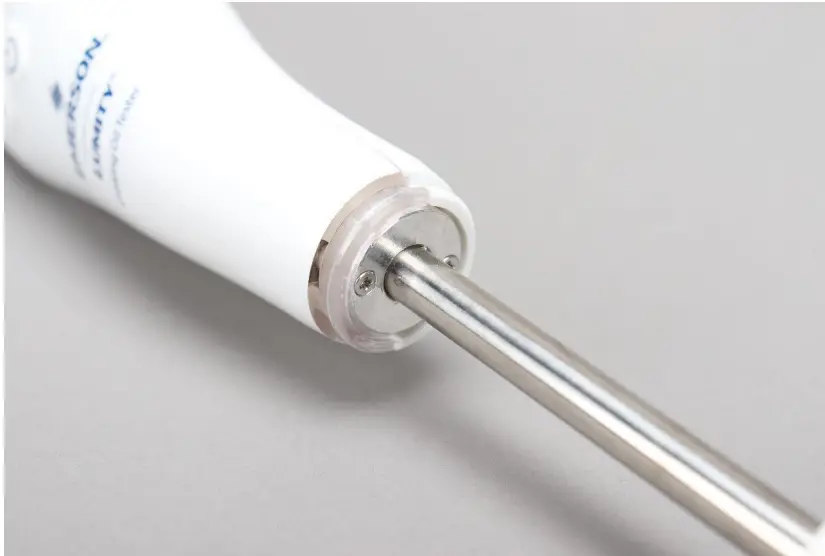
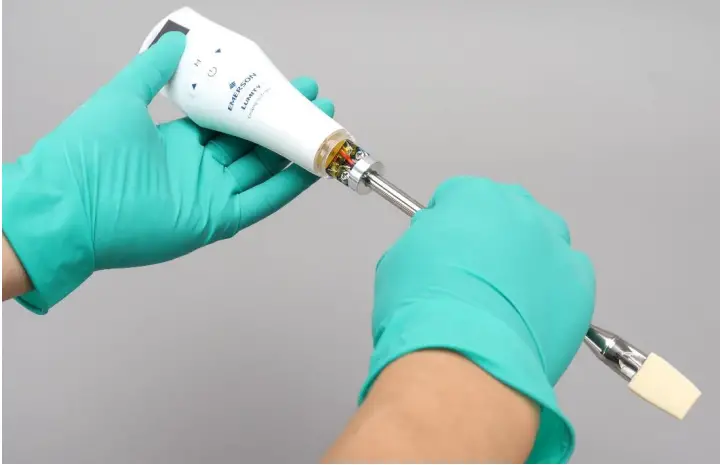
  3. Use a Phillips screwdriver to loosen the two screws here
    EMERSON Lumity Cooking Oil Tester - parts 3EMERSON Lumity Cooking Oil Tester - parts 3b
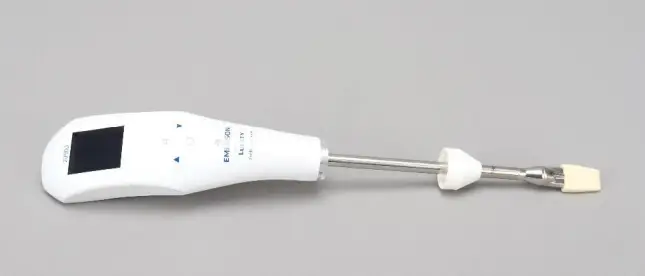
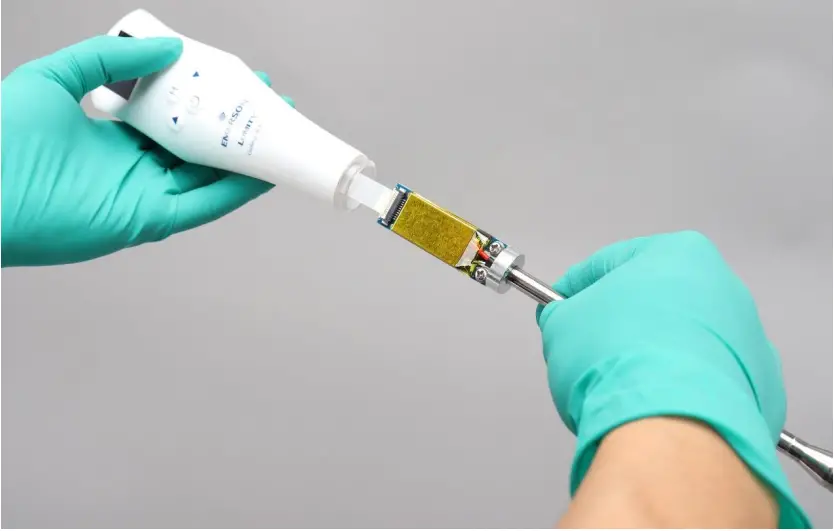
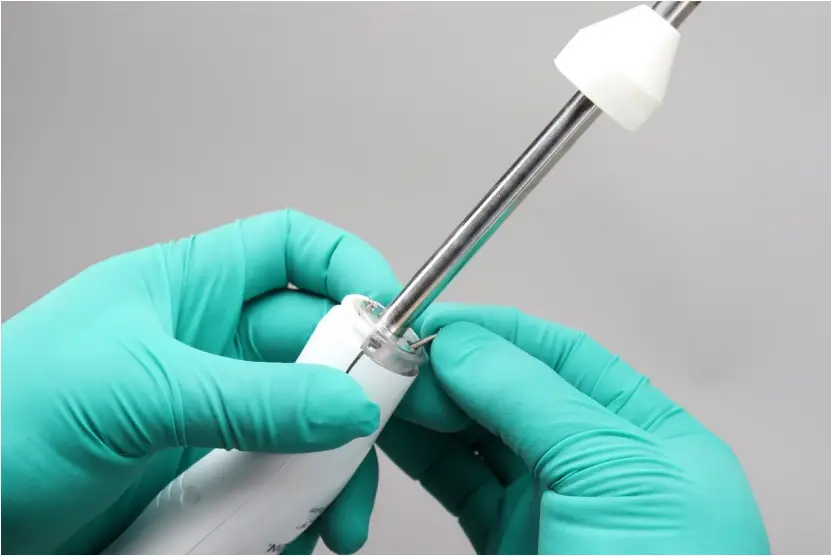
  4. Gently pull out the probe rod in the vertical direction until you see the cable terminal
    EMERSON Lumity Cooking Oil Tester - parts 4EMERSON Lumity Cooking Oil Tester - parts 4b
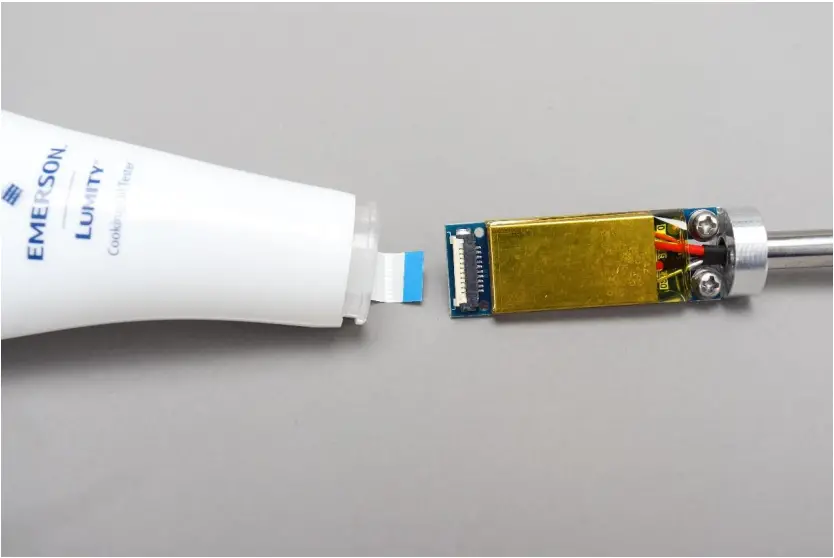
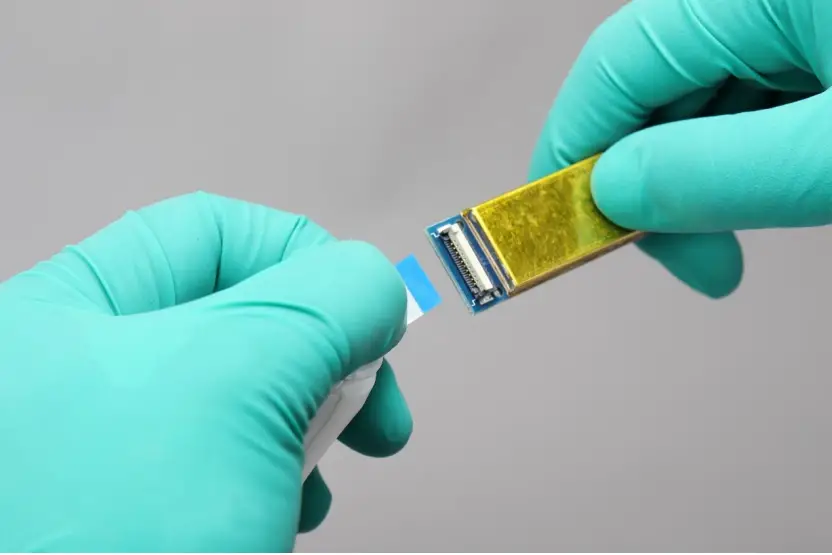
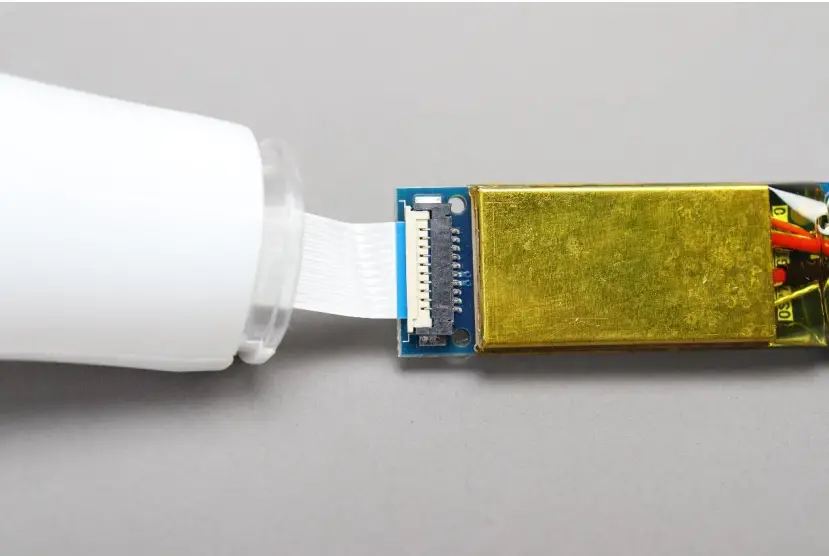
  5. Lift the white flip cover of the cable terminal to ninety degrees, and gently pull out the cable
    EMERSON Lumity Cooking Oil Tester - parts 5EMERSON Lumity Cooking Oil Tester - parts 5b
  6. Insert the cable into the terminal according to the color shown in the figure, and press down the white cable terminal
    EMERSON Lumity Cooking Oil Tester - parts 6EMERSON Lumity Cooking Oil Tester - parts 6b
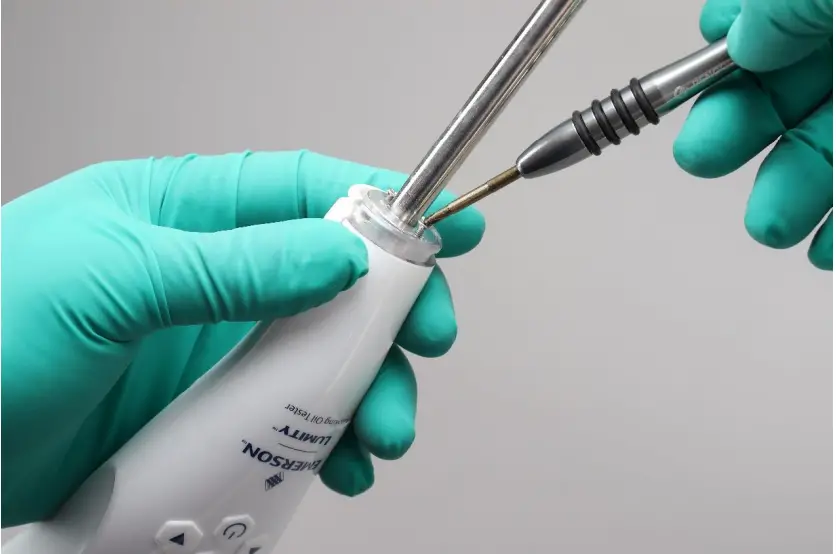
  7. Insert the probe into the handle and fix it with screws
    EMERSON Lumity Cooking Oil Tester - parts 7EMERSON Lumity Cooking Oil Tester - parts 7b
  8. Pull up the silicone cap to its original position
    EMERSON Lumity Cooking Oil Tester - parts 8

Documents / Resouces

Download manual
Here you can download full pdf version of manual, it may contain additional safety instructions, warranty information, FCC rules, etc.


Related Manuals