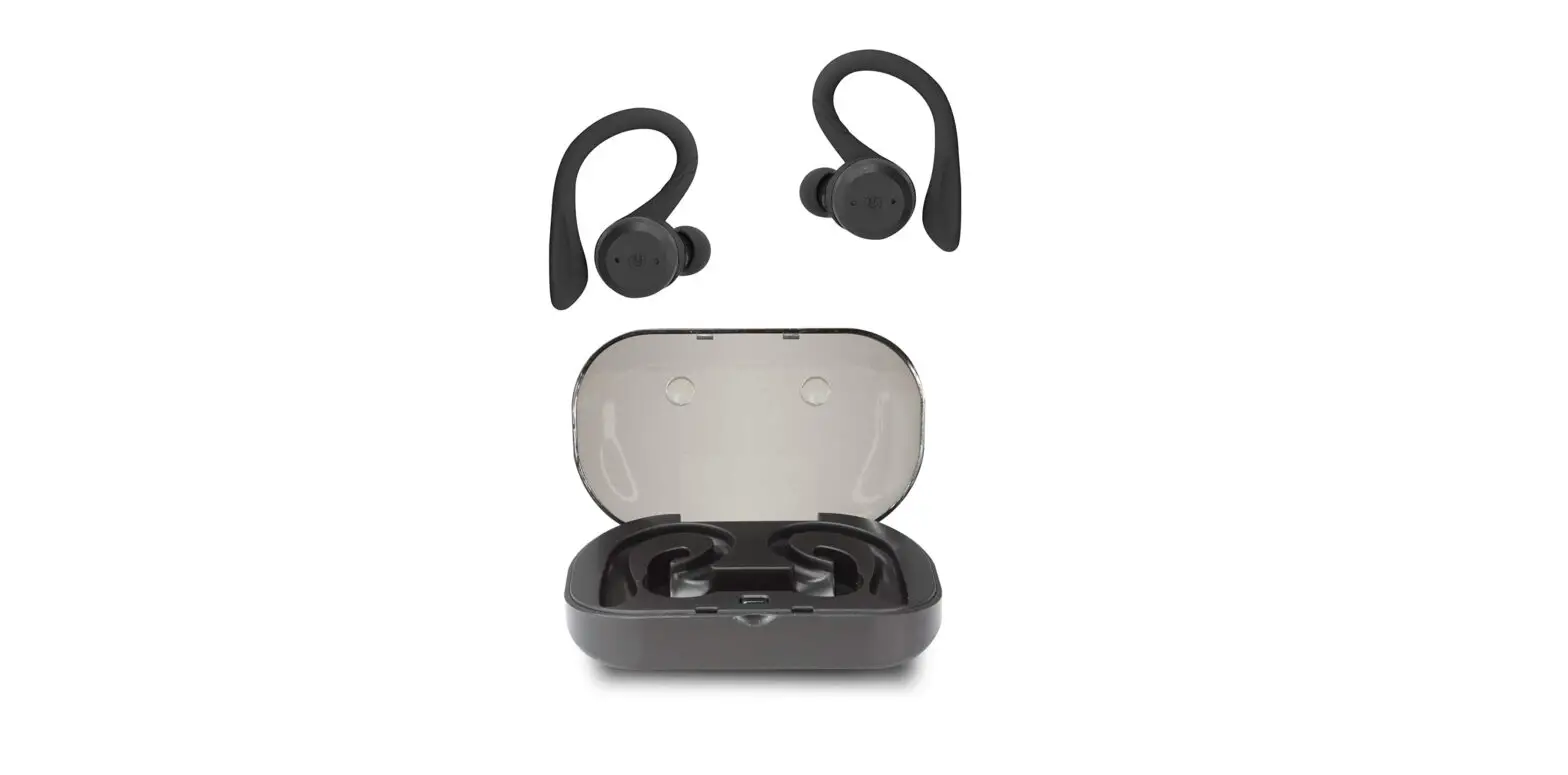

live iLive IAEBTW59B Truly Wireless Bluetooth Earbuds
Specifications
- BRAND: iLive
- CONNECTIVITY TECHNOLOGY: Bluetooth
- AUDIO SENSITIVITY: 102 dB
- WATER RESISTANCE LEVEL: Water Resistant
- FREQUENCY RANGE: 20Hz – 20kHz
True wireless stereo with Bluetooth V5. 0 support and a 49-foot wireless range. It is IPX waterproof; built-in microphone; voice prompts; hands-free loudspeaker. These are convenient charging case can fully recharge your headphones in addition to protecting them. Response to frequency: 20Hz–20kHz. It has built-in rechargeable lithium ion batteries and a micro-USB interface for charging batteries (battery life: 4. 5 hours at 50 percent volume).
What’s in the box
- Carrying case
- USB cord,
- Three sets of ear tips
- 4 sets of removable ear hooks
- User’s Guide, 2 Small, 1 Large Black, and 1 Neon Yellow

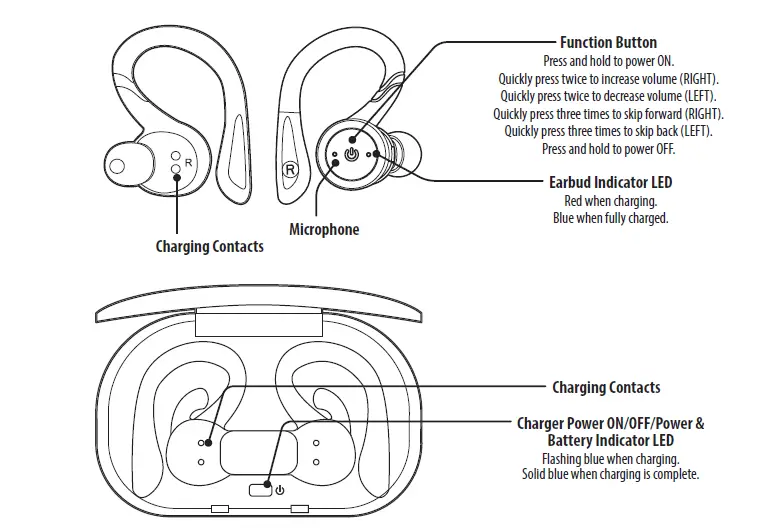
Charging the Earbuds
- Open the cover and place the earbuds on the charging contacts. Be sure to match the left and right earbuds with the correct docking station in the case.
- Press the Power button on the case to power it ON and charge the earbuds.
- When charging, the indicator LEDs on the earbuds will turn red. When charging is complete, the indicators will turn blue.
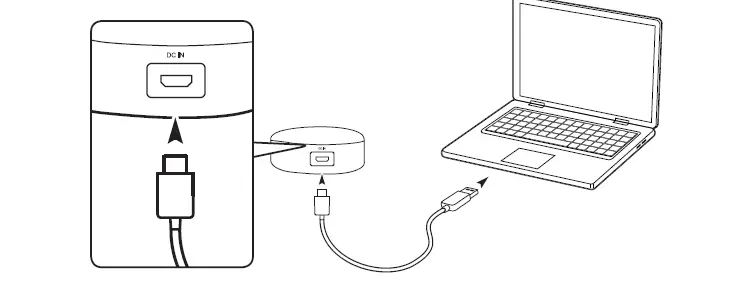
Charging the Case
Using a Micro-USB to USB cable, connect to the USB port of a powered on computer or USB power adaptor (not included) to charge the case.
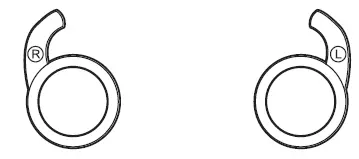
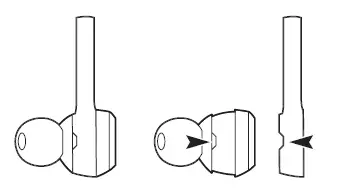
Changing Earhooks
- When changing ear hooks, be sure to match the right and left sides. Note the marking on each earhook and earbud.

- Align the notch on the earhook to the notch on the earbud.

Linking Earbuds
To link the earbuds
- Press and hold the Function button on both earbuds until they start blinking blue and red, and they will automatically connect to each other.
- When successfully linked, the LED indicator on the left earbud will begin flashing blue and red, while the other very slowly flashes blue. A voice prompt will also announce when the earbuds have linked.
Pairing Bluetooth
Note: When using as a linked pair, the left earbud is the main unit. Use the left earbud Function button to control both. You can power on a single earbud to use as a single unit if you wish.
- With the earbuds linked, you can now connect to your Bluetooth device. The LED indicator on the left earbud will continue flashing blue and red, indicating it is ready to pair to a Bluetooth device.
- On your Bluetooth device, access Bluetooth Settings and search for nearby devices. Select IAEBTW59 when it is discovered. When successfully connected to your Bluetooth device, the LED indicator on both of the earbuds will blink blue once every 10 seconds and a voice prompt will announce the Bluetooth connection.
- Audio played through the connected Bluetooth device will now be heard through both earbuds. Use the controls on the connected device to play audio and adjust volume.
PLEASE NOTE: Due to the nature of truly wireless earbuds, you may experience slight interruptions with your audio in areas with multiple 2.4Ghz bands or in high wireless traffic areas.
Speakerphone
- To accept or end a phone call, press the Function button.
- You can also use the controls on the connected phone to handle phone functions.
Charging Case & Auto-On Feature
While the case power is ON:
- Placing the earbuds in the charging case will automatically power them off and begin charging.
- Removing the earbuds from the case will automatically power them on, link them, and connect to the last used Bluetooth device (earbuds must have been linked and connected to a Bluetooth device already).
Customer Support
Customer Service: 1-888-999-4215 | Email Support: prodinfo@ dpiinc.com | Email Parts: [email protected]
For Warranty Information and the most up-to-date version of this User’s Guide, go to www.iLiveElectronics.com
To download this User’s Guide in English, Spanish, or French, or to get answers to frequently asked questions, visit the support section at: www.iLiveElectronics.com
Copyright © 2019 Digital Products International (DPI, Inc.) All other trademarks appearing herein are the property of their respective owners. Specifications are subject to change without notice.
FCC Warnings
WARNING: Changes or modifications to this unit not expressly approved by the party responsible for compliance could void the user ’s authority to operate the equipment.
NOTE: This equipment has been tested and found to comply with the limits for a Class B digital device, pursuant to Part 15 of the FCC Ru les. These limits are designed to provide reasonable protection against harmful interference in a residential installation. This equipment generates, uses, and can radiate radio frequency energy and, if not installed and used in accordance with the instructions, may cause harmful interference to radio communications. However, there is
no guarantee that interference will not occur in a particular Installation. If this equipment does cause harmful interference to radio or television reception, which can be determined by turning the equipment off and on, the user is encouraged to try to correct the interference by one or more of the following measures:
- Reorient or relocate the receiving antenna.
- Increase the separation between the equipment and receiver.
- Connect the equipment into an outlet on a circuit different from that to which the receiver is connected.
- Consult the dealer or an experienced radio/TV technician for help.
Additional Warnings
- WARNING: To prevent fire or shock hazards, do not expose this unit to rain or moisture.
- WARNING: Where the mains plug or appliance coupler is used as the disconnect device, such disconnect device shall remain readily operable.
- Lithium batteries, like all rechargeable batteries, are recyclable and should be recycled or disposed of according to state and local guidelines. They should never be disposed of in normal household waste, and they should never be incinerated, as they might explode. Contact your local government for disposal or recycling practices in your area.
- This product meets and complies with all Federal regulations.
- To avoid hearing damage, make sure that the volume on your music player is turned down before connecting your headphones. After placing headphones in/on your ears, gradually turn up the volume until you reach a comfortable listening level.
WARNING: This product can expose you to chemicals including lead, which is known to the State of California to cause cancer and birth defects or other reproductive harm. For more information go to www.P65Warnings.ca.gov. This product meets and complies with all Federal regulations.
FAQ’s
- How can I connect my wireless iLive earbuds?
Go to Bluetooth Settings on your Bluetooth device and look for nearby Bluetooth devices. When IAEBT270 is found, choose it. The LED indicator will gradually glow blue when your Bluetooth device is successfully connected, and an audio prompt will notify the connection. - Is iLive a reliable name in headphones?
Overall, the iLive Platinum headphones are excellent for anybody looking for an affordable, high-quality wireless (or connected) listening experience without sacrificing sound or build quality. - How durable is iLive wireless earbuds?
The speaker casing can last up to five hours at half volume and the earphones up to six hours at half volume, according to iLive. - Why does one of my Bluetooth earphones only function?
Depending on the audio settings on your headset, it could only play in one ear. So, make sure the mono option is disabled in your audio properties by checking your audio properties. Make sure the voice levels on both earbuds are balanced as well. - My Ilive headphones won’t connect; why?
Simply press and hold the power button on the speakers for three seconds to restart pairing. Remove the device from the associated Bluetooth device settings on the iPhone before doing that. - How can my iLive Bluetooth headphones be reset?
Remove the headphones’ charging cable from the device. For 10 seconds, press and hold the power button. When the LED light starts to blink, your headphones have been successfully reset. - How much time does it take to fully charge an iLive wire-free earbud?
Charge completely before usage for the finest outcomes. The charging process takes around two hours. Charge the case by connecting a Micro-USB to USB cable to a USB port on a working computer or a USB power supply (not provided). As the case charges, a blue light flash. - Describe iLive.
Your digital gadgets, such as your iPod, iPhone, iPad, Android, Blackberry, mobile phones, tablets, televisions, and Bluetooth devices, may all be improved with iLive goods. - Does the iPhone support iLive earbuds?
The iLive Truly Wire-Free Earphones operate similarly to other earbuds. They can assist you activate Siri and regulate the volume when taking calls. They operate with non-Apple items as well; I was able to link them with my iPhone right after opening the cover. - Can a Bluetooth headset be overcharged?
No, it’s not possible to overcharge the earbuds. With any lithium ion product, this should not be a problem.


