TAP 3 Wind Isotonic Sensor Installation Guide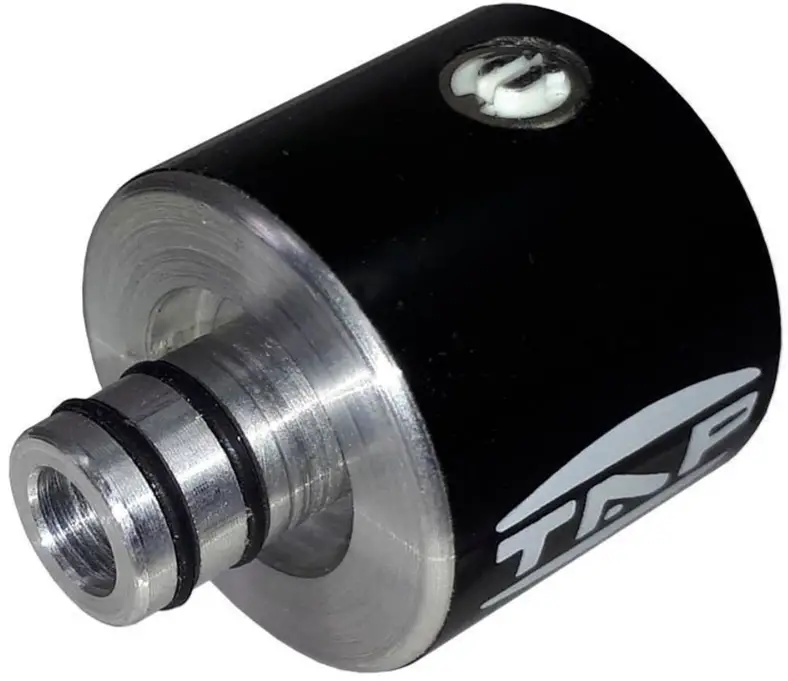
Safety
WARNING
Before using this sensor, make sure to read the instructions below.
Never use hard tools or items on sensor’s black surface.
- Do not open (or modify in any way) the sensor.
- Do not attempt to repair the sensor (mic).
- Before connecting this sensor to other devices, turn off the power to all units.
This will help prevent malfunctions and/or damage to speakers or other devices.
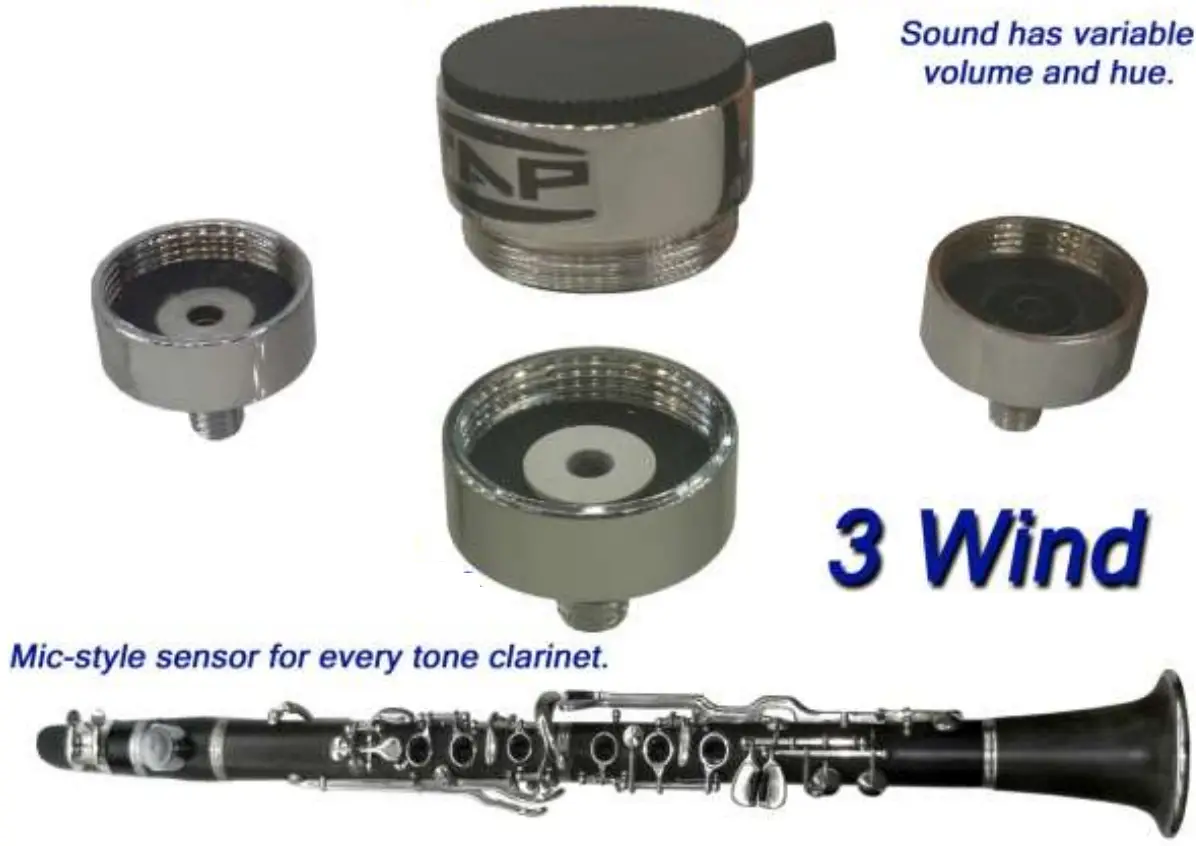
HUE
Gives natural sound on classical, traditional, jazz music and we have a real change of hue first time on this sensor.
To change hue we adapt a different cell on the mic-style sensor. (nickel – white -black cells)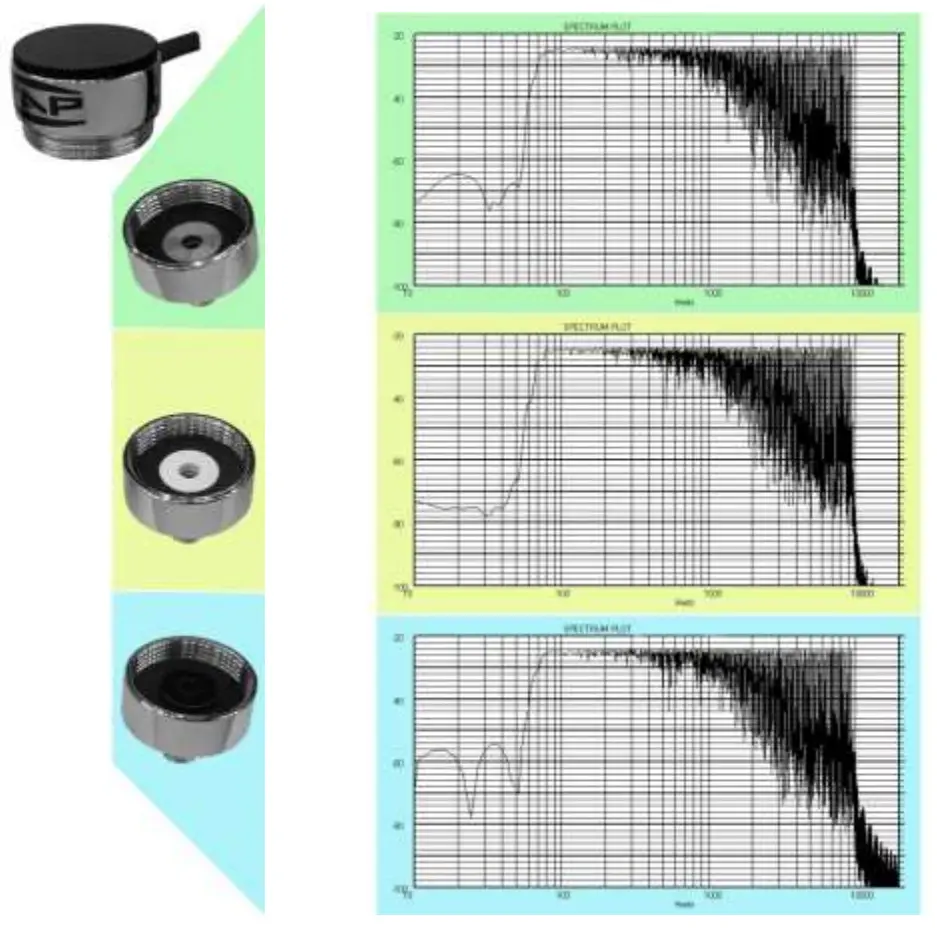
Features
Output level controlled by a potentiometer — volume —
Safe wiring with mini XLR connector.
The 3 Wind mic-style clarinet sensor matches all consoles machine inputs as well as to any amp with a High input.
The sensor has humidity isolation.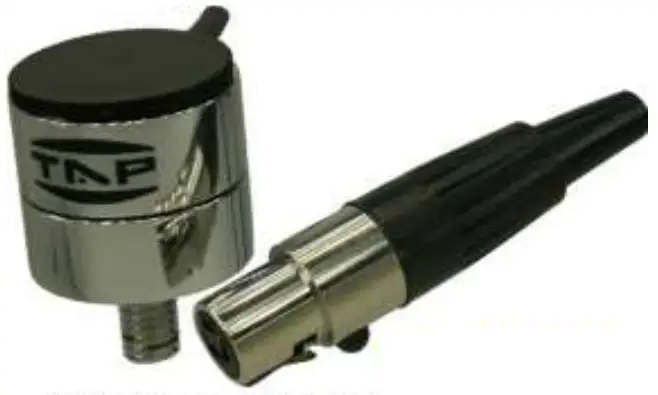
Isotonic Sensor Variable Hue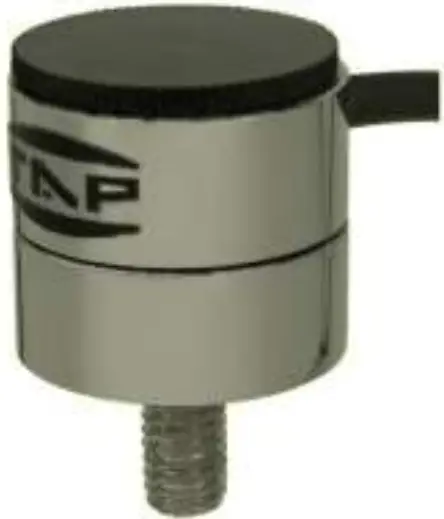
Installation Instruction
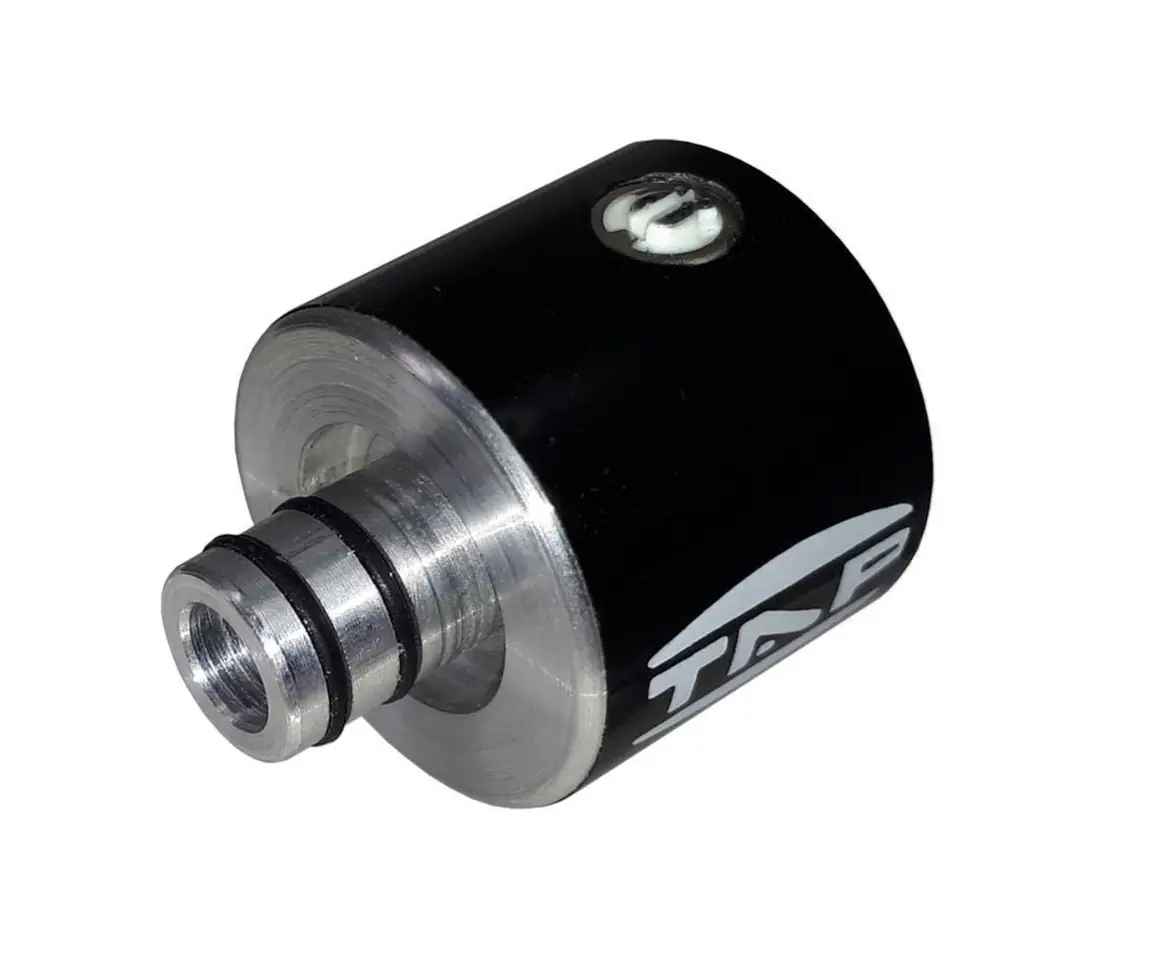
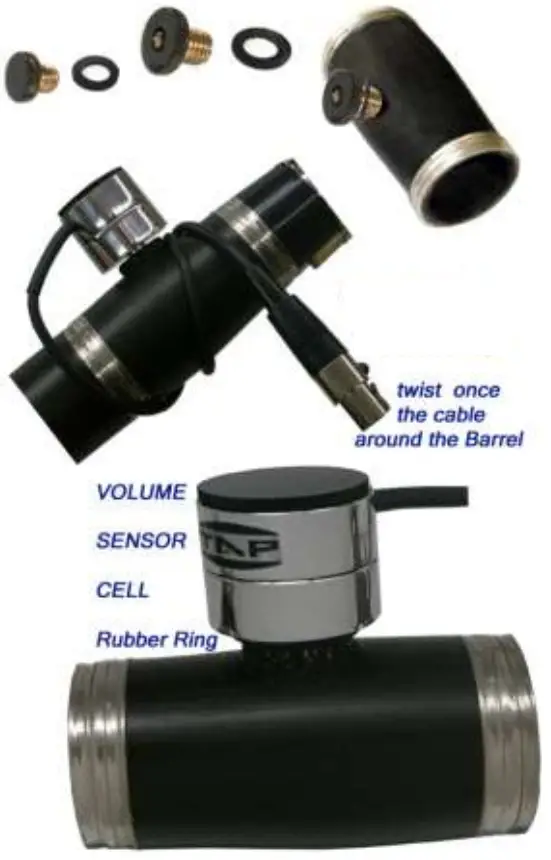
First step is the adaptor installation.
It is easy to install on a clarinet by make a hole of 7.5mm on the barrel and screw the adaptor unit.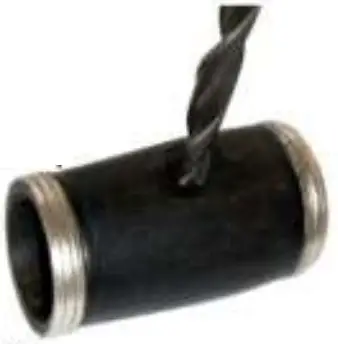
For better results:
- Drill 7 3mm hole on the barrel
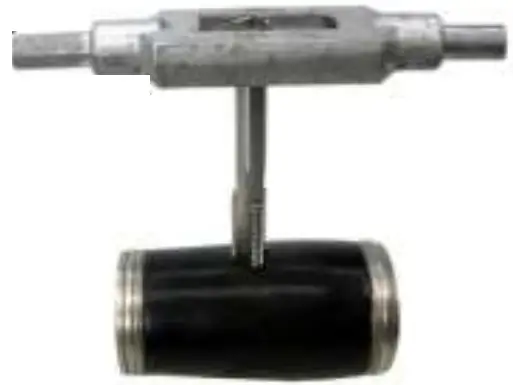
- Use a M(8X125) hand tap cutting tool to make the screw.
- Put on to adaptor the rubber ring and screw.

Then screw-on the mic-style sensor.
Maintenance
We unscrew simply the sensor for easy and perfect dry.
Never miss to unscrew sensor from the clarinet when not in use.
We help dry using a soft piece of paper.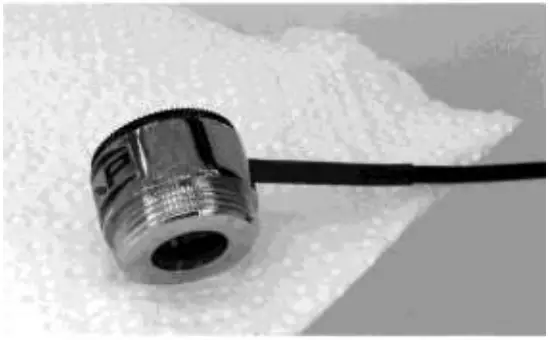
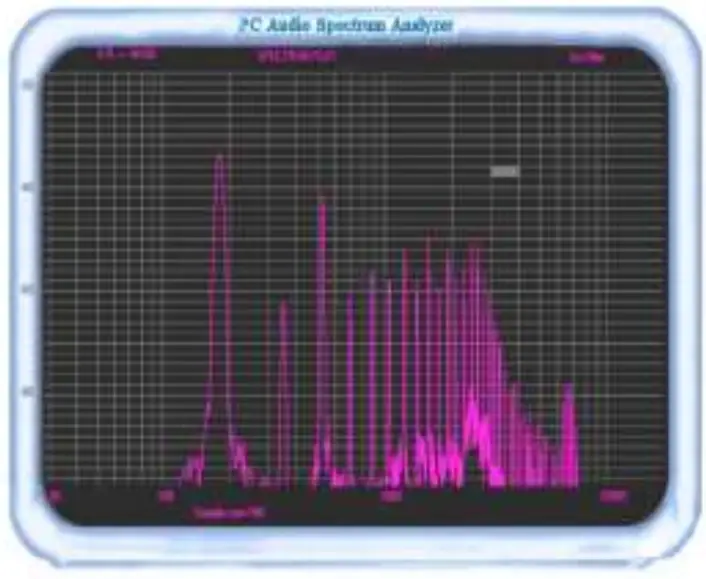
Innovation sensor – spectra mic