![]()
308500
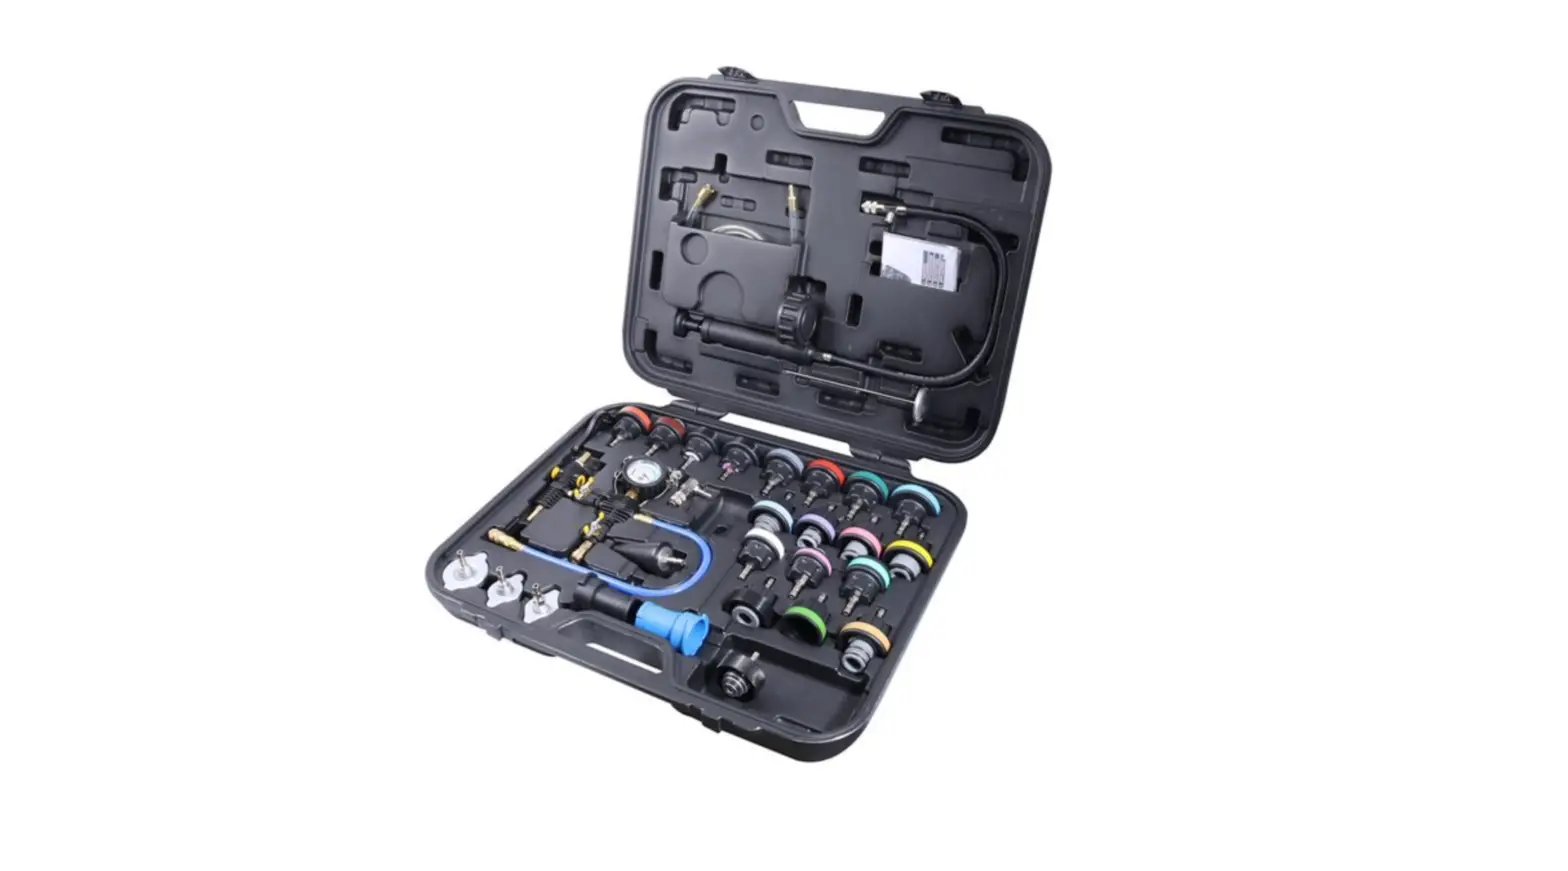
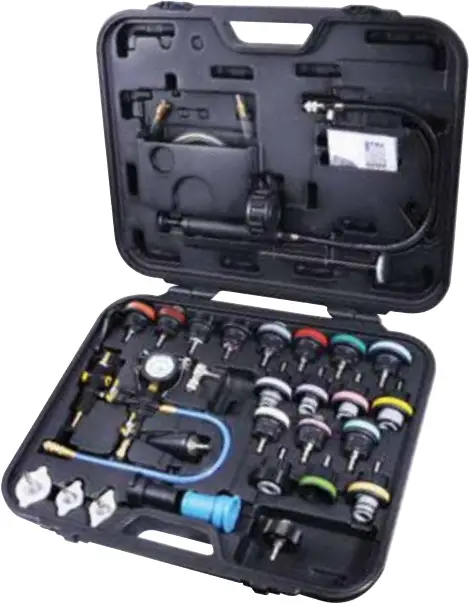
Cooling System Pressure Tester & Vacuum Purge Master Kit
36 Piece
User Guide
■ Comprehensive master kit enables cooling system pressure testing, radiator cap pressure testing and cooling system purge and refill
■ Suitable for diagnosing coolant leaks and overheating issues on most passenger and light commercial vehicles
■ 22 test cap adaptors include identification numbers and colour code for quick referencing
■ Includes user guide and full vehicle application list specifically researched and developed for the Australian and New Zealand car parc
■ Supplied in custom moulded plastic hard case
NOTE: Always refer the vehicles manufacture’s workshop manual for prerequisite and specifications
Important
- WARNING! Ensure all health and safety, local authority and general workshop practice regulations are adhered to when using these tools
- DO NOT use tools if seals or threads are damaged. This may incur false readings and personal injury
- Any defective seals MUST be replaced before use to avoid incorrect readings
- Maintain the tools in good, clean condition for optimum performance
- Ensure that a vehicle that has been jacked up is adequately supported with axle stands
- Wear approved eye protection
- Wear suitable clothing to avoid snagging, tie back long hair and DO NOT wear jewellery
- Ensure fuel supply is isolated to prevent fire whilst engine is being tested
- Ensure that the correct connector is used for the engine/vehicle being tested
- Always release the pressure from the gauge before disconnecting the quick release coupling
- Account for all tools and parts being used and DO NOT leave them in or near the engine
- WARNING! Select neutral or ‘park’ if automatic transmission and keep hands clear of the rotating engine
- IMPORTANT: Always refer to the vehicle manufacturer’s workshop manual, or a proprietary manual, to establish the current procedure and data
- These instructions are provided as a guide only
- When not in use, return all parts in the supplied case and store this in a safe, dry, childproof location
- WARNING! The warnings, cautions and instructions referred to in this manual cannot cover all possible conditions and situations that may occur
- It must be understood that common sense and caution are factors which cannot be built into this product, but must be applied by the operator
Instruction
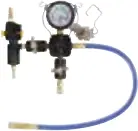
Cooling System Vacuum Purge & Refill Kit
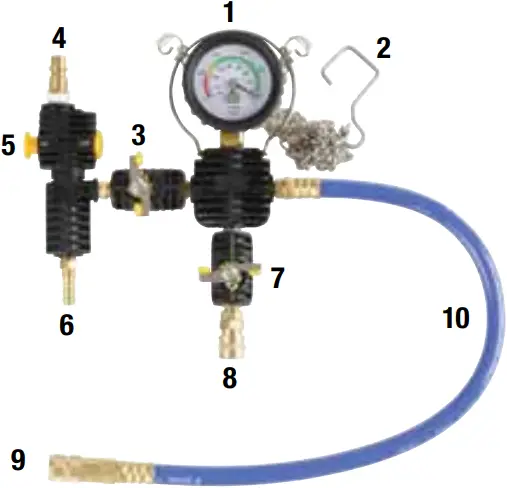
Ref no. Description
1 Dual calibrated gauge 0 to -76 cmHg (0 to -1 bar)
2 Hanging hook (600mm)
3 Vacuum tap
4 Air inlet
5 ON/OFF Switch
6 Bleeding hose connector
7 Coolant suction tap
8 Coolant suction hose connector
9 Adaptor connector
10 Hose (500mm)

Step 1 Ensure coolant is drained from cooling system and all hoses are secured
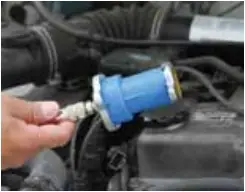
Step 2 Select the suitable adaptor and fit it to vehicle
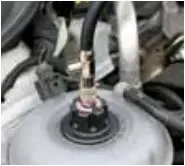
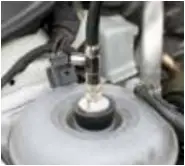
Step 3 Ensure the vacuum purge unit is in the off position and all taps are closed (Fig 01)
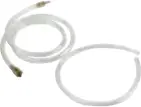
Connect the air bleeding hose and suction hose to the unit and connect to the vehicle (Fig 02)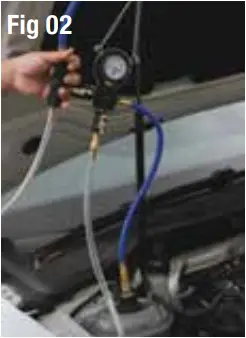 Insert the air bleeding hose into an empty container to capture any remaining coolant that may be expelled
Fully submerged the coolant suction hose into the new coolant container
NOTE: Refer to the manufacture’s specifications for coolant ratio and capacity. The suction hose must be fully submerged at all times to prevent air from entering
Step 4 Switch the unit to the ‘ON’ position and open the vacuum tap (3)
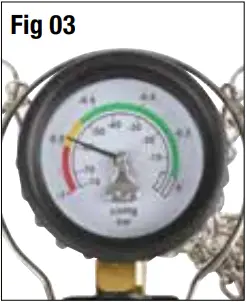
Monitor the vacuum gauge until the pressure reaches around -60 cmHg (Fig 03)
Once it has reached it’s maximum, close the vacuum tap and switch the unit to the ‘OFF’ position (5)
 Step 5 Once vacuum phase is completed with the vacuum tap in the closed position and the unit is switched ‘OFF’
Slowly turn the suction tap (7) to the open position, new coolant will begin to draw from the suction hose into the vehicles cooling system
It will automatically stop once the vehicles cooling system is full and the gauge needle is steady
Step 6 Close suction tap
Disconnect the workshop supply line and disconnect from vehicle
Check coolant level and top up if necessary
Coolant Pressure Testing
 Ref no. Description
1 Dual calibrated gauge 0 – 35psi (0 – 2.5 bar)
2 Hand pump
3 Body
4 Hose (600mm)
5 Relief valve
6 Adaptor connector
 Step 1 Remove the radiator cap from vehicle and top up coolant level if necessary
Caution: Do not open vehicle’s radiator cap when it is hot
Step 2 Select the correct test cap adaptor and connect to the vehicle
Step 3 Connect the pressure pump to the adaptor and ensure the connections are fitted correctly to avoid false reading
Begin to pump pressure into the vehicle’s cooling system between 10 – 15 psi
 NOTE: Do exceed recommended pressure as it may further damage the vehicle’s cooling system. Refer to your workshop manual for correct pressure rating
Step 4 Inspect for coolant leaks while the cooling system is under pressure
If a leak is detected the pressure gauge will decrease as it looses pressure
Keep topping up the pressure to ensure the vehicle’s cooling system stays under pressure while inspecting for leaks
Step 5 Once complete depress the pressure relief valve (5) until the pressure gauge reads zero and disconnect from vehicle
Radiator Cap Testing (Bayonet type)
Step 1 Remove the radiator cap from vehicle
Step 2 Select the correct size radiator cap test adaptor
Step 3 Connect adaptor to pressure pump and the radiator cap to the adaptor
NOTE: Before testing check seals and condition of radiator cap
 Step 4 Begin to pump to recommended pressure
NOTE: Check radiator cap or manufacture’s manual for pressure rating
Step 5 Once completed depress relief valve and disconnect cap
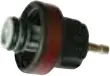
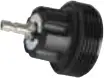
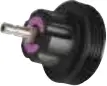
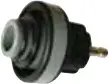
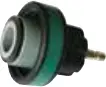
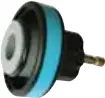
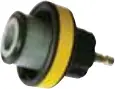
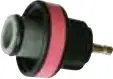
Contents
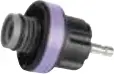
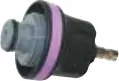
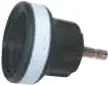
| I.D. No. 0 308557
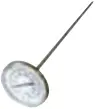
Thermometer 210mm | I.D. No. 1 308553
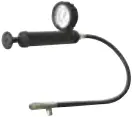
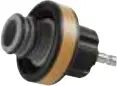
Pressure pump 0-35psi (0-2.5bar) | I.D. No. 2 308554
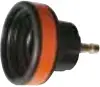
Radiator cap tester |
| I.D. No. 2 308555
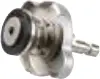
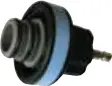
Radiator cap tester | I.D. No. 3 308503
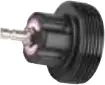
Bayonet test cap | I.D. No. 4 308504
Bayonet test cap |
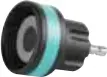
| I.D. No. 5 308505
Bayonet test cap | I.D. No. 6 308506
M50 x 2.5 | I.D. No. 7 308507
M46 x 3.0 |
| I.D. No. 8 308508
M57.5 x 3.0 | I.D. No. 9 308509
M62.2 x 3.0 | I.D. No. 10 308510
M52 x 4.0 |
| I.D. No. 11 308511
M48.4 x 3.0 | I.D. No. 12 308512
M52 x 3.0 | I.D. No. 13 308513
M63 x 4.0 |
| I.D. No. 14 308514
M56 x 3.0 | I.D. No. 15 308515
M50 x 2.5 | I.D. No. 16 308516
M45.5 x 2.5 |
| I.D. No. 17 308517
M52.5 x 3.0 | I.D. No. 18 308518
M48.5 x 3.0 | I.D. No. 19 308519
M33.6 x 3.0 |
| I.D. No. 20 308520
M46 x 3.0 | I.D. No. 21 308521
M52.5 x 3.0 | I.D. No. 22 308522
M45 x 3.0 |
| I.D. No. 23 308523
M61.7 x 3.0 | I.D. No. 24 30851H
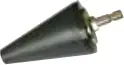
M32 x 2.0 | 308559
Tapered cone adaptor universal |
308558
Vacuum purge unit | 308562 Elbow connector 90°  | 308560
Coolant suction hose |
| 308556 Adaptor wrench Length: 94mm |


![]()
![]()
TOLEDO IS A REGISTERED
TRIDON BRAND
308500 MAN © Copyright TRIDON AUSTRALIA PTY. LTD. 2019
A.C.N. 001 398 698 Reproduction of this manual in part or full is not permitted without written approval. Illustrations in this manual are for identification purposes only and there may be slight variations between the illustration and actual product. Whilst every effort has been made to ensure that the information contained in this catalogue is accurate at the time of printing, TRIDON AUSTRALIA PTY LTD will not accept responsibility should any inaccuracies be contained herein.


