Gonow L00-YV00M14 Door Lock
Safety Information
Read the precautions and instructions in this manual before installing and using this lock. Save this manual for future reference. If the door needs to be drilled, be familiar with how to use your drill safely, and understand all the door preparation steps before proceeding. To ensure a long-lasting nish, remove the locks, or do not install the locks, prior to painting your door. Periodically clean the locks with mild soap and a soft cloth. Do not use abrasives or harsh chemicals, and avoid sharp or scratching objects.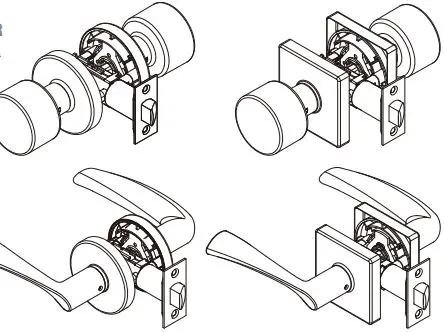
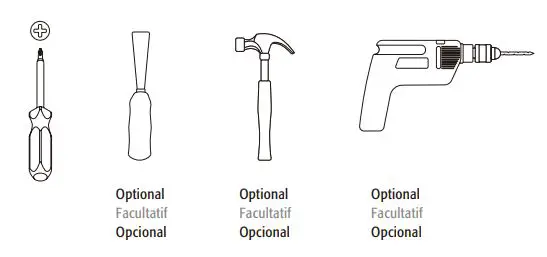
Pre-Installation
| Part | Description | Quantity |
| AA | Mounting Screws | 2 |
| BB | Latch/Strike Plate Screws | 4 |
| CC | Allen wrench | 1 |
| DD | Set screw | 2 |
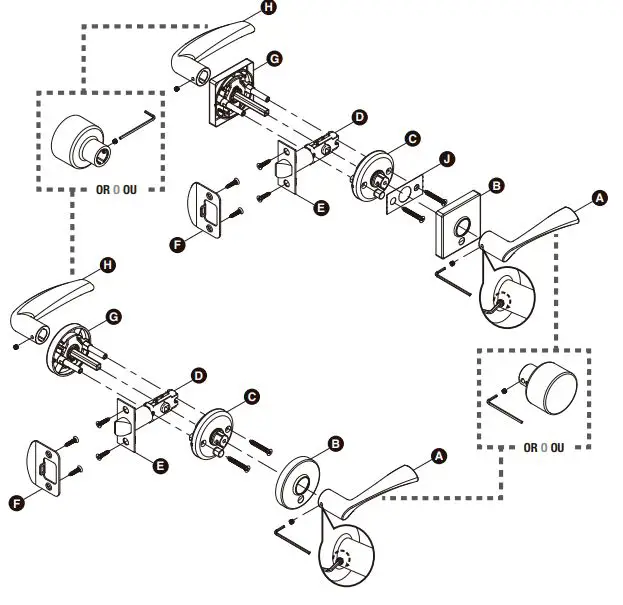
| Part | Description | Quantity |
| A | Interior lever | 1 |
| B | Interior rose | 1 |
| C | Interior rose plate | 1 |
| D | Latch | 1 |
| E | Faceplate | 1 |
| F | Strike Plate | 1 |
| G | Interior rose plate | 1 |
| H | Exterior lever | 1 |
| J | Inside square plate | 1 |
Using the template, mark the door and drill the holes, and chisel out a mortise. Prepare the door jamb – using the strike plate as a pattern, drill the latch and screw holes, and chisel out a mortise until the strike plate fits flush
Installation
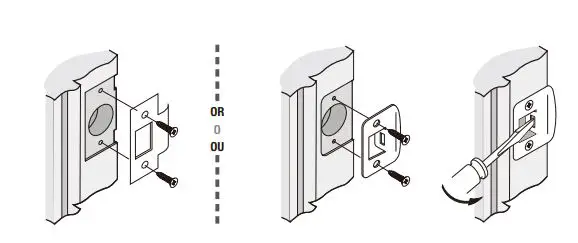
INSTALLING THE LATCH
Attach the correct faceplate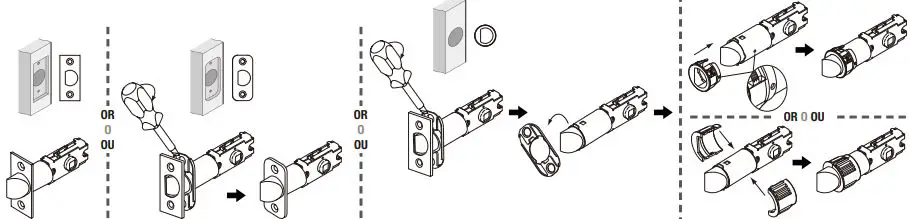
Set the latch backset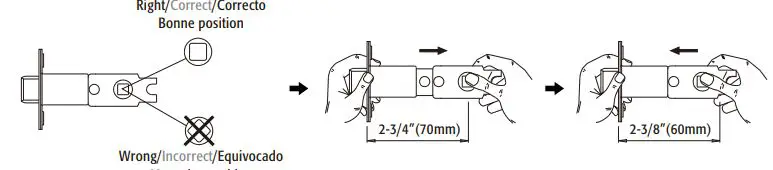
Install the latch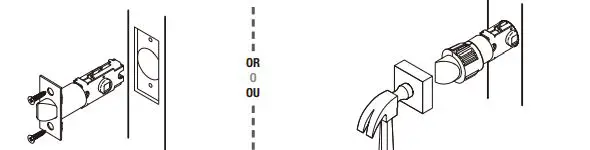
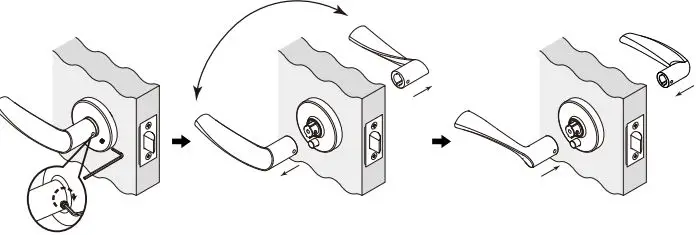
INSTALLING THE LEVERS
Install the exterior lever
Install the interior lever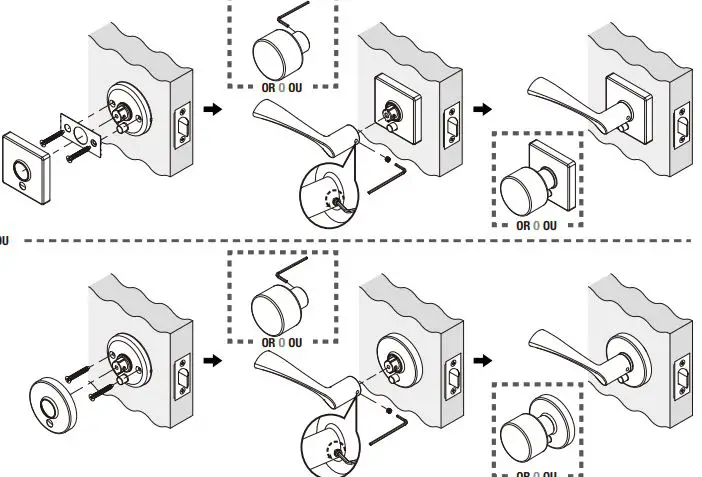
SWITCHING THE HANDLES (IF DESIRED)