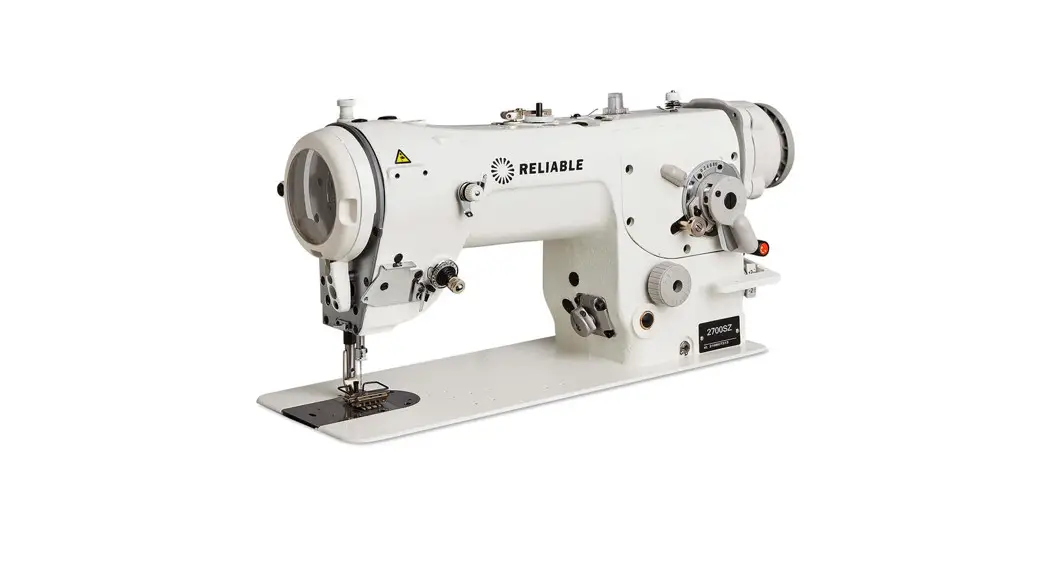
![]() 2700SZ Sewing Machine
2700SZ Sewing Machine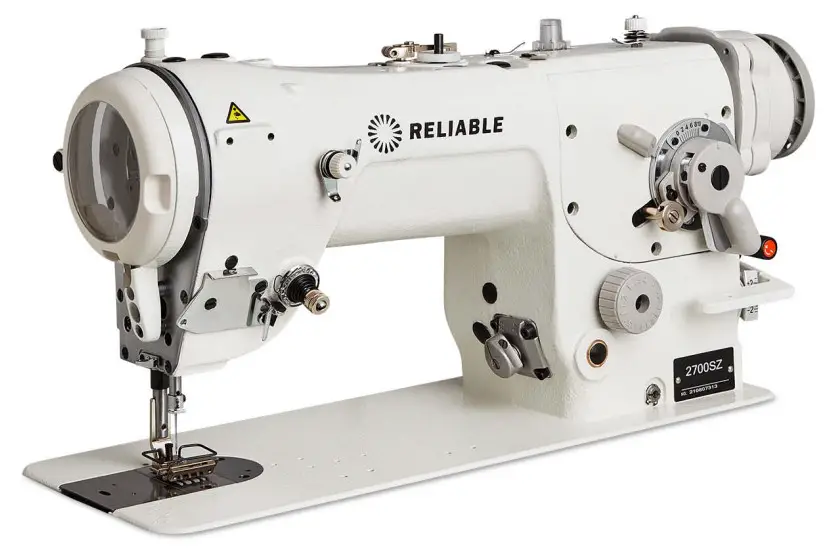 Instructions
General Safety Instructions
- Do not place your foot on the pedal when connecting to the power source
- Installation and initial trial-run must be done by a skilled perfessional
- Open control box or motor cover under electrical power is not permitted
- Ensure the eathing system is in working order
- When doing the following, the machine has to be disconnected from the power supply:
a. Threading the machine, replacing needle, bottom thread
b. Installing, dismantling or repairing
c. When the machine is being moved, turned over, or adjusted
Environmental Requirements
- Do not work in a damp or wet environment
- Voltage requirements – 210V~240V
- Must be adequately grounded for safety
- Do not work at high temperature
- Do not run motor and control system near ferromagnetic or high radience area.
Direct Drive Motor & Components
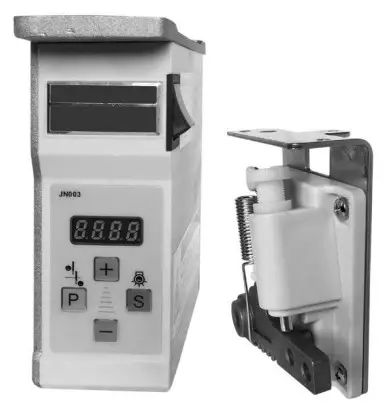
The servomotor is composed of control system and motor.
A. Control system includes control box and speed controller
This control system features quick start, quick stop, accurate needle positioning and speed settings. The motor also features a self-protection system against lower voltage, over current and over heating.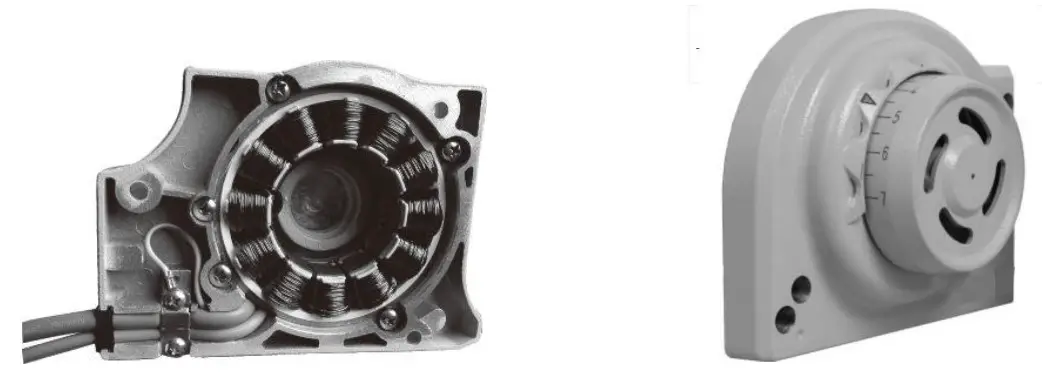
Specifications
| Voltage | 220V 2phase |
| Frequency | 50~60HZ |
| Speed | 200-6500RPM |
| Motor torque | 400≤ 2N.M 500≤ 3N.M |
Direct Drive Installation
Install control box and speed controller as figure below.
Using screws, mount the control box and speed controller onto sewing table.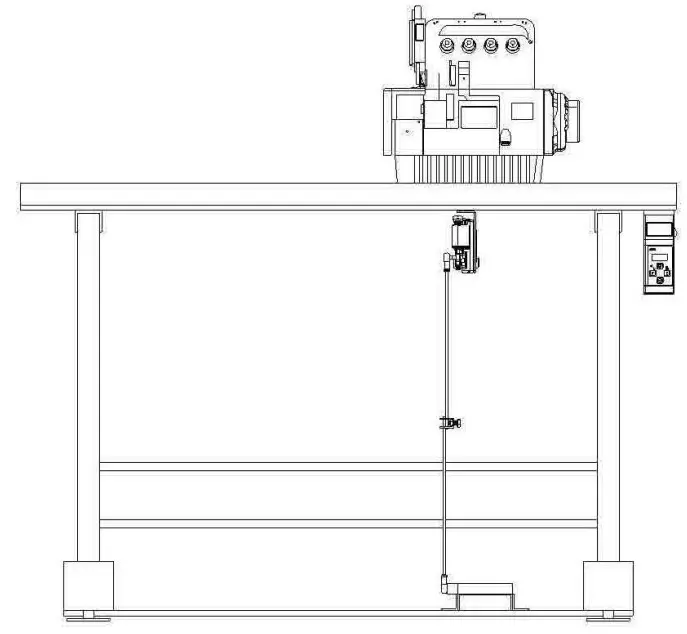

Direct Drive Motor Installation:
- Rotal Installation
a) Remove the hand wheel, belt cover and wind blade on the sewing machine b) Install the Fan blade (figure 1) and rotor (figure 2) into the shaft of sewing machine as seen above. Secure parts into place with washer (figure 3) and screws (figure 4 & 5). - Motor Installation
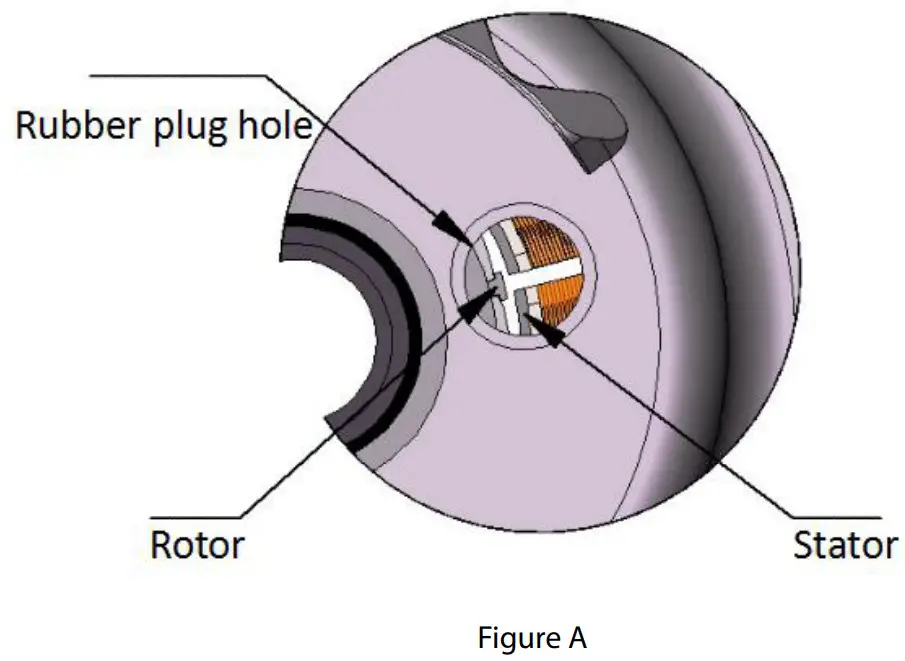
Using a special plastic positioning jib (figure 6), install into sewing machine over the rotor (figure 2) directed then secure with screws (figure 8). Screw down to be able to easily pull out the positioning sleeve. (Note: Use caution when installing and pay attention to the magnet suction, as this can cause injury to hand). - Check Rotar & Stator Installation
a) Remove rubber hole stopper (figure 9). b) Check the plane of the rotor and ensure the stator is flat, surface should not exceed 1.5mm (See section figure A). If area is more than 1.5mm, remove the motor and the rotor with gasket to adjust (figure 11). c) Adjust to fit back rubber hole stopper. (Note: The distance between the two should be as small as possible. If more than 1.5mm, motor torque will decrease).
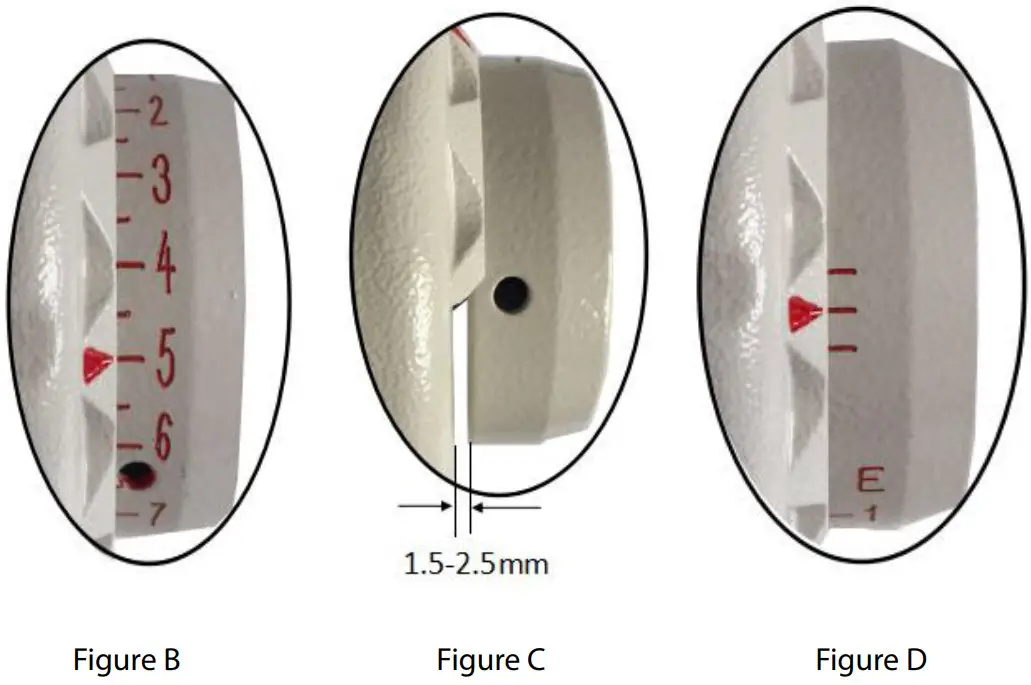
- Hand Wheel Installation
a) Turn the sewing hand wheel by hand , make the needle stop at the highest level
b) Put the hand wheel in the rotor, and mark the calibration line of the motor housing with the scale 5 (Figure B).
c) Tighten two screws (figure 5), and keep the clearance of hand wheel and motor 1.5mm- 2.5mm (Figure C). (Note: Overlock machines will have three little strips (Figure D).
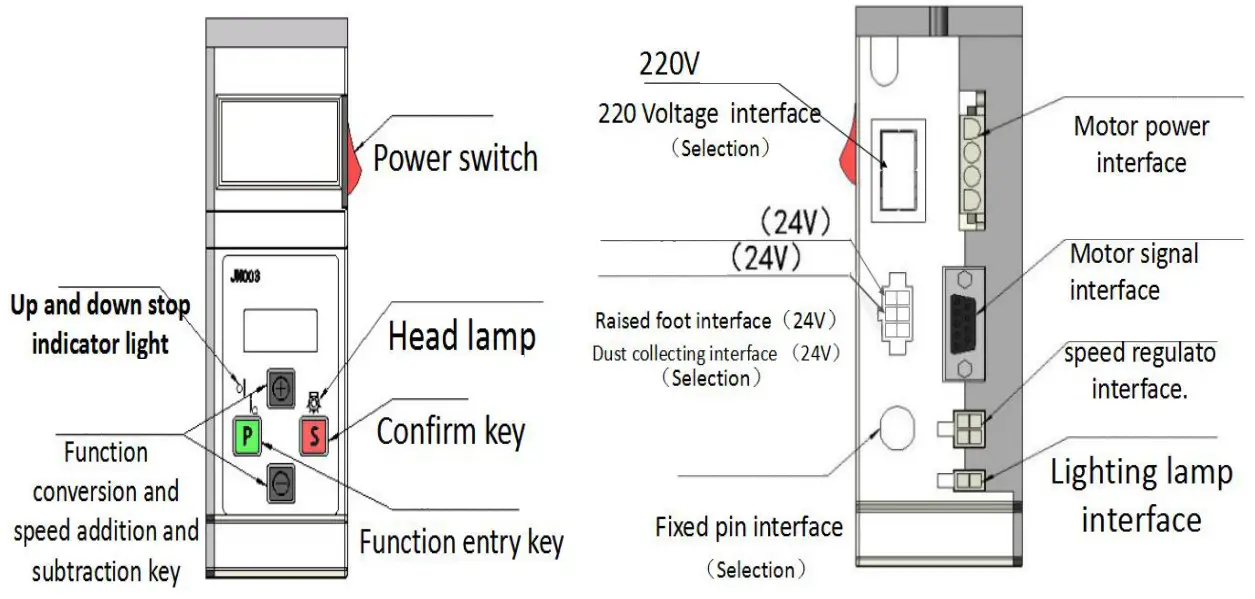
Entering the Parameter Menu:
- Ensure the sewing machine is on
- Press the “P” key, then press the “+” key. The screen will display “P-00”
- Press the “+” key again to change the “P-00” to “P-02” (P-01 and P-02 are speed and motor direction patemeter)
- Press “P” key again to enter into parameters – screen will display “!”
- Press “+” or “-” to scroll through the parameters list
- Press the “S” key to save the desired parameter and exit the parameter screen
Restore Factory Settings:
To restore the factory settings, press the “P” key and the “+” key. The screen will display “P-00” , then press and hold the “S” key for 3 seconds.
Parameter Settings:
| The serial number | Parameter | Description | Adjusting range | The factory reset settings | ||
| 1 | P-01 | Maximum Speed lock | 200-6500RPM | 4500 | ||
| 2 | P-02 | Direction of rotation | 0 is reverse turn needle | 1 is clockwise turn | 1 | 3 Old flat seam motor change to 2 |
| I | or 3 | ||||
| 3 | P-03 | The needle angle | 6-18° | 12° | |
| 4 | P-04 | Start sewing speed | 200-800 | 250 | |
| 5 | P-05 | Speed And slow | 2000-4000 | 3500 | |
| 6 | P-06 | Set the seam | 0-999 | 0 | |
| 7 | P-07 | ||||
| 8 | P-08 | ||||
| 9 | P-09 | ||||
| 10 | P-10 | Automatic Clearance run | Press the S key when change 0 to 1 | 0 | |
| 11 | P-11 | Presser foot ascend starting time | 0-2000ms | 0 | |
| Cl | I’-12 | Ascension presser foot protection time | 1-120s | 4s | |
| 13 | P-13 | Old section flat sewing machine selection | Motor option 1 is old section flat sewing machine | 0 | 0 is ordinary sewing machine |
| 14 | P-14 | Maximum current limiting | 50-1000 | 280 | |
| 15 | P-15 | Whether to detect the up needle position | 1:detecting needle 0:no detection | 1 |
Common Faults & Treatments
| The serial number | Error code | Description | Possible Fixes |
| 1 | Er0 I | Can’t find the needle position | 1.The hand wheel is not closed, clearance within 2.5 mm 2.Nine plug contact not connecting 3.Motor holzer bad, replace the motor 4.Hand wheel magnet error |
| Cl | Er02 | Not detected boot speed regulator | 1.Speed control device is not plugged in/ no power 2.Speed wire is broken or has poor contact |
| 3 | Er03 | Motor holzer or phase error | I. Nine hole plug contact is poor 2.Check for motor damage 3.Holzer is bad |
| 4 | Er04 | Locked-rotor protection | 1.Motor overload 2.Poor connection of motor and controller 3.Motor error |
| 5 | FrO5 | Hardware over-current protection | I . The motor overload 2.Line contact is bad or broken 3.Main board is bad |
| 6 | Er07 | Serial port communication timeout error | Display to the system board signal is bad or board is bad |
| 7 | Screen without electricity Switch with electricityc | 1. Main board is broken 2. The display screen adn the main board connection line contact is bad |
![]()


