VINNOVA 5900A.05GT Bidet Seat
- Thank you for you purchasing our washing cover plate.
please read the manual carefully and use product correctly - Please keep it in a convenient place
Safety notes
| Read the safety instructions carefully before use so as to properly use the product. Note the following warnings relevant to the safety. | |
|
|
|
|
|
|
|
|
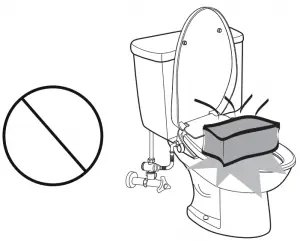 Do not place heavy objects on the toilet seat or the toilet cover
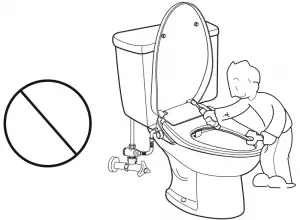 Do not disassemble, repair and modify products by without authorization.
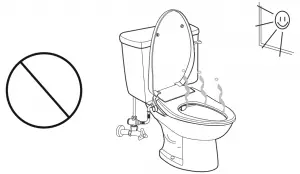 Do not place this product in direct sunlight.
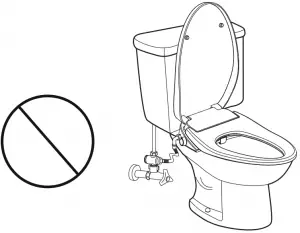 Do not bend or twist the water supply hose
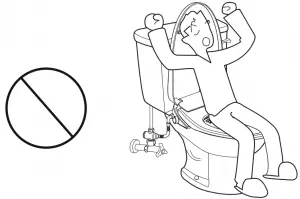 Do not lean against the toilet lid when in use
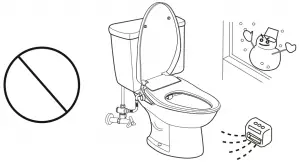 The room temperature of toilet shall be above 0°C.
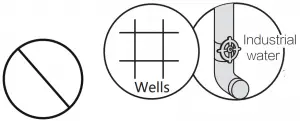 Do not connect to the substandard water pipe.
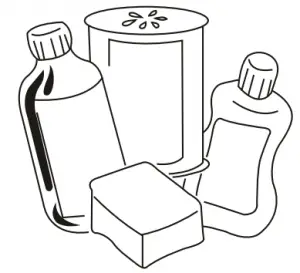 Please clean with the diluted kitchen cleaning agent and do not use the following items: Benzene, paint thinner, detergent powder, nylon brush, etc.
Product description
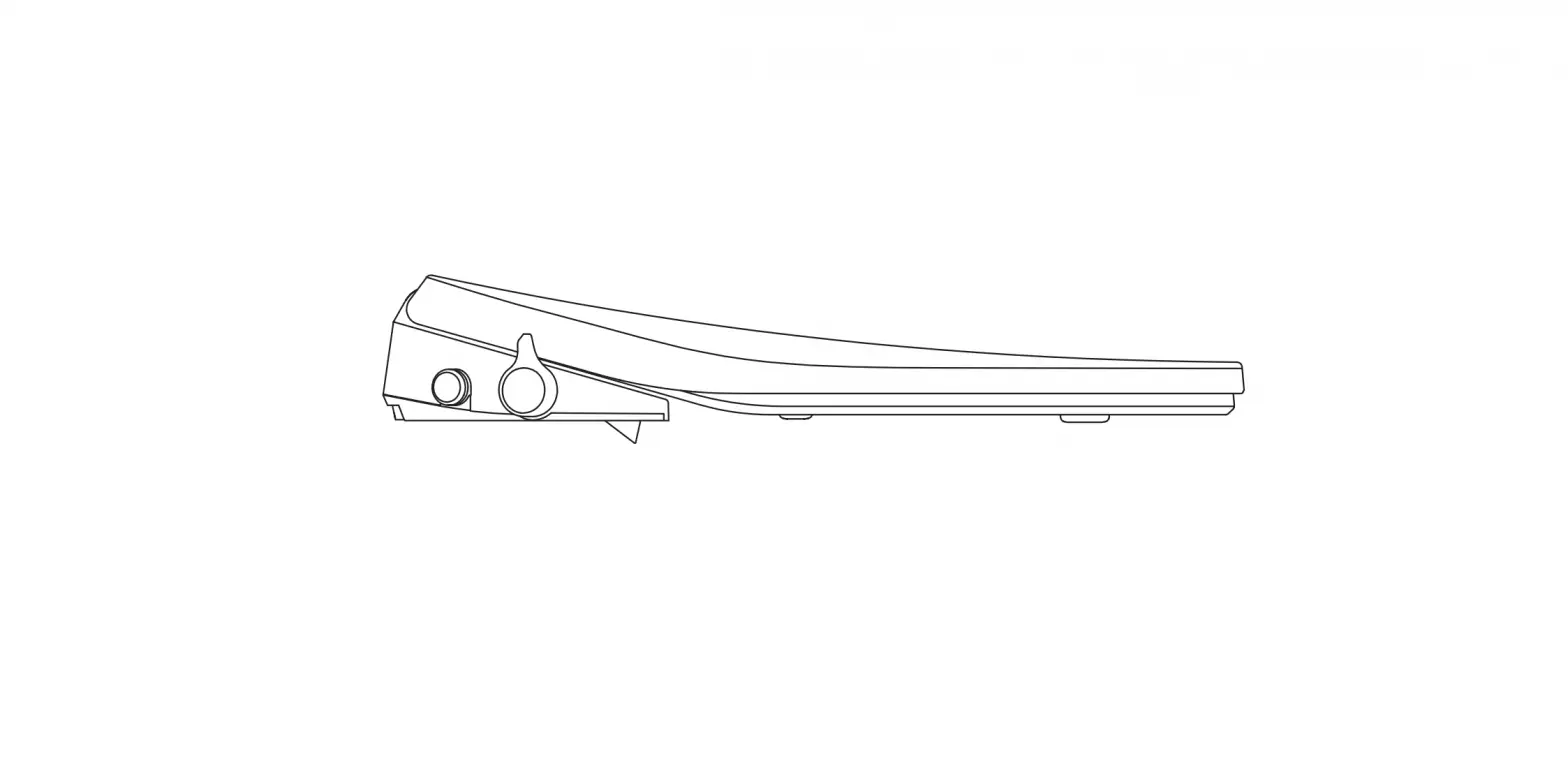
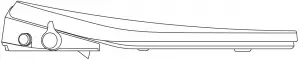
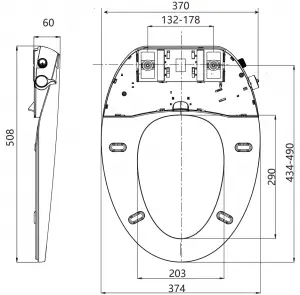
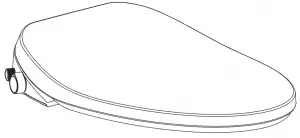
Product dimension drawing
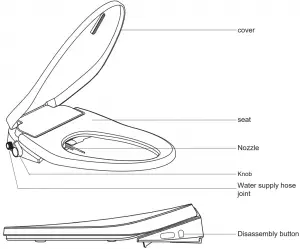
Component description
- Cover plate

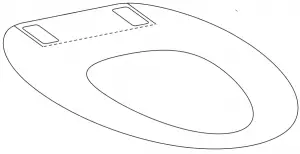
- Installation template

- Fixation part
 Connecting bolt (2)
 Adjustment sheet (2)
 Plastic TAB (4)
 Fixing plate
 Rubber bushing (2)
 - Adapter

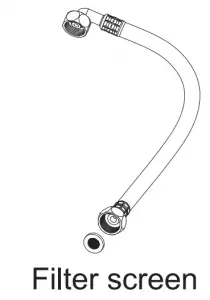
- Water inlet hose

- User manual

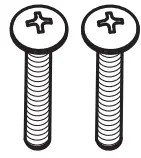 Connecting bolt (2)
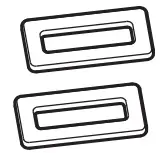 Adjustment sheet (2)
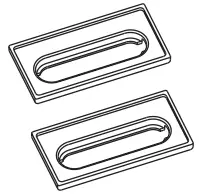 Plastic TAB (4)
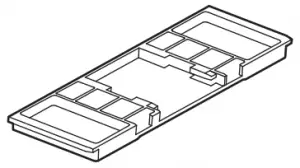 Fixing plate
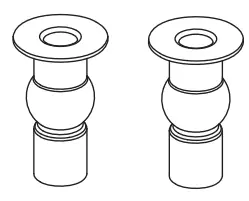 Rubber bushing (2)
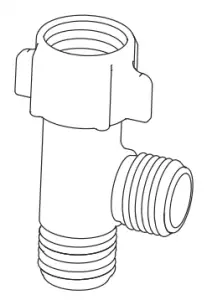
Installation steps
Installation tools
|
|
|
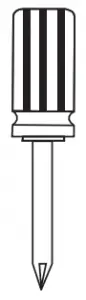 Cross screwdriver
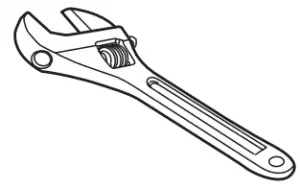 Monkey wrench
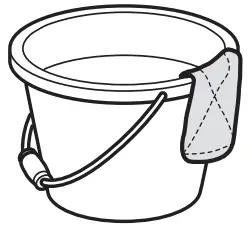 Barrel and rag
Attention before installation
- Water pressure range: 0.1-0.75MPa, please follow the instructions.
- Corner valves shall be located close to the location where this product is installed and disassembled.
- Please use the braided hose that comes with the product to prevent water leakage.
- When installing braided hose, be careful to prevent the black gasket falling out.
Installation Procedure
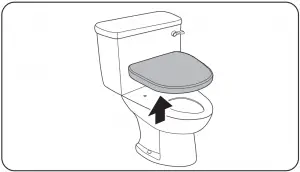
- Loosen the nut connecting and remove the old cover.


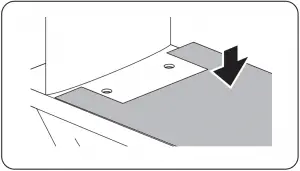
- Place the mounting template on the ceramic as shown. Align it with the rim of toilet.

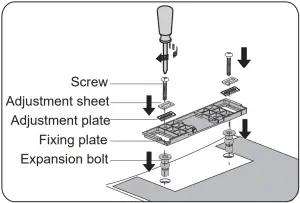
- ①Insert the expansion bolt into ceramic hole;
②Place fixing plate in notch part of template;
③Place adjusting sheet and plate in fixing plate;
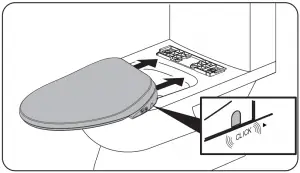
④Align expansion bolt hole , and tighten up; - Slightly push the cover into fixing plate until you heard “click” , indicating that the cover has been installed in place.

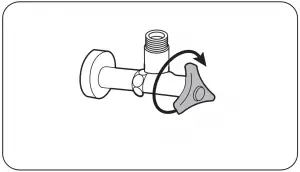
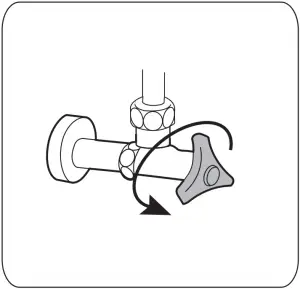
- Close the water valve:
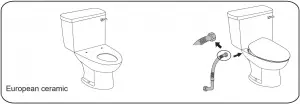
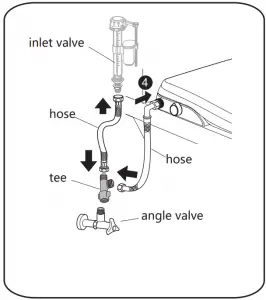
- Install braided hose;
① When the ceramic is similar to the figure above, we suggest connecting the straight end of the hose to the cover
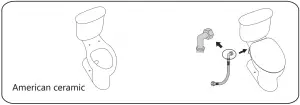
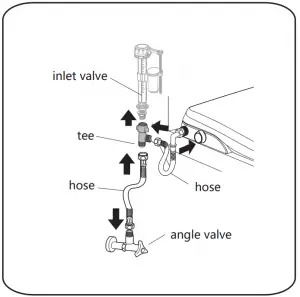
② When the ceramic is similar to the figure above, we suggest connecting the elbow end of the hose to the cover
- Connecting flexible hose;
Normally, the tee is installed on the angle valve
if the angle valve and wall is too close, you can installed the tee under the inlet valve
- Open the valve to check water leakage;

- Turn on the knob to check whether the nozzle is protruding;


|
Function introduction
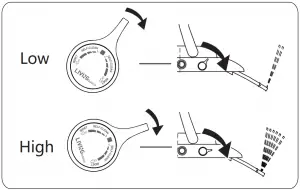
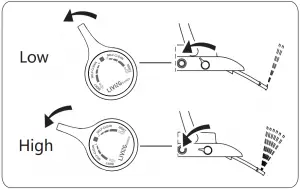
Konb function
- Rinse function

Bidet/Hip rinsing
Rotating knob to adjust amount of water
Note: Please open the knob to the maximum before use, and then adjust the amount of water and rinsing force through the konb。
Cleaning and maintenance
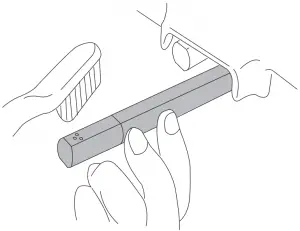
Manual cleaning of spray tube
- Gently pull out the nozzle and dip the neutral detergent with a soft cloth, sponge or small brush.
- Gently support the nozzle, wipe the spray tube and nozzle.

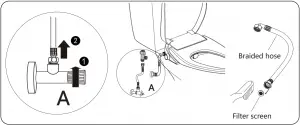
Clean filter screen
![]() Tips:
Tips:
- Make sure that the corner valve close off before you clean the filter screen;
- Clean the filter screen when the water flow is less than normal hours.
- During cleaning process, the product must be thoroughly separated from the water inlet hose;
- Reinstall the filter screen in reverse order after cleaning.
Product surface cleaning
- Wipe the product surface with a sponge or soft cloth dampened with room temperature water or a neutral detergent.
- Lift the upper cover and the seat ring when cleaning other parts with cleaning agents.
- Do not put cover on before the cleaning agent in the ceramic toilet is completely washed, otherwise the surface may be corroded by the evaporation of cleaning agent.
Product technical specification
| Items | Description | |
| Model | LB-TL-BSV02 | |
| Water supply pressure | 14.5 ~ 108.7 PSI | |
| Water supply temperature | 41~ 95 °F | |
| Ambient temperature | 0 ~104 °F | |
| Net weight | About 4.4 lb | |
| Package dimensions | 20.6 * 15.5 * 3.81 inch | |
| Cleaning device | Water amount regulation | Step less regulation |
| Protective device | Anti-siphon valve + anti-backflow valve | |
| Others | Antibacterial material | Nozzle and seat |
| Control operation | Knob | |
Faults and solutions
| Phenomenon | Possible cause | Solution |
| Low flushing | Knob is not completely turned on. | Increase knob regulating angle. |
| Water pressure too low | Contact relevant departments to solve water pressure problems | |
| Turn on knob and no the water comes out | Valve off | Open the valve |
| The filter of the water inlet pipe is blocked | Clean the filter of the water inlet pipe | |
| Nozzle clogging | Remove the nozzle and clean | |
| Spray rod cannot reset | Water quality is too bob to blocking the spray rod | Clean spray rod |
| Base leaking | Water pressure too high | Contact relevant departments to solve water pressure problems |
Warranty Card
To dear customers:
Thank you for choosing our E-bidet! If any problem occurs during use, please simply remove and check the problems pursuant to the user’s manual. When you cannot remove such problems, contact your local supplier or call the service hotline.
I. Information:
| Customer information | Customer name | ||
| Address | |||
| TEL | |||
| Dealer information | Name | ||
| TEL | |||
| Model | Product series number | ||
| Purchase date | Y M D | Warranty period | One-year free warranty since the purchase date |
II. Notes to warranty card:
- Please complete the warranty card.
- Warranty cards and invoices are important for the warranty service.
If the product failure occurs during warranty period, please show the warranty card and the invoice when the dealer or after-sales service personnel of the Company provide on-site maintenance and repair. - The warranty card cannot be reissued, please keep it properly.
III. Rules on free maintenance
During the warranty period, the Company will provide repair free of charge according to the use instructions, precautions for normal use.
IV. Paid maintenance is required in the following circumstances that do not fall within the scope of free maintenance:
- Out of warranty.
- The valid invoice and warranty card cannot be provided during the warranty period.
- Failure or damage caused by transportation, collision after purchase.
- Product damage during abnormal use, failure and damage during the warranty period caused by human factors or natural disasters, such as fire, earthquake, flood, lightning or environmental pollution, etc.
- Failure or damage caused by unauthorized disassembly, modification or maintenance due to user’s cause or responsibility.
- Failure or damage caused by violation of maintenance regulations in use, such as improper use of cleaning agent or wiping and maintenance methods not compliant with maintenance requirements.
- The consumable items (such as sealing rings, etc.) or products have failed or damaged due to sand and impurities.
- Conduct the secondary transfer according to the customer’s requirements.