![]() Series Weighing Indicators
Series Weighing Indicators
User Manual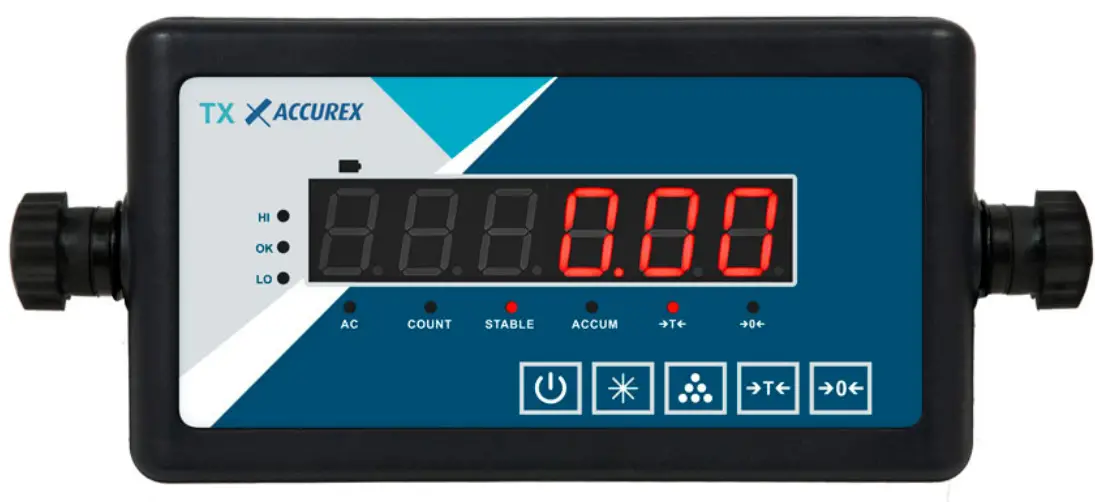 User Manual
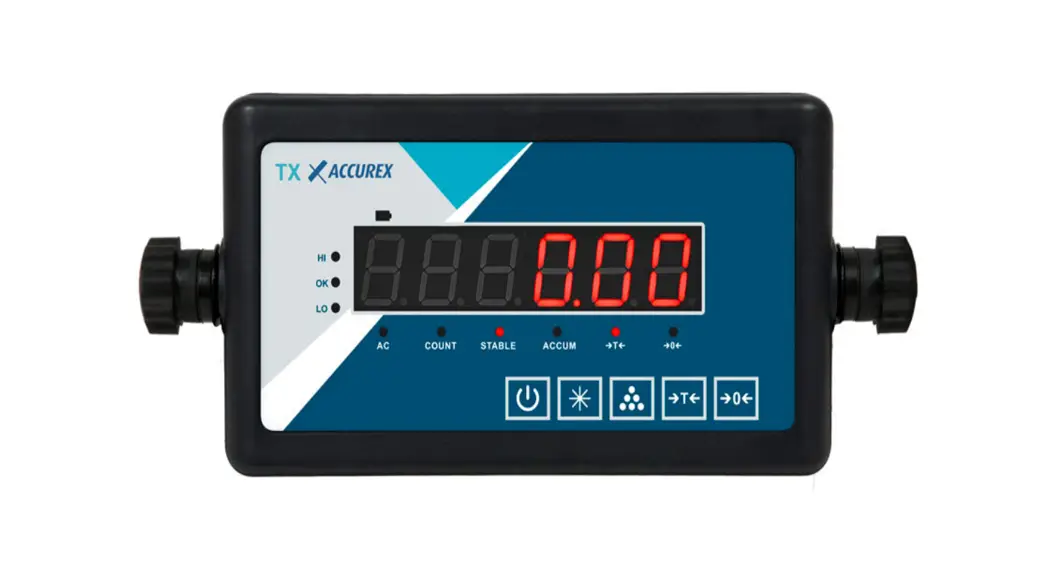
TX series Weighing Indicators
Applications: Electronic platform scale, weighing scale, etc.
Main Specification
| 1. Model : | TX |
| 2.Accuracy class : | class Ⅲ |
| 3.Max verified counts: | n=3000 |
| 4.Operating temperature | -10~40℃ |
| 5.Power supply: | AC22 AC220V/50HZ Battery: 7.2V/2AH 0V/50HZ |
| 6.Sensor excitation voltage: | DC 5V |
| 7.Display: | 6 bits LCD/LED display |
| 8.Serial communication interface: | RS232 signal transmission distance ≤ 20m |
| 9.Keyboard: | 5 mechanical keys |
| 10.DC power supply: | built in maintenance free 7.2v/2ah NiMH battery |
| 11. Humidity: | ≤ 85% RH |
| 12.Storage and transportation temperature: | – 25 ~ 55 ℃ |
Keyboard function
2.1. Panel diagram 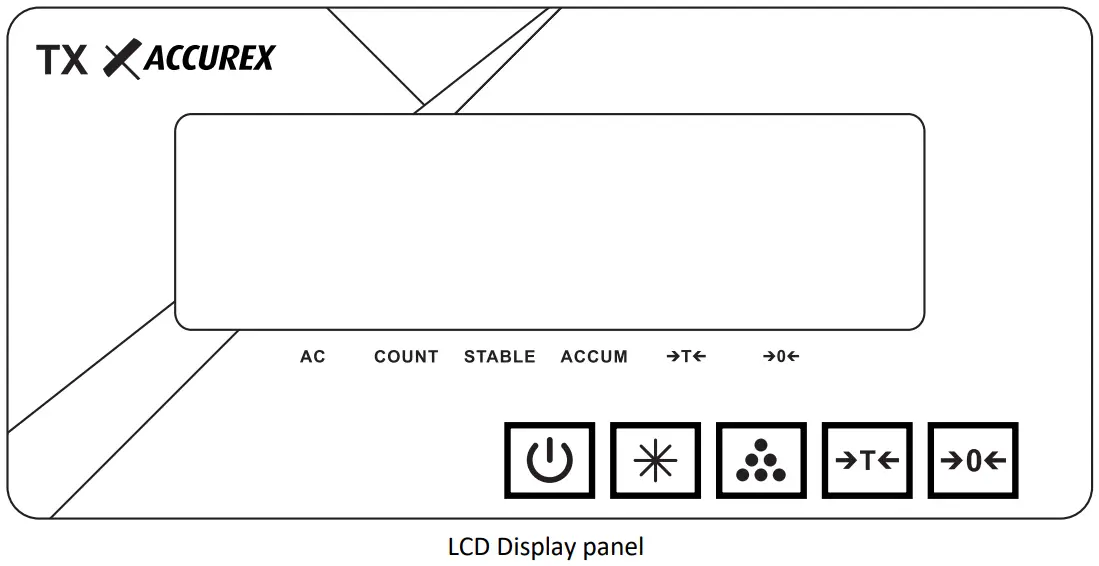 2.2. Keyboard function
| key name | Function |
| Press this key for turning ON or OFF the indicator | |
| keep pressing this button for more than 3 seconds in weighing mode, it will enter user’s parameter setting mode ; When the serial communication mode is manual output, Short press to output weight data. | |
| In weighing mode, short press this key to accumulate the weight; in the self-checking status, press and hold this key, it will enter calibration mode; In weighing mode, long press this key to enter counting function | |
| In weighing mode, press this key to tare; In parameter setting mode, press this key to change parameter value | |
| In weighing mode, press this key to zero; In calibration process, press this key to change the value |
Indicator operating instruction
3.1. Tare
Put the weighing cargo on the scale platform, when the display digits is stable, press the button![]() to tare. The display show zero, and net weight indicating light turns on. take off the cargo, press the button
to tare. The display show zero, and net weight indicating light turns on. take off the cargo, press the button![]() key again. In this way you can clean the tare weight, then the net weight indicating light turn off.
key again. In this way you can clean the tare weight, then the net weight indicating light turn off.
3.2. Zero
3.2.1 Manual zero
The display value deviates from zero point. but it is still in the range of zero setting range (± 2% of zero point at starting-up) and the stable indicating light is still lightning, press![]() to zero, then the zero indicating light turn on.
to zero, then the zero indicating light turn on.
3.2.2 Power on auto zero
When power on auto zero point ranges within ±10% of the capacity, the indicator will zero automatically.
3.3. Animal weighing function
Set the value into 2 in the P9 of the system setting then the animal weighing function will be switched on. Set the value into 1,the animal weighing function will be switched off.
3.4. Accumulating function
In weighing state, press ![]() key to accumulate the current weight, when the weight is over 20e and the weighing data is stable. And the accumulating light is lightning. When pressing
key to accumulate the current weight, when the weight is over 20e and the weighing data is stable. And the accumulating light is lightning. When pressing ![]() key again, it will return the weighing mode. And the accumulating light will be off. It will show current accumulating value when pressing
key again, it will return the weighing mode. And the accumulating light will be off. It will show current accumulating value when pressing ![]() the key under the zero point state. In accumulating sate, press
the key under the zero point state. In accumulating sate, press![]() key to clean the accumulating value .When press the
key to clean the accumulating value .When press the![]() key again, it will return to weighing mode again also. And the accumulating light will be off.
key again, it will return to weighing mode again also. And the accumulating light will be off.
Note: the scale must zero before next accumulation operation. otherwise it can not perform the second time accumulating operation.
3.5. Counting function
In weighing mode, long press![]() key and hold on it to enter the counting mode. The counting light will be lightning. And it will display 【Count 】. When it is stable, press
key and hold on it to enter the counting mode. The counting light will be lightning. And it will display 【Count 】. When it is stable, press ![]() key to enter sampling numbers setting and it display 【C00000】. Press
key to enter sampling numbers setting and it display 【C00000】. Press![]() key to shift after putting some samples on the scale platform. Press
key to shift after putting some samples on the scale platform. Press![]() key to set the sample numbers value. After setting the value of the current sample number, Press
key to set the sample numbers value. After setting the value of the current sample number, Press![]() key to perform the sampling and it display 【—— 】. When it show number, it means you can operate the counting now. This time sampling date will be saved. Press
key to perform the sampling and it display 【—— 】. When it show number, it means you can operate the counting now. This time sampling date will be saved. Press![]() key to exit the counting mode.
key to exit the counting mode.
Note:
If the sample weight is smaller than the minimum sampling weight, the sampling will be failed. It will grab the previous sampling data.
If the sample unit weight is smaller than the minimum sampling unit weight, the sampling will also be failed. It will also grab the previous sampling data.
System setting
In weighing mode, long press![]() key to enter user setting mode. Press
key to enter user setting mode. Press![]() key to change the value. press
key to change the value. press![]() key to enter the next parameter; after all parameter setting is finished, press
key to enter the next parameter; after all parameter setting is finished, press ![]() key to exit the user setting mode.
key to exit the user setting mode.
(1) Automatically power off
| Display | Parameter | Instruction |
| [131 1] | 1 | No automatic shutdown function |
| 2 | 10min | |
| 3 | 20min | |
| 4 | 30min |
(2) Power saving mode
| Display | Parameter | Instruction |
| [P4 1] | 1 | LCD no backlight; LED no power saving function |
| 2 | LCD automatically backlight; LED have power saving function | |
| 3 | LCD backlight keep lightning LED- |
(3) Zero tracking range
| Display | Parameter | Instruction |
| 【P5 1 】 | 1 | 0.5e/2s |
| 2 | NO |
(4) Filtering depth
| DISPLAY | Parameter | Instruction |
| EP6 li | 1 | low |
| 2 | middle | |
| 3 | high |
(5) Stable time
| Display | Parameter | Instruction |
| 【P7 1 】 | 1 | fast |
| 2 | middle | |
| 3 | slow |
(6) Stable range
| Dispaly | Parameter | Instruction |
| 【P8 1 】 | 1 | lower |
| 2 | middle | |
| 3 | high |
(7) Animal weighing function switch on/off
| Display | Parameter | Instruction |
| 【P9 1 】 | 1 | Turn off the animal function |
| 2 | Turn on the animal function |
(8) RS232 output protocol selection
| Display | Parameter | Instruction |
| 【P10 1 】 | Reference communication data |
Error and correction
| ERROR | Reason |
| Errl | The AD value is too small when calibrated or the load cell capacity is too large |
| Err2 | The zero point is out of the range when calibrated |
| Err3 | The zero point is out of range upon starting or there is heavy weights |
| Err5 | There is no load weight in calibration mode |
| Err7 | The load cell cable connection is wrong, please check the connection method again. |
| Err8 | Load cell signal is not stable |
| Err9 | The maximum range voltage is exceeded, please connect or select the combined sensor correctly |
| Err10 | Storage error |
Using of battery
- as long as the power cord is connected to the AC 220V, that is to charge the battery .
- When electronic scales under voltage indicator blinks to indicate low battery, please plug in the power to charge the device .
- When electronic scale show Lob, said serious low battery. At this time will stop weighing function, please immediately shut down equipment and plugged in to recharge the battery.
- Electronic scales on first use, please charge the battery, it is recommended charging time is more than 24 hours to ensure the battery into safe, stable working conditions
- Recommended to charge immediately when the battery undervoltage in normal use, in order to avoid long time work under the undervoltage state,it may damage battery and shorten the service life of the battery; Suggest that more than 12 hours per charge time . If not use for a long time, we should pay attention to every two months to deal with a single battery charge, recommended charging time 20 to 24 hours a time, in order to make up the deficiency of battery caused by the loss of itself , Protect the battery from damage, prolong the service life of the battery.
Maintenance and precautions
- In order to ensure clarity and service life of electronic scales, electronic scales in this paragraph should not be placed directly under sunshine, or location should be relatively smooth.
- Should not be placed where severe vibration and dust, to avoid the use in wet environments.
- Do not use strong solvents (such as: benzene and Nitro-based oils) to clean the cabinet.
- It should not be injected the liquid or other conductive particles into the electronic scale to prevent damage and electric shock .
- Built-in electronic scale battery is a consumable, does not belong to warranty scope.
- Within one year of the date from the sales of this paragraph electronic scales, under normal conditions of use, non-artificial problems belong to the warranty scope, the user will set the product and warranty card (the correct number) back to our service point or suppliers. Production plant implementation of a maintenance of the equipment. This paragraph does not allow arbitrary electronic scales open, otherwise no warranty.


