SURFACE LIGHT
38Vs Brass PRODUCT SPECIFICATION
approx 2.7kg (6lb)
| PENDANTS: | one |
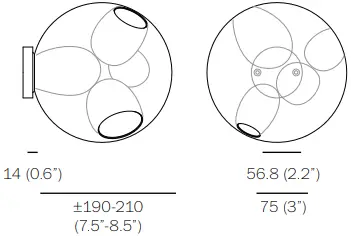
| MOUNTING: | brass mounting plate 75mm (3”) in diameter |
| LAMPING: | 1.5w LED |
| INSTALLATION: | threaded on – wall or ceiling mount |
| MATERIALS: | blown glass, electrical components, metal mounting plate |
| WEIGHT: | approximately 2.7kg (6lb) |
| POWER SUPPLIES: | remote mounted. Power supplies included |
DESCRIPTION
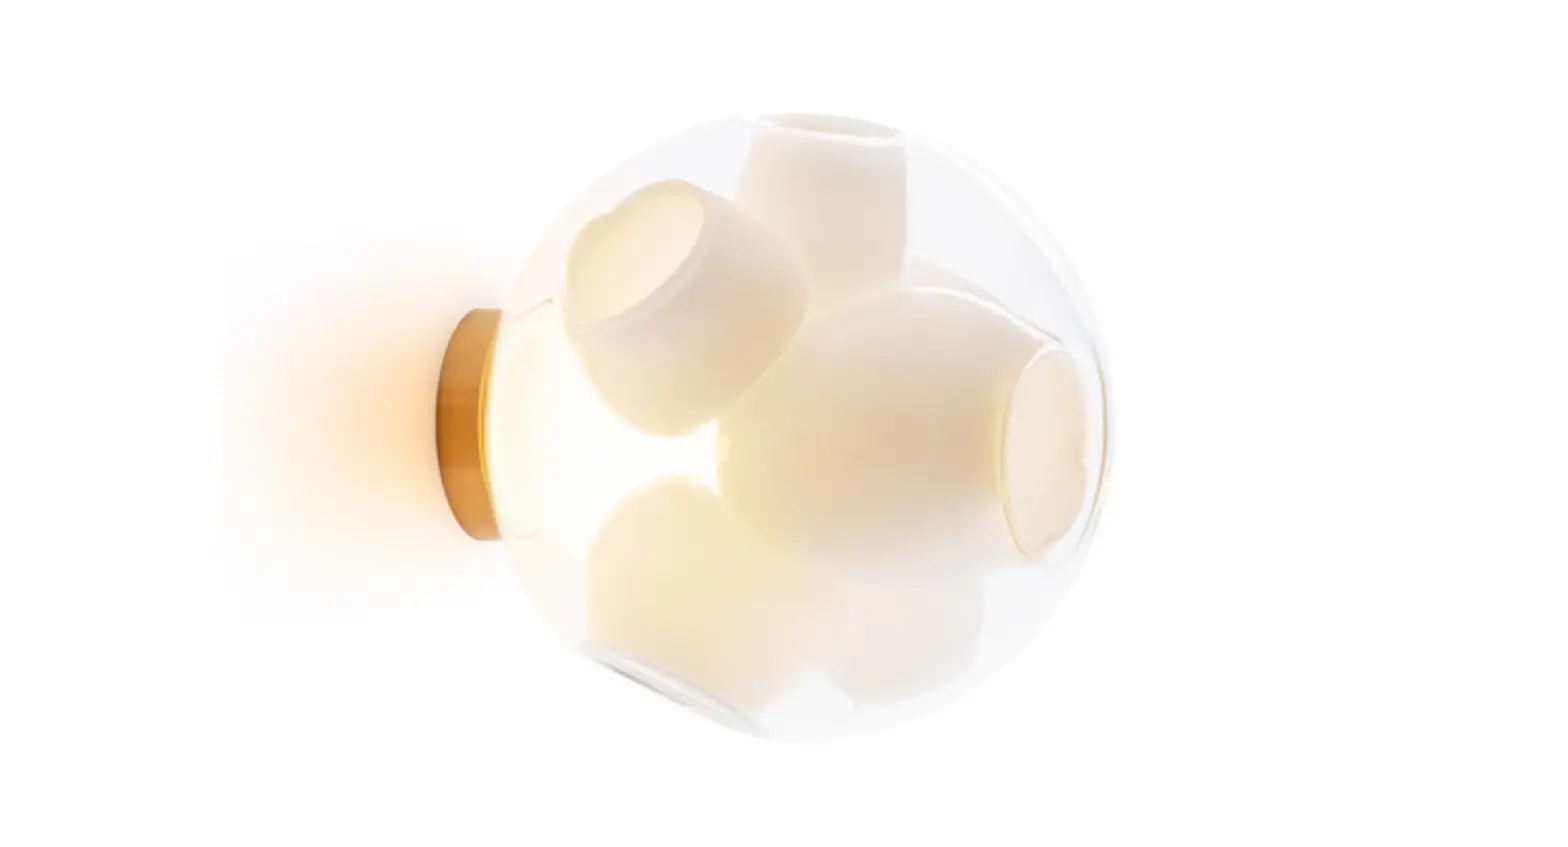
The ‘s’ designation in this variation on the 38V refers to it being surface mounted, with power supplies mounted remotely. This surface light has a 75mm (3”) mounting plate designed for installation on walls.
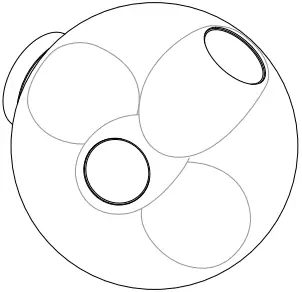
38V is a variant of the original 38 series where a large glass sphere is blown with a multitude of haphazard interior cavities, which intersect and collide in unpredictable ways. 38V is smaller, lighter and suspended with coaxial cables. The interior cavities can be filled with plants or left empty..
Standard 38V are made with clear glass exterior spheres and milk white interior lamp holder cavities.
NOTES
+ Purchase replacement lamps online at www.bocci.com/shop/bulbs
+ Power supplies must be remote mounted
+ The brass mounting base is untreated and, as such, will develop a natural patina over time.
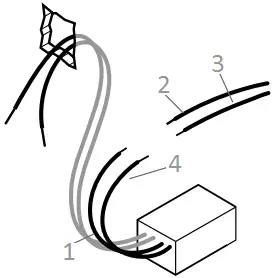
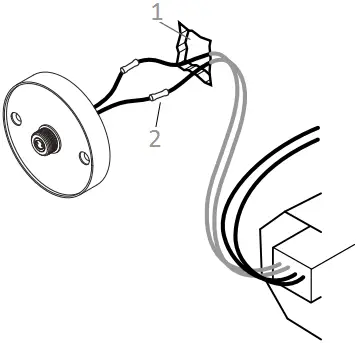
- black (LED)
- Live (black)
- Neutral (white)
- white (LED)
1
Mount power supply remotely and route output wiring from power supply to surface mounted light location.
Connect the black wire to live wire and white wire to neutral wire.
Note: Standard junction boxes are not compatible with the canopy. The surface mounted light base mounts directly to the wall. Power supplies must be remote mounted in a close by, accessible and hidden location for ease of long term maintenance. Installation to be done by certified personnel to ensure code compliance
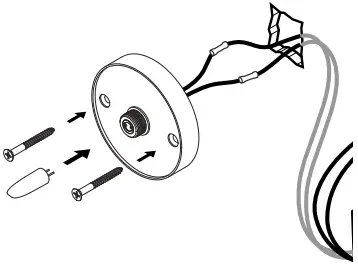
- drill maximum 19 (0.75”) hole
- butt splice
2
Drill a maximum 19mm (0.75”) diameter hole.
Join power supply wiring to mounting base wiring using #16 butt splices, provided (stagger the splices).
3
Tuck wiring into wall opening and affix the mounting base with fasteners provided.
Stagger the provided connectors so that they can be passed through the hole.
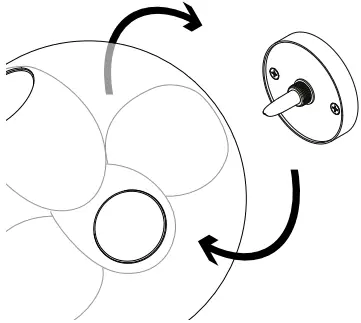
Turn power to fixture on.
Insert provided lamp into socket. Check that each lamp is working properly as you go along by keeping the power on.
4
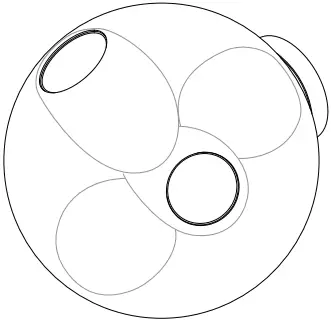
Gently thread glass sconce onto mounting base. Do not tighten past the point of contact.
5
Clean fingerprints from surfaces.
For additional assistance, please contact Bocci:
Vancouver
[email protected]
www.bocci.com
Berlin
[email protected]
www.bocci.com
EU Patent # 002071019-001
Made in Vancouver, Canada


LOW VOLTAGE LUMINAIRE E476186
![]() © 2021, Bocci Design and Manufacturing Inc. All rights reserved. Any inquiries should be directed to: [email protected]
© 2021, Bocci Design and Manufacturing Inc. All rights reserved. Any inquiries should be directed to: [email protected]


