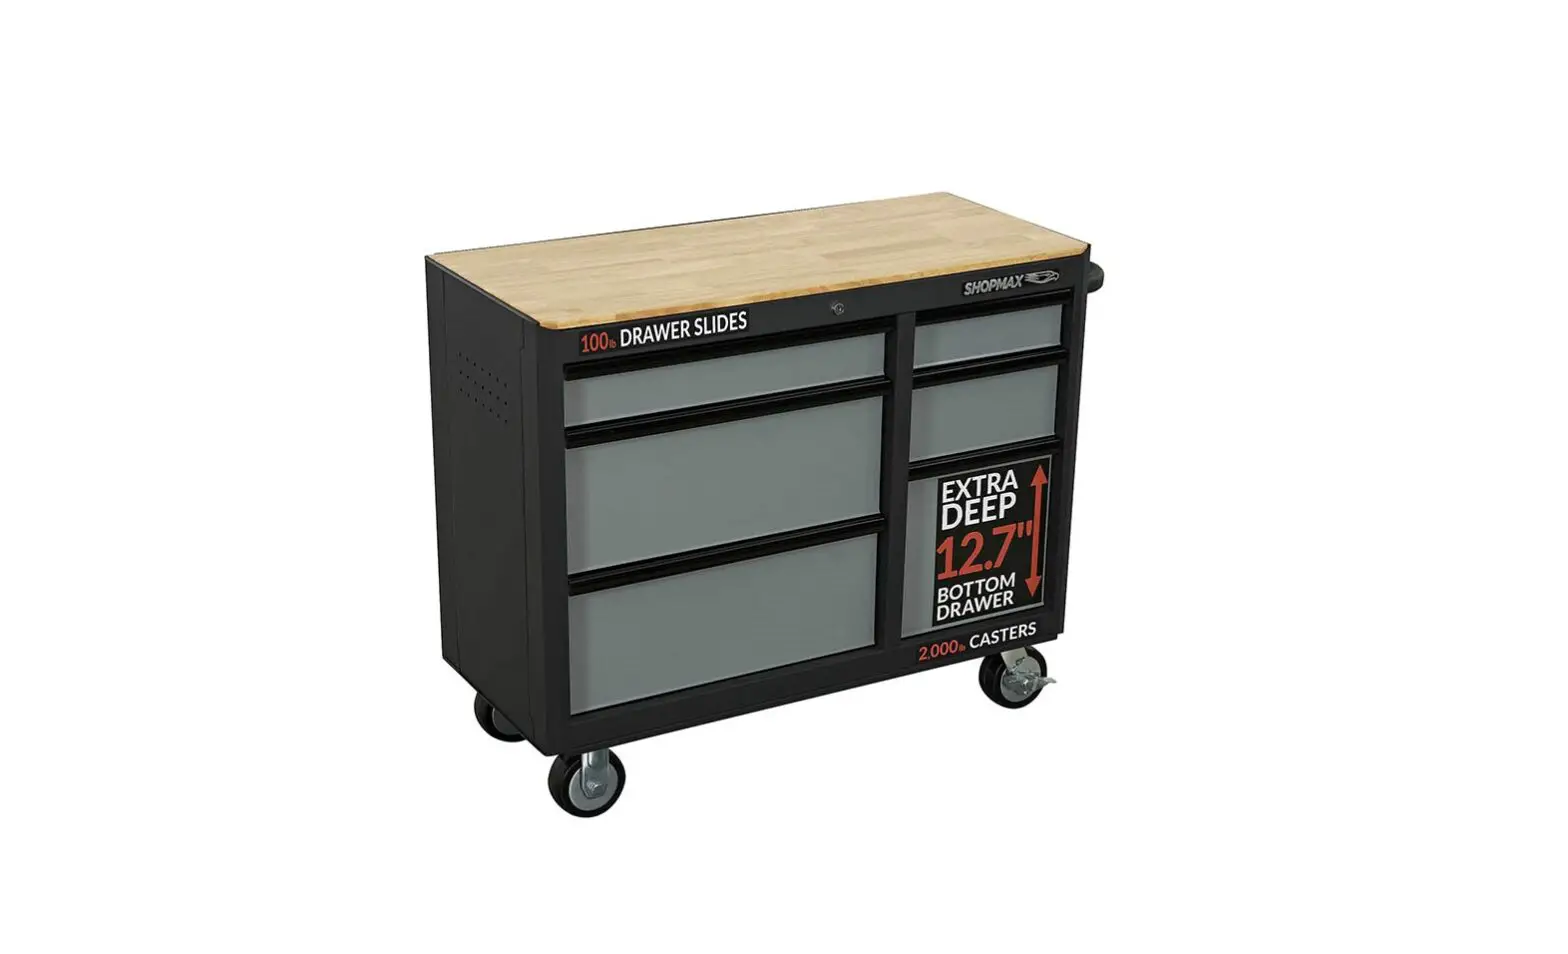
SHOPMAX 964106R5 41 Inch 6 Drawer Mobile Workstation Owner’s Manual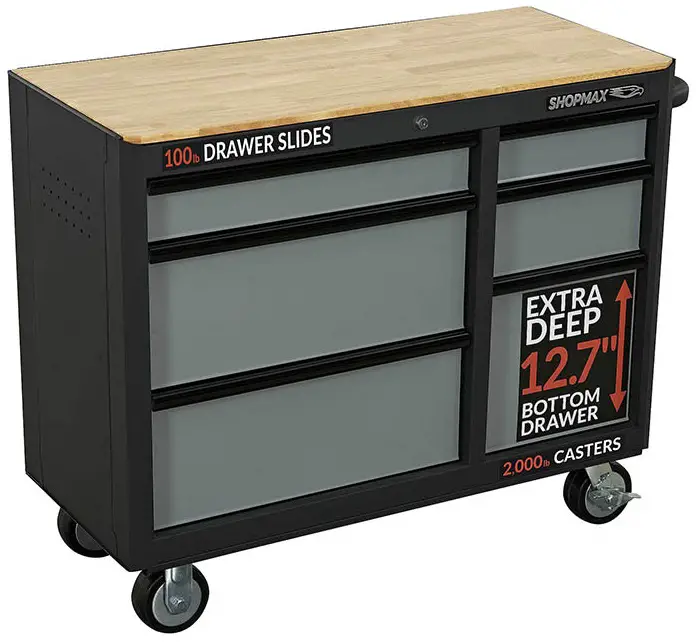
SERIAL NUMBER
Both model number and serial number may be found on the carton. You should
record both of them in a safe place for future use
WARNING
Carefully read and understand this entire operator’s manual before installing and using this product. Pay attention to all the cautions and warnings.
SPECIFICATIONS
| Model | Drawer Slide Weight Rating | Weight Capacity |
| 964106R5 | 100 lbs | 1000 lbs |
| 964609G7 | 100 lbs | 1200ibs |
| 96520955 | 100 lbs | 1200ibs |
| 96521155 | 100 lbs | 1200ibs |
SYMBOLS
 | Read and follow all safety rules and operating instructions |
 | Keep wheels locked when not moving this product. This will prevent the product from rolling. |
 | Close and lock drawers before moving this cabinet. |
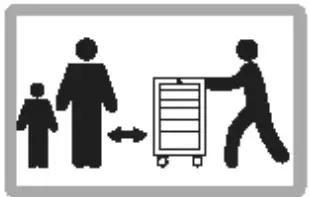 | Keep children and bystanders off and away. |
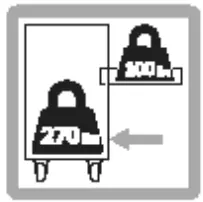 | Do not fully open a drawer loaded to full capacity unless the closed drawers contain a total of at least 270 pounds of content. |
 | Distribute contents of loaded drawers evenly. Load drawers starting in the back first and load forward as needed |
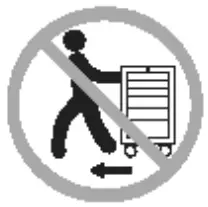 | DO NOT drag while moving -always push. |
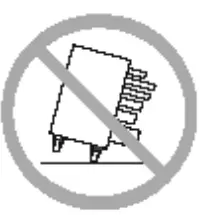
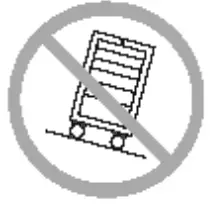 | Keep the product on I….J surfaces. |
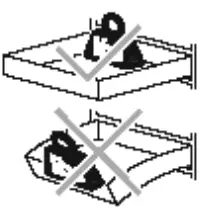
 | DO NOT step in the drawers. |
 | Do not stand on this product. |
 | DO NOT open more than one drawer at a time. |
 | Never exceed maximum weight capacity for each drawer or shelf |
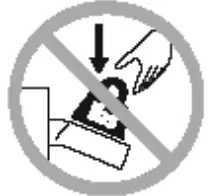 | DO NOT drop heavy objects into drawers or push down on open drawers. |
 | DO NOT exceed the maximum height capacity for each drawer or shelf. |
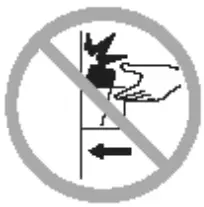
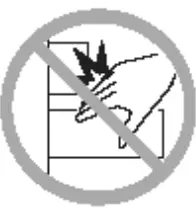 | Be careful when closing drawers or doors. Remove hands before drawers or doors close completely. |
SAFETY
SIGNAL SAFETY WORDS DEFINITION
The definitions be!Dw give the level of severity for each signal word
DANGER
This symbol is Used to Indicate a hazardous Situation wh1ch, if not avoided. will result in serious injury or death.
WARNING
This symbol points out safety mstruct1ons. Read and follow all instructions before attempting to operate this product. Failure to comply with these instructions could result in serious injury or death.
CAUTION
This symbol indicates a hazard, which, if not avoided, may result in minor injury. moderate injury. or property damage.
NOTE
This information makes the product eas1er to use.
ASSEMBLY SAFETY
WARNING
- Assemble only according to these instructions. lmproper assembly can create hazards.
- Wear ANS£-approved safety goggles and heavy-duty work gloves during assembly.
- Keep assembly area clean and well lit.
- Keep bystanders out of the area during assembly.
- DO NOT assemble when tired or when under influence of alcohol, drugs or medication.
- Weight capacity and other product capacities apply to properly and completely assembled product only.
- Assemble on a flat, level, hard and smooth surface capable of safely supporting a fully loaded workstation.
OPERATION SAFETY
DANGER
- DO NOT sit, stand or climb on this unit.
- This product Is not a toy nor a toy chest. Do notallow children to play with or near this item.
- Be aware of dynamic loading! Sudden load movement may briefly create excess load causing product failure. Do not exceed capacity of the bench or shelf supporting Top Chest.
- DO NOT open more than one drawer at once. This workstation may become unstable and tip over causing personal injury and/or product damage.
- Be careful! when closing the drawers, the cover or doors. Remove hands before the cover/drawer/door close completely to prevent personal injury.
WARNING
- Make sure the lid lock or drawer lock is in the unlocked position before closing the lid or drawer. Failure to do so could result in a defective lock system and/or personal injury.
- Before locking, make sure the drawers are completely closed in order for lock system to work properly.
- Empty, close, and lock drawers before moving.
- DO NOT pull this product push it when moving. Pushing the unit will prevent serious ankle and foot injuries.
- DO NOT move the item after stacking the top chest on the bottom workstation, it could cause the chest to topple.
- Use only on flat, level, hard and smooth surface capable of safely supporting a fully loaded Workstation. Do not roll Workstation over concrete seams or other rough/uneven surfaces.
- DO NOT move or lift while loaded. Do not lift using handle(s).
- DO NOT lift workbench by wood top. Wood top may separate causing injury.
- DO NOT lift this product directly with a forklift or tow with any mechanical devices.
- To prevent tipping, move using supplied handle on Bottom the item only.
- Apply caster brakes unless moving the item.
- Secure this product properly before moving it with a forklift.
- • DO NOT tow the product by mounting on truck bed or any other moving object. This may cause personal injure or product damage. Mounting this product ot any vehicle in any manner will void warranty.
• Use as intended only. Do not use for food preparation.
• DO NOT alter this product in any manner. For example, do not weld external lock bars or attach electrical equipment. - • Inspect before every use; do not use if parts are loose or damaged.
• Maintain product labels and nameplates. These carry important safety information. If unreadable or missing, Call us at 874-327-0566 or 8-44 email us at Infoshopmaxcom for a replacement.
UNPACKING THE CONTAINER
Use sdssols or a knife to cut all the straps. Uft off the carton and dispose of property. ( SH Flgurt 1 & 2}
CONTENT SUPPLIED
Your SHOPMAX product comes partially assembled and contains the fallowing:
P«kage Content of the Mobile Workstation
| No | Description | Qty. |
| A | Mobile Workstation | 1 |
| B | Keys (Inside the top drawer | 2 |
| C | Hardware Kit (Inside the top drawer J | 1 |
| D | Side Handle (Inside the bottom drawer) | 1 |
| E | Casters (Inside the bottom drawer) | 4 |
| F | Operator’s M a nua I (Inside the top drawer) | 1 |
Hardware Kit. Included:
| Part | Description | Quantity |
| Bolt MB x 25 | 16 | |
| Washer 8 | 16 | |
| Spring Washer 8 | 16 | |
| Screw M6 x 16 | 4 |
Recommended Tools
To assemble your SHOPMAX Workstation, you will need a 14 mm wrench, and a phillips screwdriver.
| Part | Description |
| 14mm Wrench | |
| Phillips Screwdriver |
NOTE
Tools Needed for Assembly, not Supplied.
ASSEMBLY
CAUTION
Two people are recommended for assembly.
SIDE HANDLE INSTALLATION
Position the side handle over the holes on the workstation. Attach with the four screws and tighten with a phillips screwdriver (not supplied}.
CASTERS INSTALLATION
- Be sure the drawers are locked and lay the workstation on its backside. Using packing material to protect the unit.
- Attach the two locking swivel casters to the bottom of the workstation, on the same side as the side handle, tighten with bolts, spring washers and flat washers.
NOTE
Make sure to install both locking swivel casters on the handle side of workbench. - Repeat to install the two static casters on the opposite side of the workstation.
OPERATION
WARNING
For safety, evenly disribute the weight of tools between all drawers. The even distribution will prevent the unit from becoming top heavy and accidentally tipping when a drawer is opened.
GENERAL OPERATION
- Empty all drawers.
- Close all drawers and lock them.
- Unlock swivel casters.
- To prevent tipping, move using the side handle only. Roll workstation to a flat, level, hard and smooth surface capable of safely supporting a fully loaded the workstation. Do not roll workstation over concrete seams or other rough/uneven surfaces.
- Lock swivel casters.
- Unlock drawers and fill them evenly, from bottom to top. Do not exceed weight capacities.
REMOVE THE DRAWER
- Empty the drawer.
- Fully extend the drawer.
- Push the lever on the right slide down, lift the lever on the left side up. Pull out drawer to remove (See Figure 6a & 6b ).
INSTALL THE DRAWER
- Pull slides and slide earner out to a fully extended position (See Figure 7a ).
- Hold the slide on the workstation while aligning it with the slide on drawer.
- Slightly insert one side and repeat for the other side. Slowly push the drawer to its fully closed position to engage the slide.
- Open drawer and reclose to ensure proper operation.
USING THE CASTER BRAKES
To lock the swivel casters, step down on the lever marked ON. Be sure to lock all four swivels casters to prevent the workstation from rolling. To unlock casters, push down on the levers marked OFF.
MANTENANCE
WARNING
Procedures not specifically explained in this manual must be performed only by a qualified technician.
WARNING
To prevent serious injury from tool failure, do not use damaged equipment. If any part becomes damaged, have the problem corrected before further use.
PERIODICAL INSPECTION
- Loose hardware.
- Misalignment or binding of moving parts.
- Brake operation.
- Caster swivel function and movement.
- Cracked or broken parts.
- Any other condition that may affect its safe operation.
CLEAN
- Use mild detergent and water to clean drawer fronts, drawer trim and the other steel surfaces. Avoid harsh, abrasive cleaners, and other corrosive chemicals.
- Grease and oil can be removed with standard, non-abrasive, nonflammable cleaning products.
- Keep dry and avoid damp environments.
- Wood top can be cleaned with damp cloth and wiped dry immediately with dry cloth. If needed, solvent-based wood furniture cleaner can be used.
- Clean up any spills immediately to prevent stains from forming on the wood top.
LUBRICATION
Casters
Lubricate the casters once a year with high quality ball bearing grease. This may be required more often if operating the tool box in colder climates.
Slides
Lubricate the slides semi-annually with high quality, petroleum based lubricant. This may be required more often if operating the tool box in colder climates.
Secure Latch Retention Drawer
Slide for 9641 06R5 & 964609G7
Soft Close IJtrJwl’ Slide ftJr
9fiSZ 1955 • H52t1S5
PARTS DIAGRAM
964106R5 EXPLODED VIEWS
964609G7 EXPLODED VIEWS
| No. | Description | Qty. |
| 1 | Key (2 pieces) | 2 |
| 2 | Lock | 1 |
| 3 | Wooden Top | 1 |
| 4 | Cross Recessed Flat Round Head Screw M6x16 | 4 |
| 5 | Side Handle | 1 |
| 6 | Drawer Slide | 6 |
| 7 | Drawer Slide (Secure Latch Retention) | 12 |
| 8 | Swivel Caster-5″x2″ | 2 |
| 9 | Washer 8 | 16 |
| 10 | Spring Washer 8 | 16 |
| 11 | Bolt M8x25 | 16 |
| 12 | Static Caster-S”x2″ | 2 |
964609G7 PART IJST
| No. | Description | Qty. |
| 1 | Key (2 pieces) | 2 |
| 2 | Lock | 1 |
| 3 | Wooden Top | 1 |
| 4 | Cross Recessed Flat Round Head Screw M6x16 | 12 |
| 5 | Side Handle | 1 |
| 6 | Drawer Slide | 5 |
| 7 | Drawer Slide (Secure Latch Retention) | 22 |
| 8 | Swivel Caster-S”x2″ | 2 |
| 9 | Washer 8 | 16 |
| 10 | Spring Washer 8 | 16 |
| 11 | Bolt M8x25 | 16 |
| 12 | Static Caster-S”x2″ | 2 |
965209S5 EXPLODED VIEWS
| No | Description | Qty. |
| 1 | Key (2 pieces) | 2 |
| 2 | Lock | 1 |
| 3 | Wooden Top | 1 |
| 4 | Cross Recessed Flat Round Head Screw M6x16 | 12 |
| 5 | Side Handle | 1 |
| 6 | Drawer Slide | 5 |
| 7 | Drawer Slide (Secure Latch Retention) | 18 |
| 8 | Swivel Caster-S”x2″ | 2 |
| 9 | Washer 8 | 16 |
| 10 | Spring Washer 8 | 16 |
| 11 | Bolt M8x25 | 16 |
| 12 | Static Caster-S”x2″ | 2 |
965211S5 PART LIST
| No | Description | Qty. |
| 1 | Key (2 pieces) | 2 |
| 2 | Lock | 1 |
| 3 | Wooden Top | 1 |
| 4 | Cross Recessed Flat Round Head Screw M6x16 | 12 |
| 5 | Side Handle | 1 |
| 6 | Drawer Slide | 5 |
| 7 | Drawer Slide (Secure Latch Retention) | 22 |
| 8 | Swivel Caster-S”x2″ | 2 |
| 9 | Washer 8 | 16 |
| 10 | Spring Washer 8 | 16 |
| 11 | Bolt M8x25 | 16 |
| 12 | Static Caster-S”x2″ | 2 |
WARRANTY
WARRANTY INFO
The warranty set forth below is given by YARDMAX with respect to new merchandise purchased and used in the United States and/or its territories and possessions. YARDMAX warrants its product, subject to limitations and exclusions below, against defects in material and workmanship for a period of three (3)
years commencing on the date of original purchase, and will, at its discretion, repair or replace, free of charge to the customer, any part found to be defective in material or workmanship when the product is solely used for residential purposes during the three (3) year period.
LIMITATIONS AND EXCLUSIONS
YARDMAX warranty does not cover normal wear and tear, neglect, accident, improper assembly, improper maintenance, modification, alteration, improper repair, use of parts not approved by YARDMAX or product damage due to misuse by the customer. Replacement of products or parts due to normal wear and tear is the responsibility of the customer. Proof of original purchase is required. The warranty is non-transferrable. This limited warranty shall only apply if the product has been assembled, operated, and maintained in accordance with Owner Manual supplied with the product. No Implied Warranty, including any implied warranty of merchantability or fitness for a particular purpose, applies after the expiration of the applicable period of express written warranty provided above. No other express
warranty, whether written or oral, except mentioned herein, given by any person or entity, including a Bdealer or retailer, with respect to any product, shall bind YARDMAx. The provisions as set forth herein in this warranty provide the sole and exclusive remedy arising from the sale. YARDMAX shall not be liable for
incidental or consequential damages to the extent allowable by law. The customer may have other rights not disclosed herein; and they may vary from state to state.
Have questions about your SHOPMAX equipment?
Call us at 847-327-o566 or 844-YARDAfA.Jt email us at [email protected].


