![]()
User manual
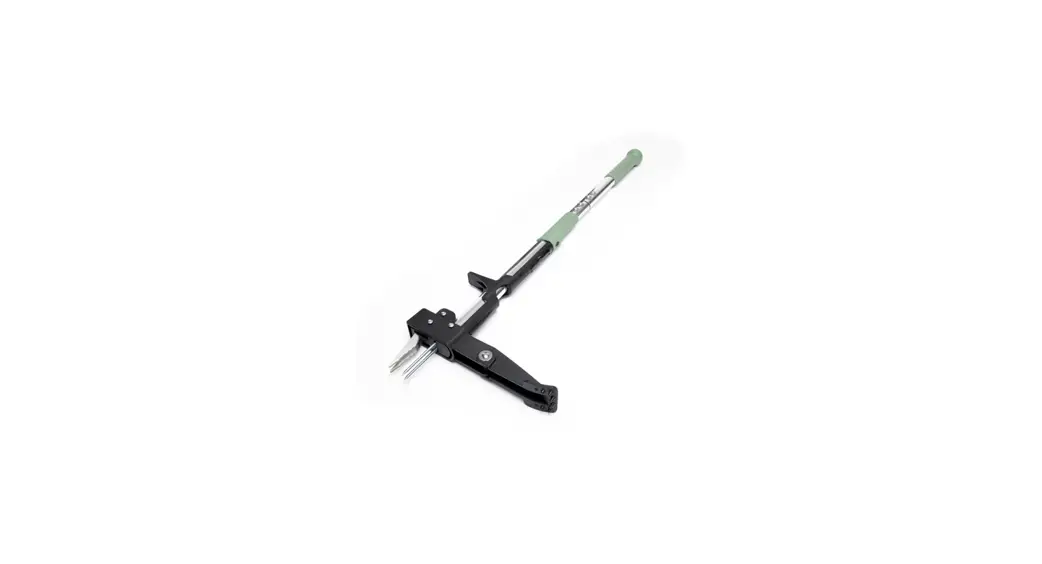
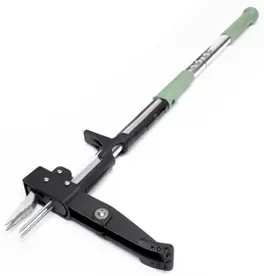
MODEL: 6581N Stand-up Weed Puller

Assembly Instructions
STEP 1:
Remove all hardware from the package. This should include two long bolts, two small screws, four washers, and two Allen keys as pictured.
 STEP 2:
Remove and discard the black plug from the bottom section of the Weed Puller (this is there for shipping purposes only).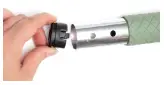 STEP 3:
‘Push the top handle into the base of the Weed Puller. Please note, that this will only attach in one direction.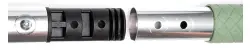 STEP 4:
Place one washer over the long bolt and push through one side of the fixture hole. Place a washer over one small screw and insert it into the other side of the bolt. Tighten with the two Allen keys simultaneously.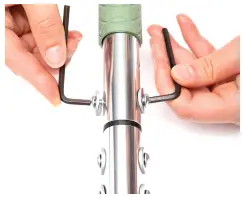 STEP 5: Repeat the process for the remaining hole. Now you are ready to get the wedding!
Instructions
STEP 1:
Place the claw over the center of the weed. This is important as you want to remove the entire root.
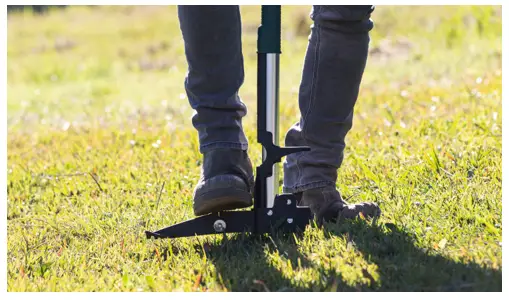
STEP 2:Press down on the foot peddle until it is level with the grass.
STEP 3:
Pull the Weed Puller away from the weed onto the foot peddle. This will close the claw around the weed.
STEP 4:
Continue to lean the handle of the Weed Puller back until the weed has lifted from the ground.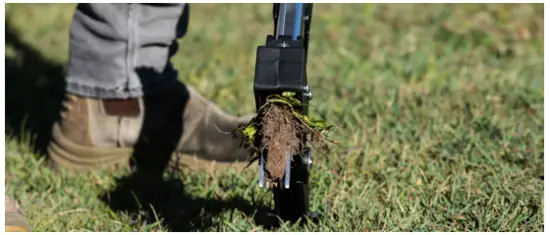 STEP 5:
Hold the green rubber grip on the handle and push down to open the claw and eject the weed.
TIP
Rinse or wipe the claws clean after use to prevent any dirt from building up inside the mechanism.
![]()
For more information vis hoselink.com
or call 1300 900 617
Cultivating Connections


