eldes EWC1 Curtain Motion Detector Instructions
DEVICE ACTIVATION
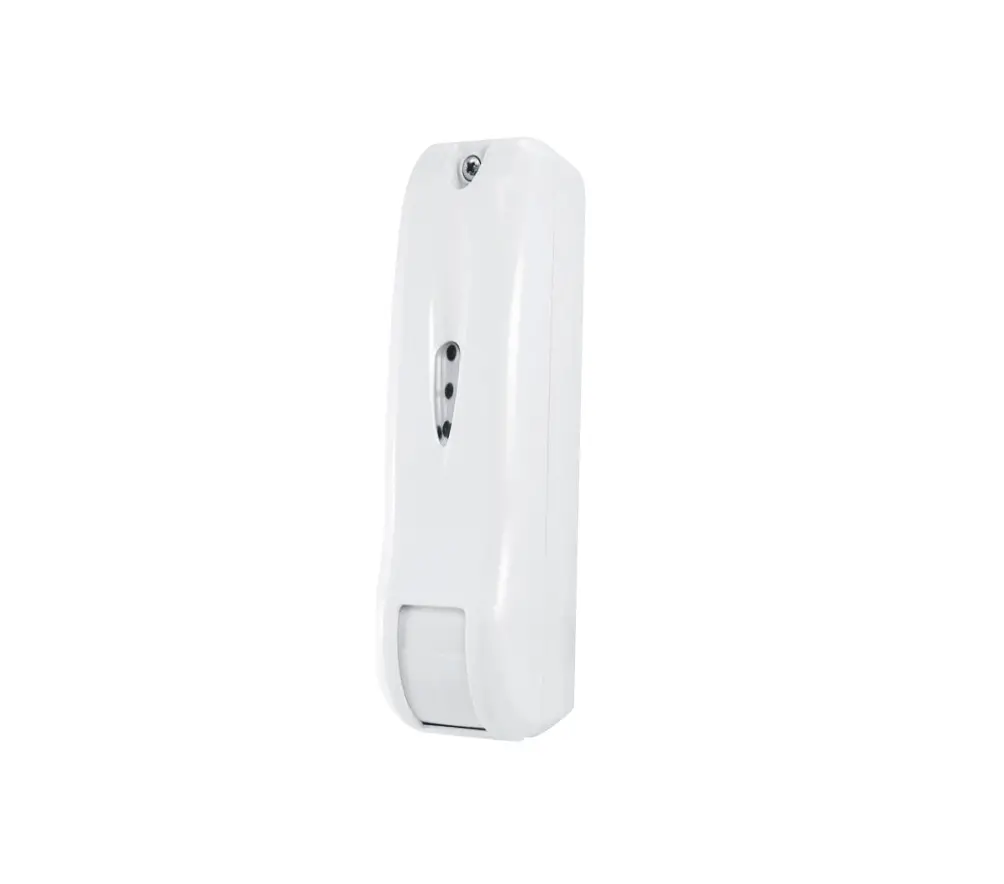
- Unscrew a single screw to open the plastic enclosure.
- Check the position of DIP switches: DIP2 must be ON, and the rest of DIP switches (i.e. DiP1, DIP3 and DIP4) must be OFF.
- Gently remove the hardware board (use a screwdriver).
- Activate the battery (remove the plastic tab).
- Check and remember (write down) the ID number of EWD3 device.
- Mount the device’s plastic enclosure to the wall or another surface (follow the recommendations from the original manufacturer’s manual).
NOTE: The package includes 2 different mounting bases.
ATTENTION!: Before mounting the device, you must check the wireless signal first! - Put the hardware board back in its place.
- Close the plastic enclosure.
- Screw in the plastic enclosure (use the single screw).
- Connect the device to the system via Eldes Utility software.
DEVICE CONNECTION TO THE SYSTEM
- Launch Eldes Utility software and add the new EWD3 device to the system using its ID number (see DEVICE ACTIVATION step No 5).
- Configure the first EWD3 zone (Zone 1), setting it as a ‘Digital zone’.
NOTE: ‘Digital zone’ is designed for causing an alarm (by default) if the wired digital sensor, connected to Z and COM terminals, is triggered, while the system is armed. This mode does NOT operate with Flood sensor mode on Zone 2 simultaneously. - Change zone’s name (optional).
- Set zone type to ‘Instant’.
- Set the ‘Alarm Count to Bypass’ value to zero (0).
- By default, zone’s attributes ‘Force’ and ‘Stay’ are turned ‘OFF’. We recommend leaving it like that.
- Set the ‘Input connection mode’ to ‘NC’ position.
- Set the ‘Tamper Enabled’ option to ‘ON’.
- Change tamper’s name (optional).
- Save the configuration (click ‘Write settings’).
 Please be aware that the new Eldes solution is based on a third-party device. For more information about this solution, visit eldesalarms.com.
According to the original manufacturer’s manual, the default ‘Inhibition time’ between alarms is 6 minutes (configurable to 3 minutes). Please check the original manufacturer’s manual for more detail


