![]()
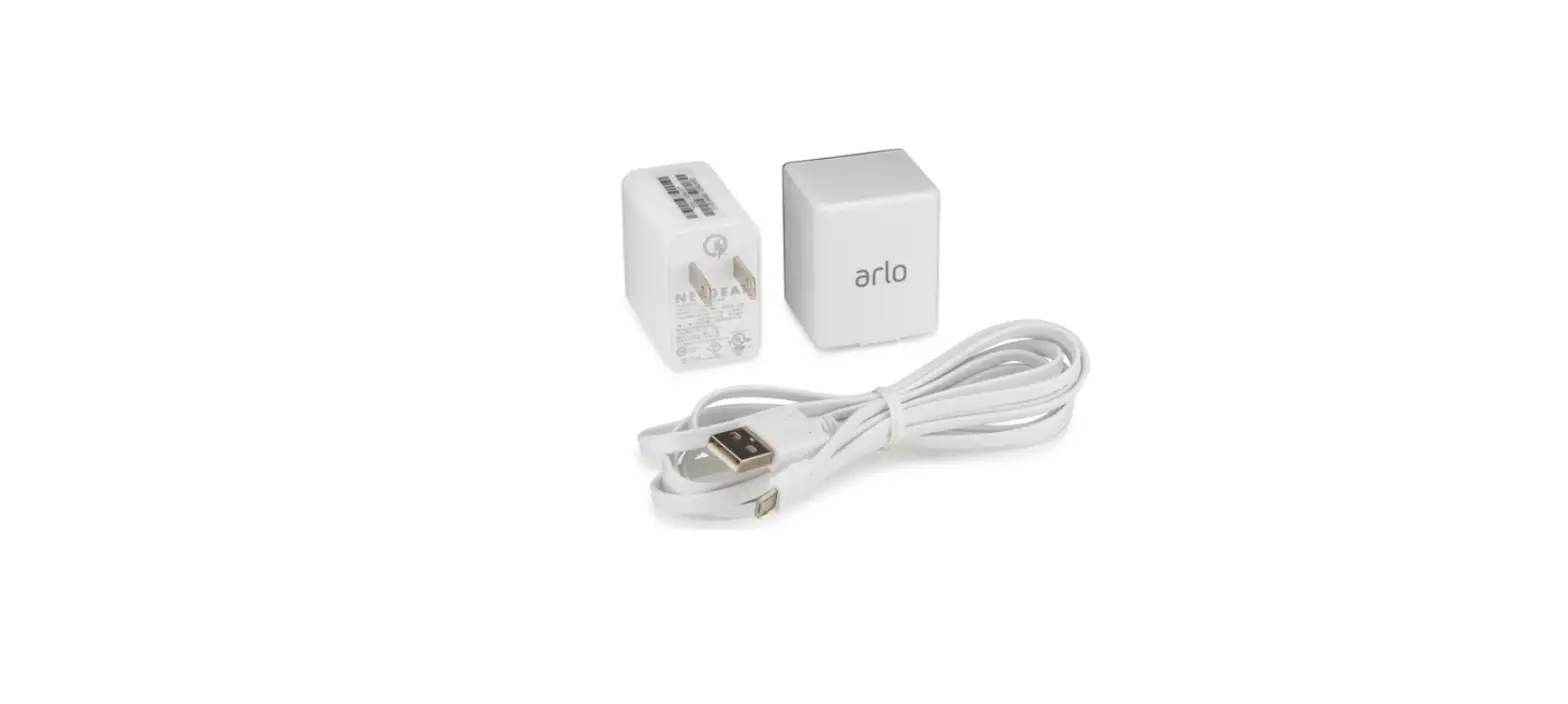
Arlo Pro 2 camera battery charging
My Arlo Pro or Arlo Pro 2 camera battery isn’t charging; what do I do?
To troubleshoot problems with your Arlo Pro or Arlo Pro2 camera battery:
- Make sure that you’re using the charger that came in the box with your camera or the charging station (sold separately) that’s compatible with your Arlo Pro camera to charge your camera’s rechargeable battery.
- Make sure that the power adapter cable is fully inserted into the AC power adapter and your camera.
- Make sure that the USB port cap is tightly sealed before placing your camera outside.
- Try removing and reinserting the battery and power adapter cable.
Note: Make sure that you insert the battery in your camera before you plug in the charger. - Log in to your Arlo account and make sure that your camera is online and that the charger icon is displaying while you’re charging your cameras. If the charger icon isn’t displaying, your camera isn’t charging and is operating on battery power.
- Log in to you Arlo account and check whether the following error message is displaying: “The charging source connected to the camera cannot charge your battery. Please use an Arlo power adapter.”
If you see this error message, try the following:- Try charging a different camera with the same power adapter. If the power adapter charges a different camera, the issue is with the original camera that you tried to charge.
- Try charging your camera with a different Arlo power adapter.
- Check the LED behavior when your camera is charging.
If the LED quickly blinks amber for three seconds, try the following:- Wipe any debris off of the battery or camera’s contacts.
- Try using the battery with a different camera. If your battery issue persists with a different camera, you might need to replace your camera.
For more information about your camera’s LED patterns, visit What do the different LED behaviors on my Arlo Wire-Free, Arlo Pro Wire-Free, or Arlo Pro 2 Wire-Free camera mean?.
- Try resetting your Arlo system to factory default settings.
For information about resetting your Arlo system, visit:- How can I reset my Arlo base station to the default values?
- How do I set up and sync my Arlo Wire-Free cameras?
- If you tried the above troubleshooting tips, and you’re still having issues with your battery, contact Arlo customer support.
My Arlo camera will not sync with my Arlo SmartHub or Arlo base station; how can I troubleshoot it?
When you are setting up or adding a new Arlo Ultra, Arlo Wire-Free, Arlo Pro Wire-Free, or Arlo Pro 2 Wire-Free camera to your system, a camera might occasionally fail to synchronize (sync) with your Arlo SmartHub, Arlo base station, Arlo Pro base station with siren, or Arlo Pro 2 base station. An Arlo camera cannot be detected by your system until it is successfully synced. Review these common remedies to troubleshoot this issue.
Keep the camera close to the SmartHub or base station
Make sure that the camera you are trying to sync is no more than three feet away from the base station during the sync process. The sync process does not work if the camera is too far away from the base station when you press and release the Sync button.
Correctly sync the Smarthub or base station to the camera
- If you’re using a single LED SmartHub or base station, you do not need to press a Sync button. If the blue LED is blinking rapidly, your SmartHub or base station is syncing with the camera.

- If you’re using a multi-LED base station, press the Sync button. If the LED above the camera icon is rapidly blinking green, your base station is syncing with your camera.

Note: If the Sync button on the base station is pressed for too long, the LED blinks amber. If this happens, wait for 15 minutes and then try the sync process again. - If using an Arlo Ultra camera, you do not need to press the Sync button. If the blue LED is blinking rapidly, your camera is syncing with the base station.
- If you’re using a Arlo Wire-Free, Arlo Pro Wire-Free, Arlo Pro 2 Wire-Free, or Arlo Go camera, press the Sync button on the top of the camera. If the blue LED is blinking rapidly, your camera is syncing with the base station.
- Repeat these steps for each camera that you want to sync.
Note: You must sync cameras one at a time.


Check battery status
Low batteries can prevent your camera from syncing to the base station. If the battery is low, the battery icon is orange.
To check if your camera’s battery status:
- Launch the Arlo app or log in to your account at my.arlo.com.
- Tap or click the menu icon (…).
- Tap or click Device Settings.
Your battery status displays on the Device Settings page.
Check SmartHub or base station status
If you do not see the base station, you must add the base station to your system before you can sync any cameras to it. If your base station is deactivated, cameras cannot sync to it.
To check your SmartHub or base station status:
- Launch the Arlo app or log in to your account at my.arlo.com.
- Tap or click Settings > My Devices.
- Select your base station. Your base station’s device settings display.
For more information about base station statuses, visit What should I do if the USB LED on my Arlo base station blinks amber? If you tried all of these troubleshooting steps and your Arlo Pro or Arlo Pro 2 Wire-Free camera still will not sync with the base station, visit My Arlo Pro or Arlo Pro 2 Wire-Free camera won’t sync with the base station; what do I do? If you tried all of these troubleshooting options and you still cannot sync your Arlo Wire-Free camera to your base station, visit Arlo Support to speak with an expert.
How does the motion detection feature work on my Arlo cameras?
The motion detection feature works differently on Arlo Q and Arlo Q Plus cameras than it does on Arlo Ultra, Arlo Wire-Free, Arlo Pro Wire-Free, Arlo Pro 2 Wire-Free, and Arlo Go cameras.
Arlo Q and Arlo Q Plus
Arlo Q and Arlo Q Plus cameras analyze changes in video frames to trigger motion detection alerts and recordings. The motion sensitivity settings range from one (low sensitivity) to nine (high sensitivity). In addition, you can create up to three activity zones. Activity zones allow you to focus the camera’s motion detection on a specific area to trigger snapshots or video recording. For more information about activity zones, visit How do I create and use zones on my Arlo Q camera?. Arlo Ultra, Arlo Wire-Free, Arlo Pro Wire-Free, Arlo Pro 2 Wire-Free, and Arlo Go Arlo Ultra, Arlo Wire-Free, Arlo Pro Wire-Free, Arlo Pro 2 Wire-Free, and Arlo Go cameras trigger when the infrared technology detects an object that is warmer than the surrounding environment. The motion sensor is more sensitive to side-to-side movement across its field of view than to movement directly toward or away from the camera. The motion sensitivity settings range from one (low sensitivity) to 100 (high sensitivity).
For more information about motion detection, see the following YouTube videos:
- Arlo Wire-Free: Using Motion Detection
- Arlo Quick Tip: Turning Motion Detection On or Off
- Arlo Wire-Free: Troubleshooting Motion Detection
For more information about optimizing and troubleshooting motion detection, see the following knowledge base articles:
- How do I optimize motion detection for my Arlo Wire-Free, Arlo Pro Wire-Free, Arlo Pro 2 Wire-Free, or Arlo Go camera?
- How do I change the motion sensitivity on my Arlo cameras?
What is the push-to-talk feature on my Arlo camera and how does it work?
Arlo Ultra, Arlo Q, Arlo Q Plus, Arlo Pro, Arlo Pro 2, Arlo Baby, and Arlo Go cameras allow two-way communication between cameras and computers or mobile devices. Use the push-to-talk feature to speak from the computer or mobile device that you are using to view your camera. You can speak to the people or pets that you are viewing on the camera—in real-time.
Note: If the device that you are using is not connected to a microphone, you cannot push to talk. Consider using your mobile phone instead. To use the push-to-talk feature:
- Launch the Arlo app or log in to your Arlo account at my.arlo.com.
- Tap or click Devices > Live. The Microphone icon displays.
- Click or tap and hold the Microphone icon and start speaking. Note: When you are speaking, you cannot hear any sounds from the camera until you release the Microphone button.
- Release the Microphone button to hear sounds from the camera.
- When you are done using the push-to-talk feature, release the Microphone button. Note: Only audio from the camera end is recorded. The viewer’s voice is not recorded and is not audible during video playback.


