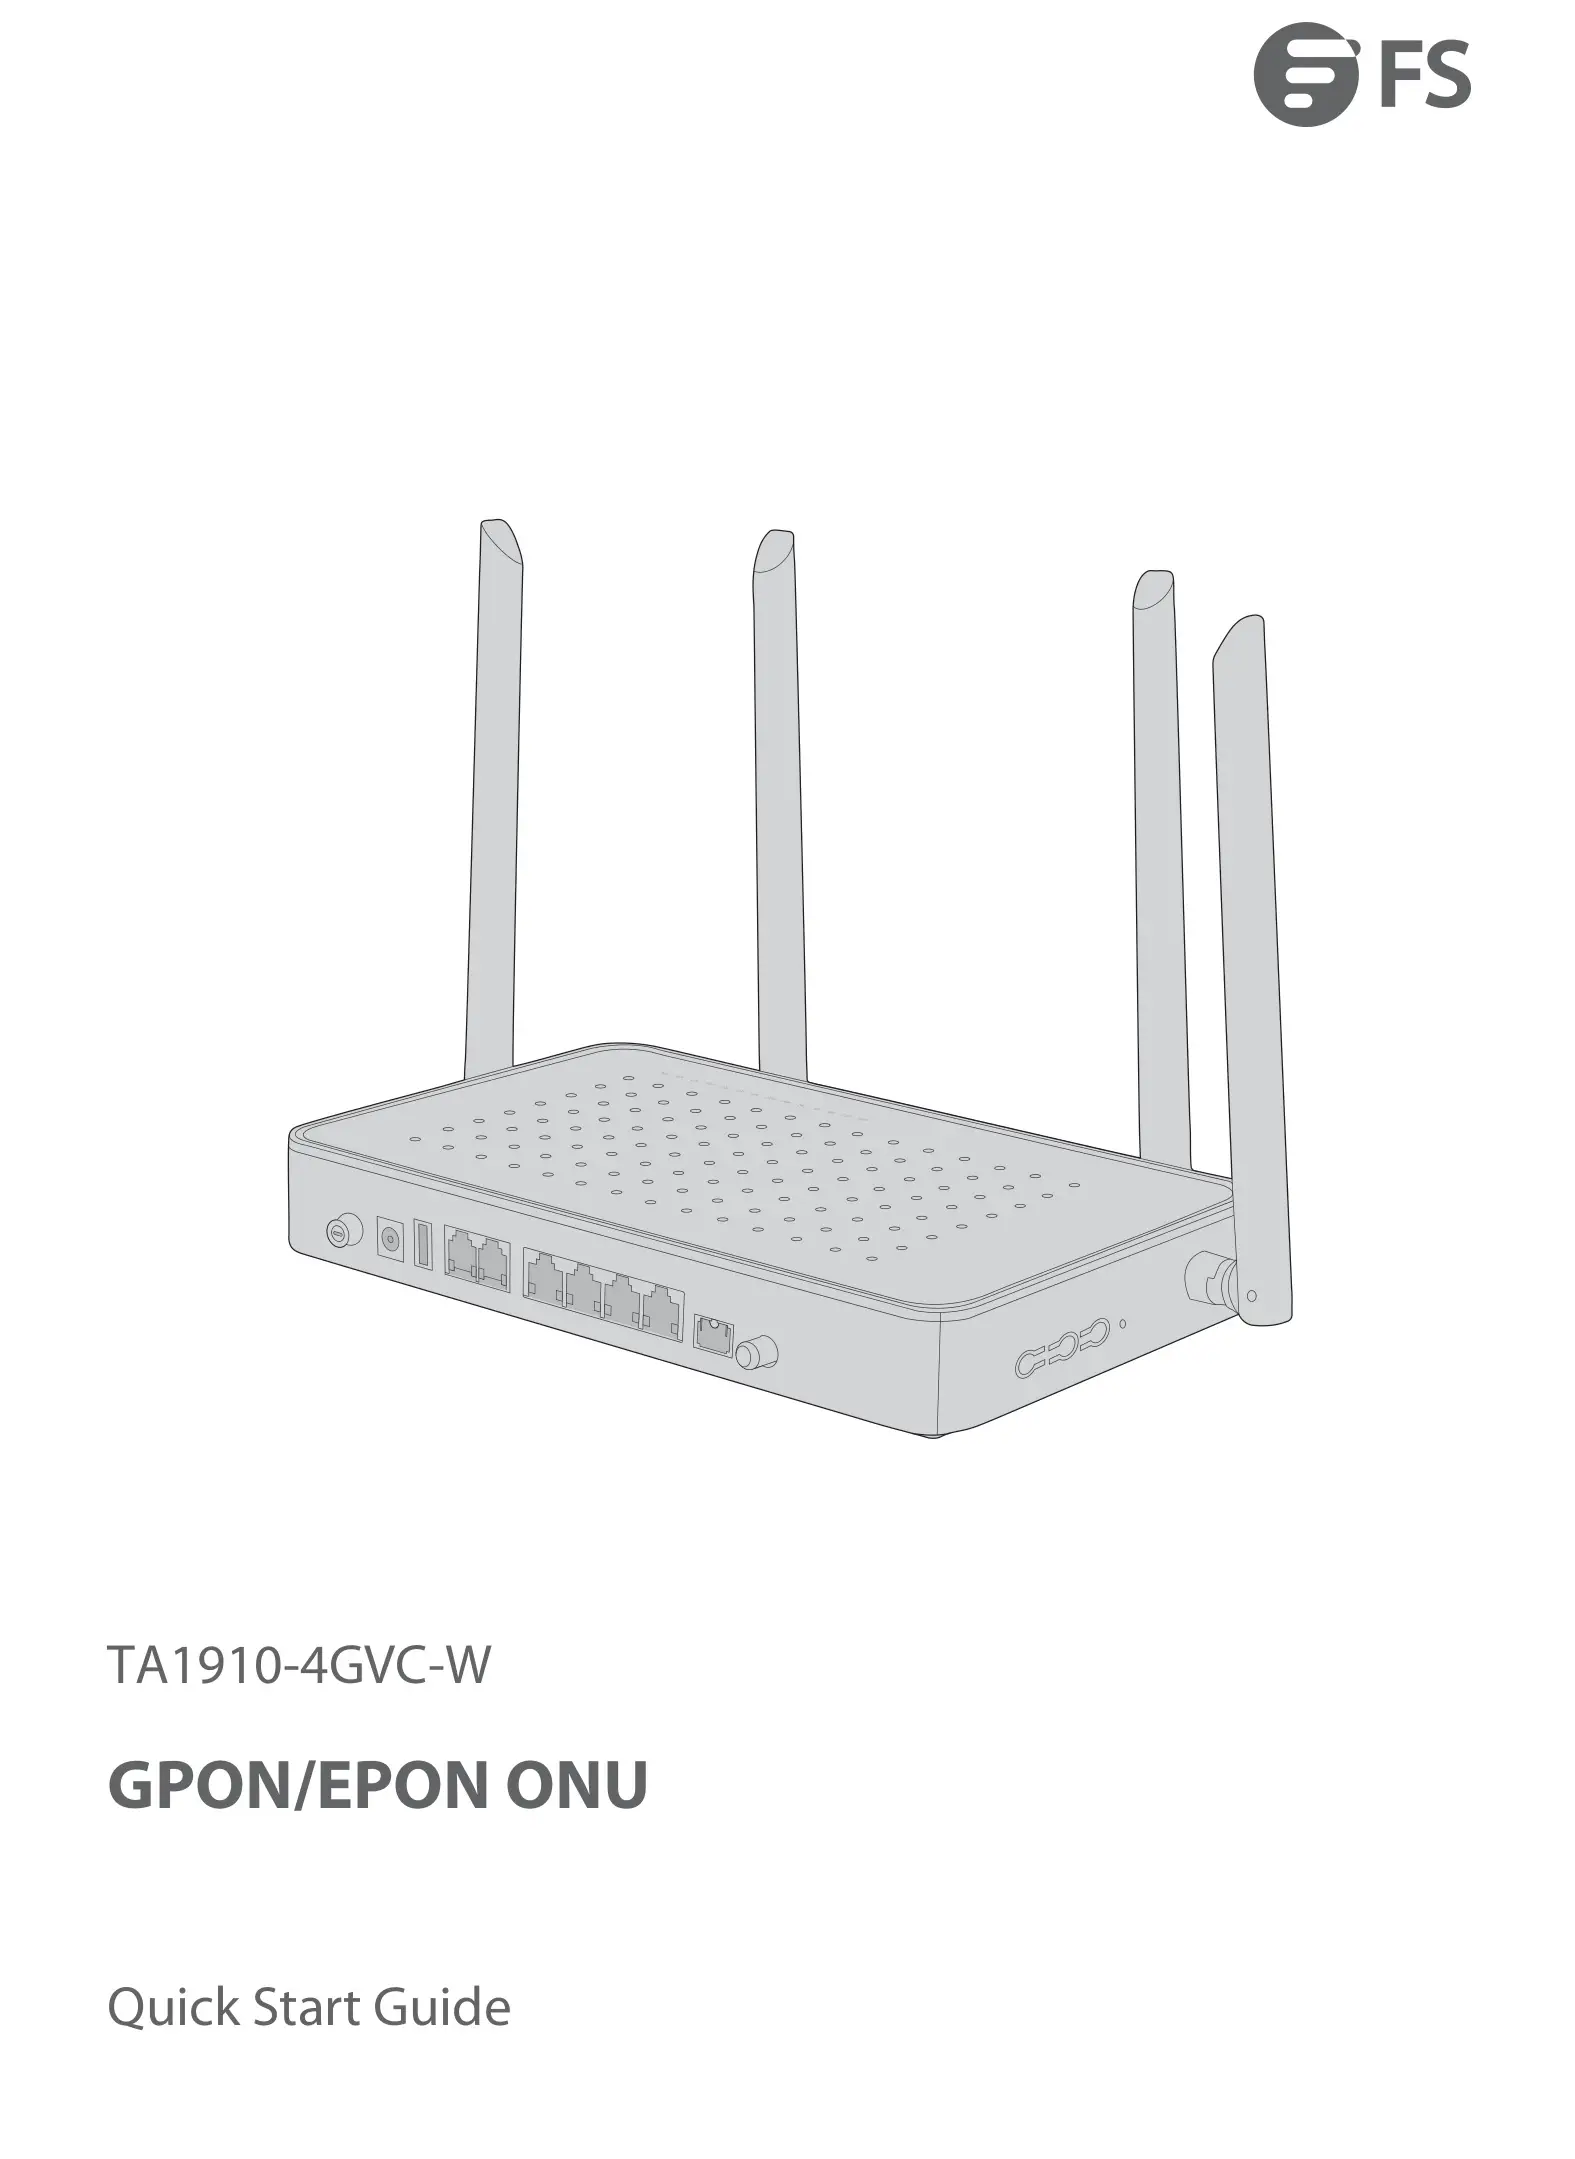
FS TA1910-4GVC-W Integrated Broadband
Access Device User Guide
Introduction
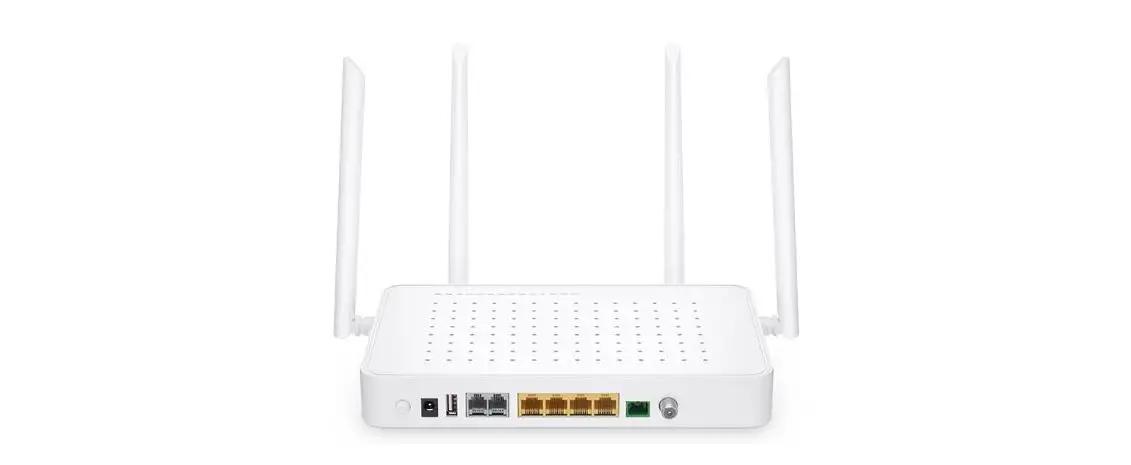
Thank you for choosing TA1910-4GVC-W integrated broadband access device. This guide is designed to familiarize you with the layout of the device and describes how to deploy the device in your network.
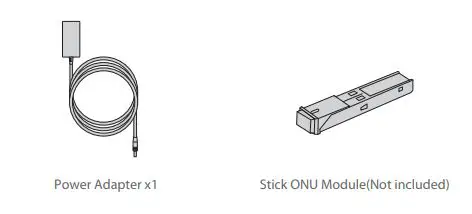
Accessories
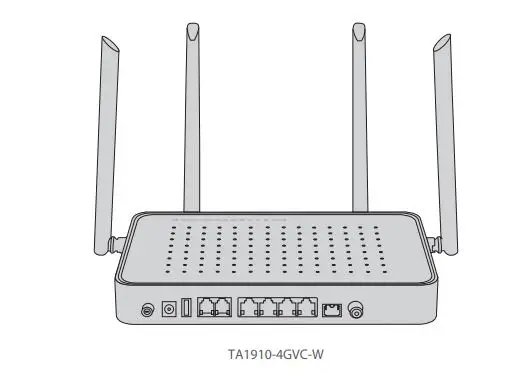
Hardware Overview
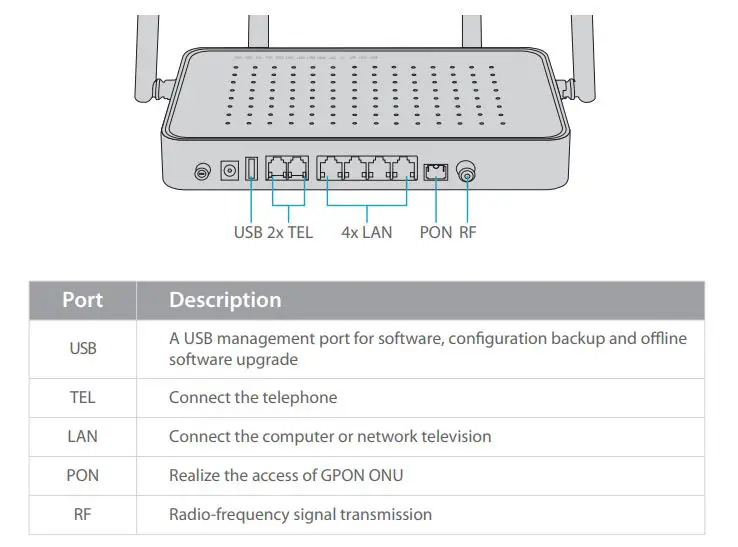
Front Panel Ports
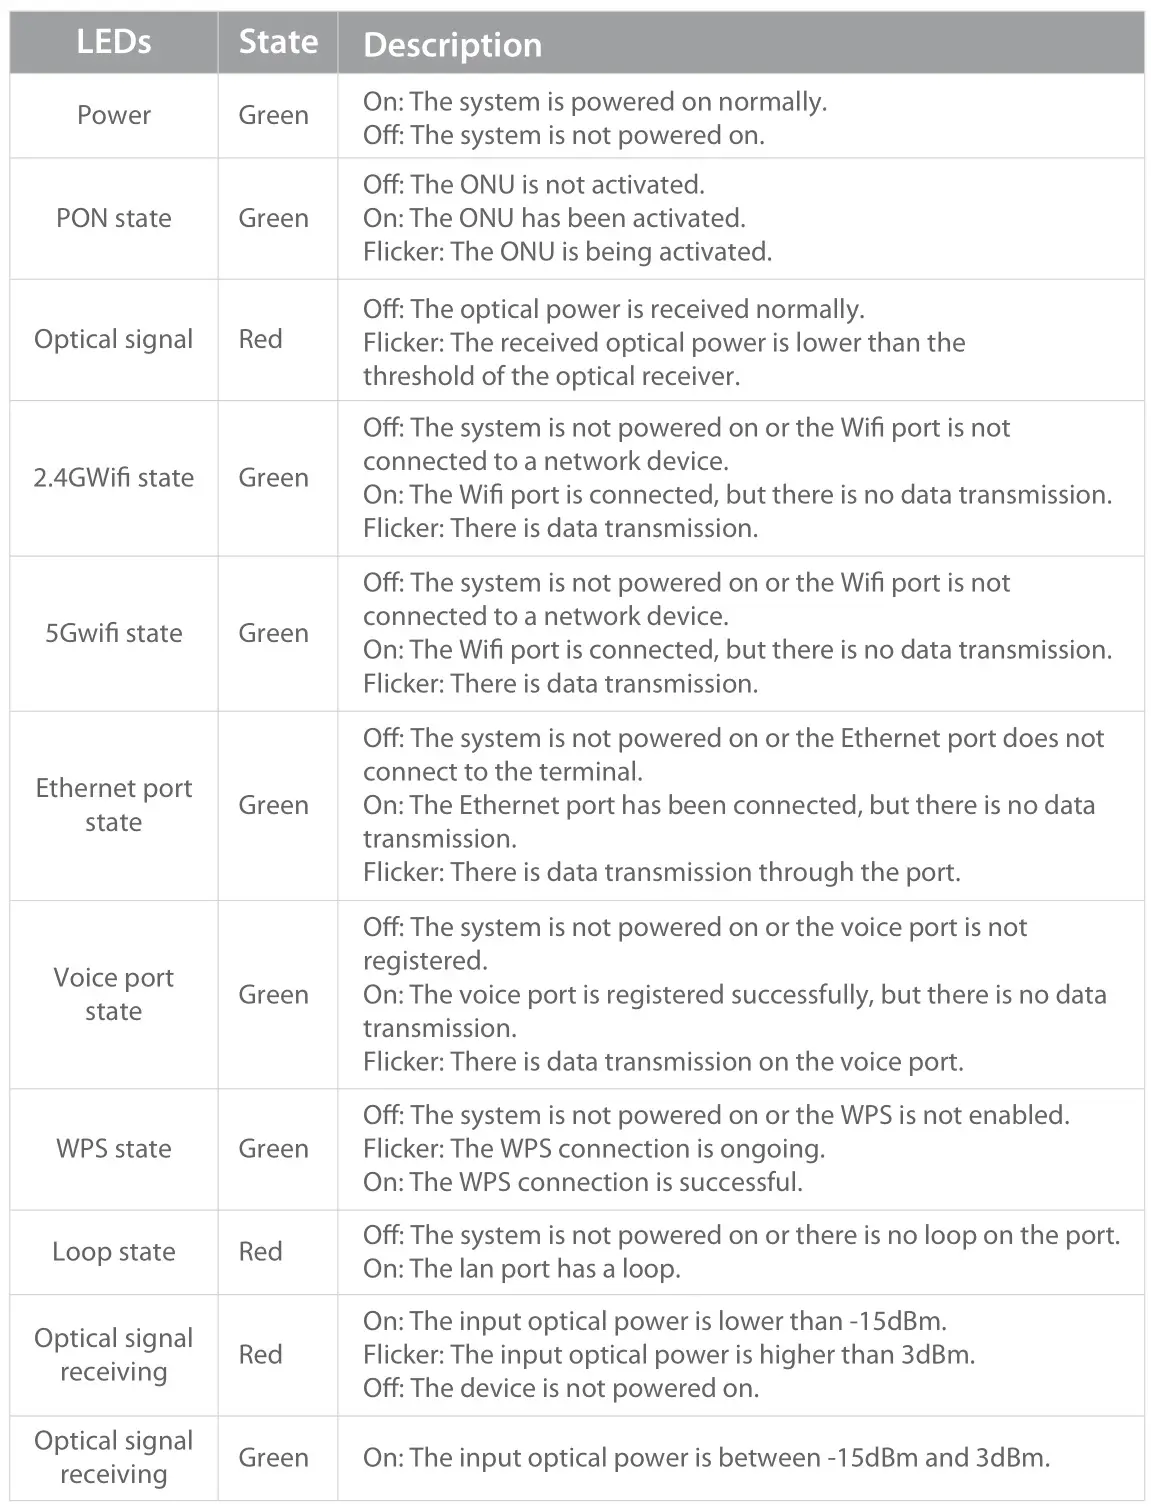
Top Panel LEDs

Installation Requirements
- Make sure the device is put on a horizontal and flat surface.
- To avoid thunder-strike, disconnect all power cords from the power supply and all cables in thunder and rainy days.
- Make sure that the installation site is well-ventilated, the heat of electrical devices is well-discharged and sufficient air circulation is provided for device cooling.
- Use the rated power adapter equipped with the device.
Installation
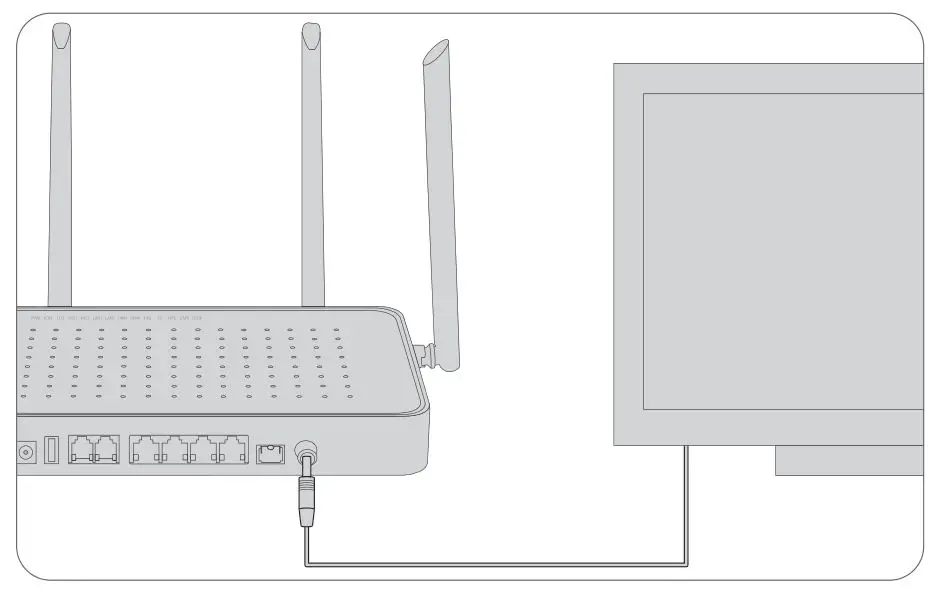
Desk Mounting
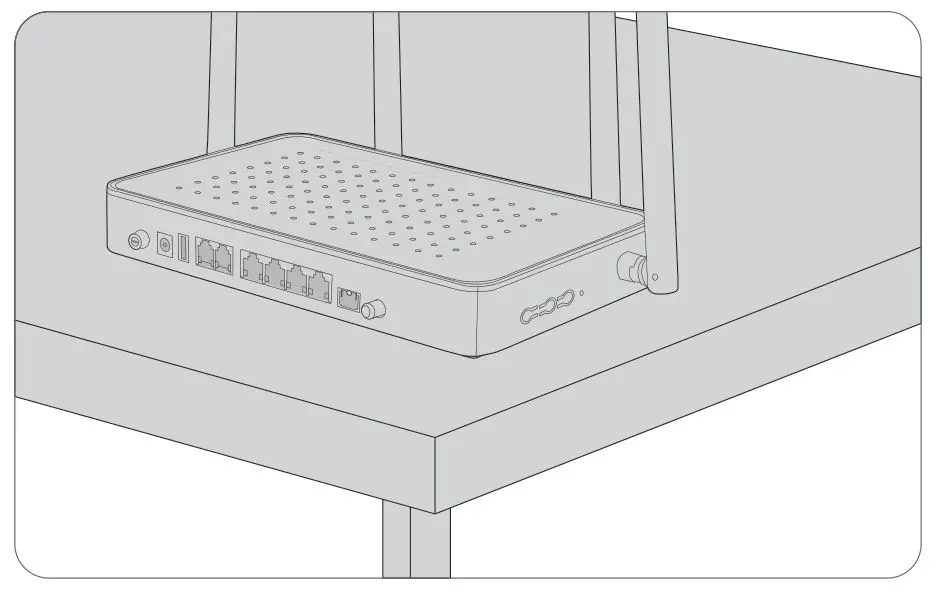
Put the GPON on a smooth and safe desk directly.
Connecting the USB port
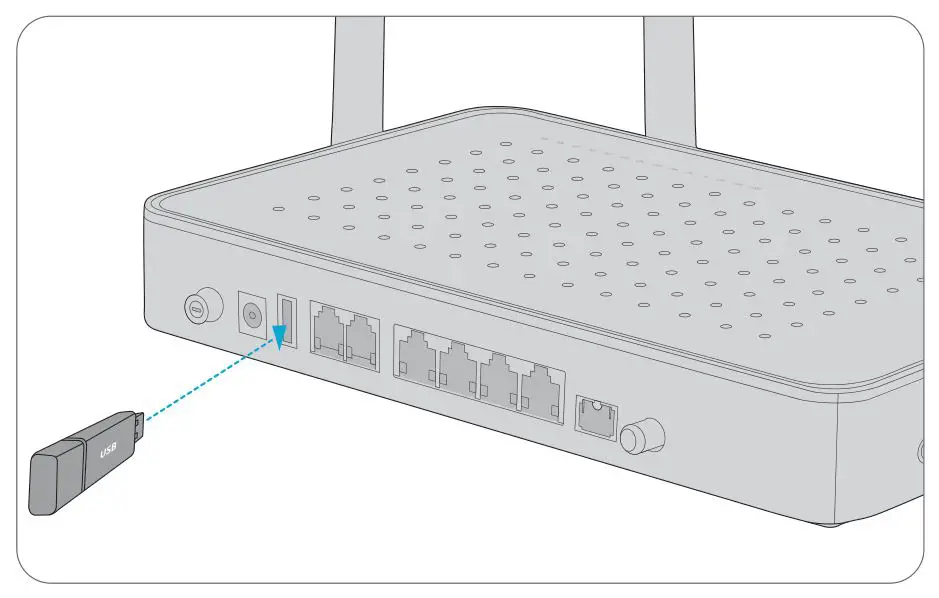
- Insert the Universal Serial Bus(USB) flash disk to the USB port for software and configuration backup and offline software upgrade.
Connecting the TEL Port

Connecting the TEL port to a telephone with a cable.
Connecting the LAN Port
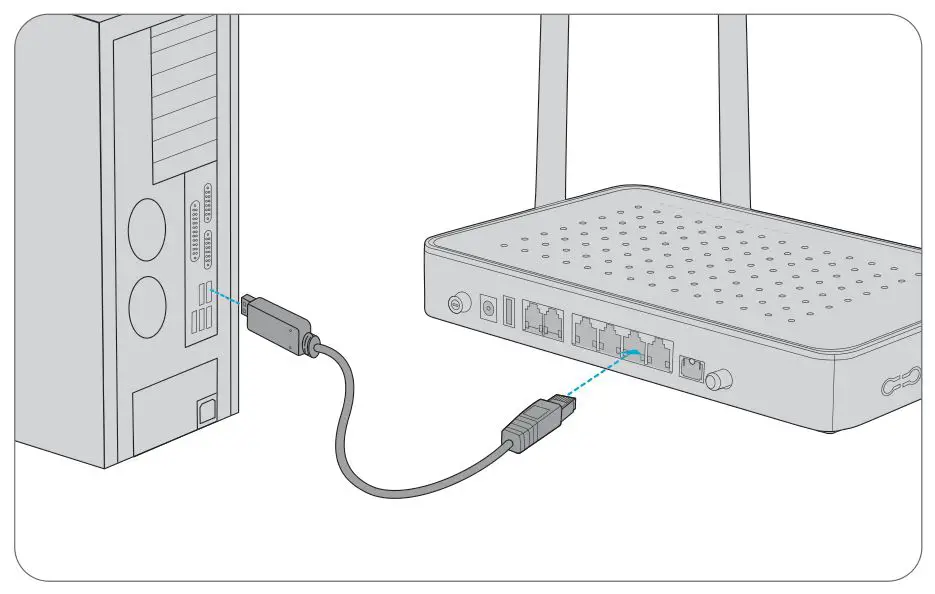
Connecting the LAN port to a computer or a network television with a network cable.
Connecting the PON port
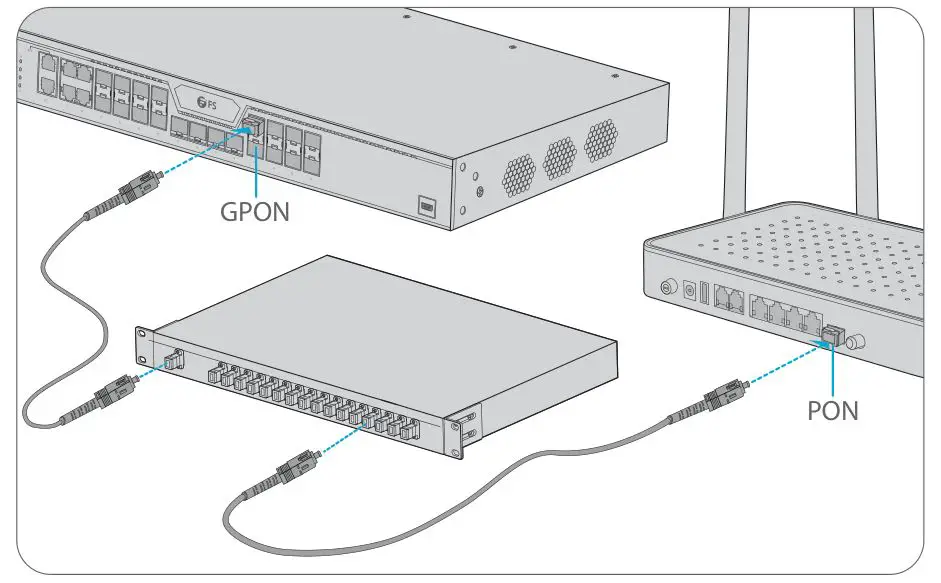
- Insert a Stick ONU module into the PON port of the GPON.
- Connect the Stick ONU module to an optical splitter with a single-mode SC optical fiber cable.
- Then connect the splitter to an OLT with a fiber cable.
Connecting the RF Port
Connecting the RF port to a cable television with a network cable.
Configuring the GPON
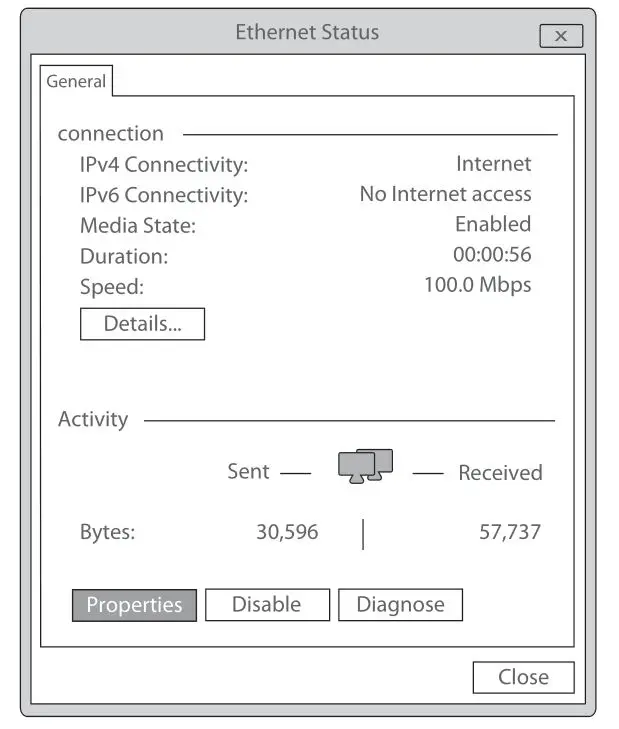
Computer Setting
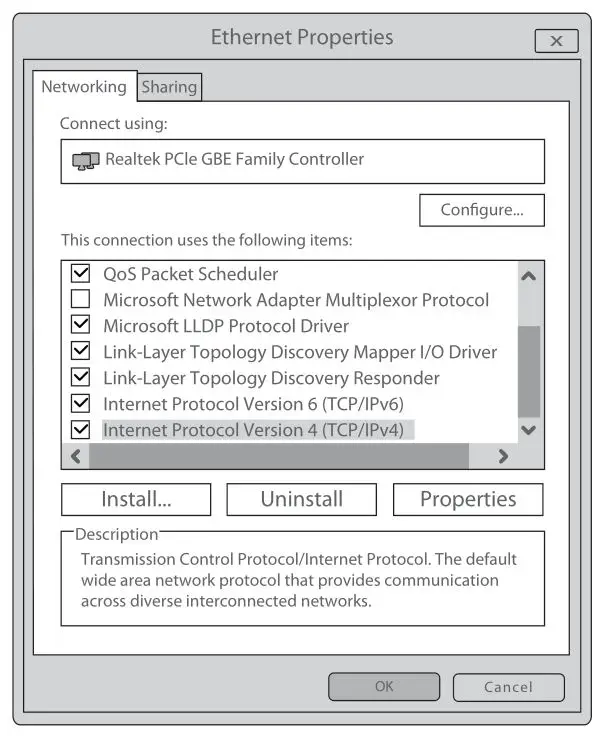
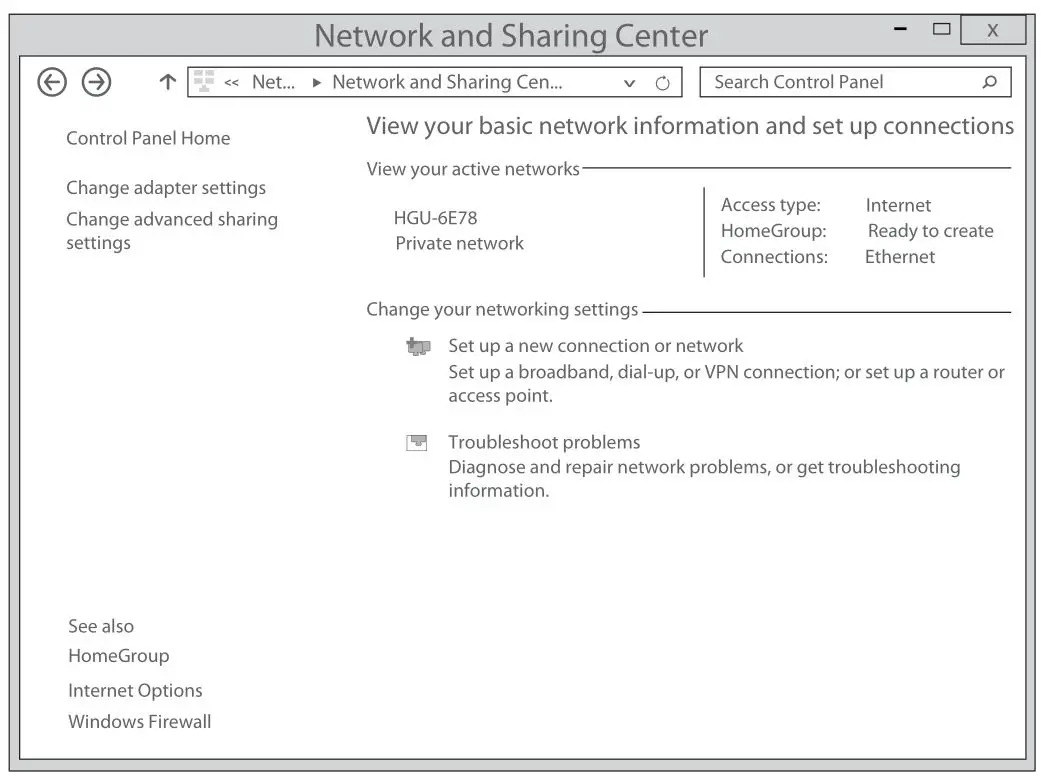
Step 1: Click “Start-Control Panel-Network and Internet-Network and Sharing Center-Local Area Connection”, select “Local Area Connection”, and click “Properties”
Step 2: Double click “Internet Protocol 4 (TCP/IPV4)” as shown in the following figure:
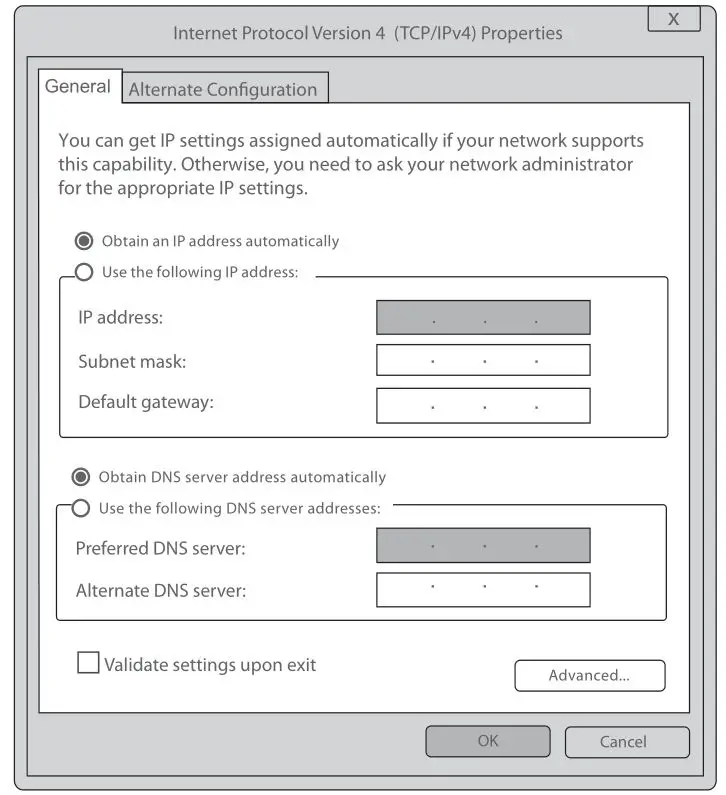
Step 3: On the page of Internet Protocol 4 (TCP/IPV4) Properties, select “ Obtain an IP address automatically” and “Obtain DNS server address automatically”, and then click “OK”.
Wizard Setting
Step 1: Open the web browser, for instance: Google Chrome or Microsoft Edge.
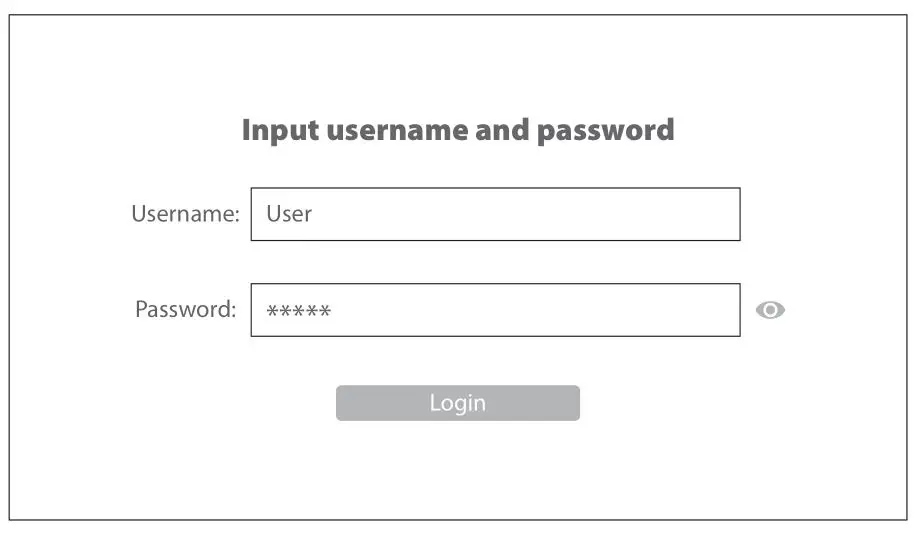
Step 2: Enter 192.168.123.1 in the address bar and click “Enter” to the web interface. Then enter the UserName (user by default) and Password (123456 by default) respectively in the interface UserLogin.
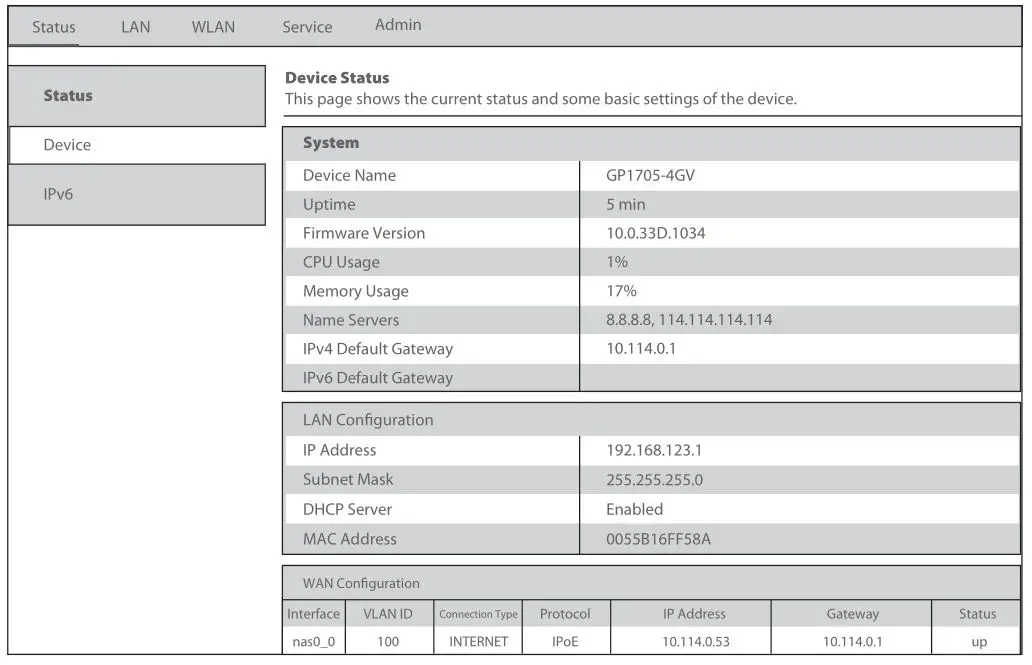
Step 3: After Login, click “Status” on top of the navigation. Click “Device Basic Info” on the left navigation bar. Basic information of the device is shown in the following page.
Step 4: Click “WLAN” in “Network” to select whether to enable wireless. And you can also modify the wireless name, authentication mode and password.
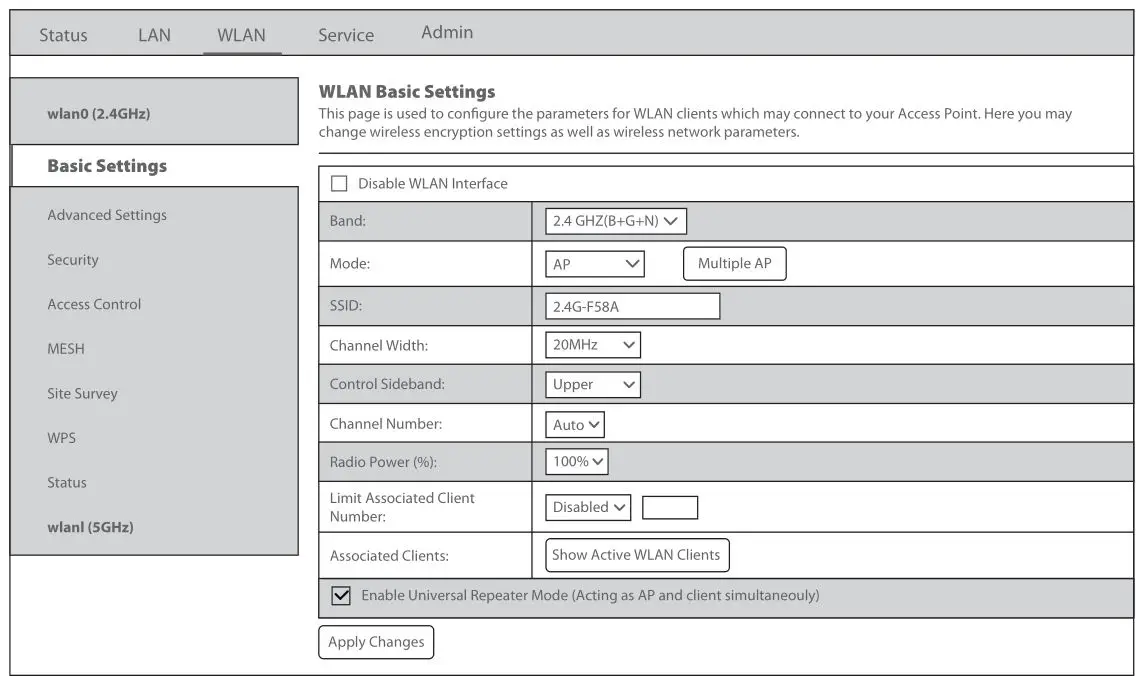
Step 5: Click “Apply Changes” to proceed to the next step.
System Setting
If you want to use the wireless network, please make sure your PC is equipped with the wireless adapter card, then do as following steps. Here takes Windows 7 System as an instance:
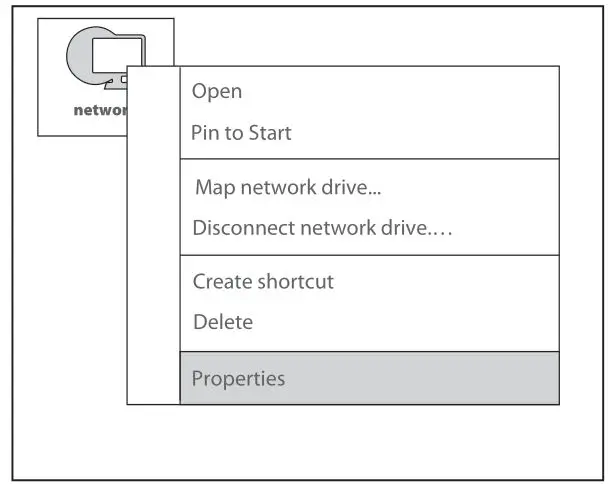
Step 1: Select “Network” and “Properties”
Step 2: Click “Wireless Network Connection”.
Step 3: Click the “Refresh” button, select the wireless network name of the terminal device, and double-click the name.
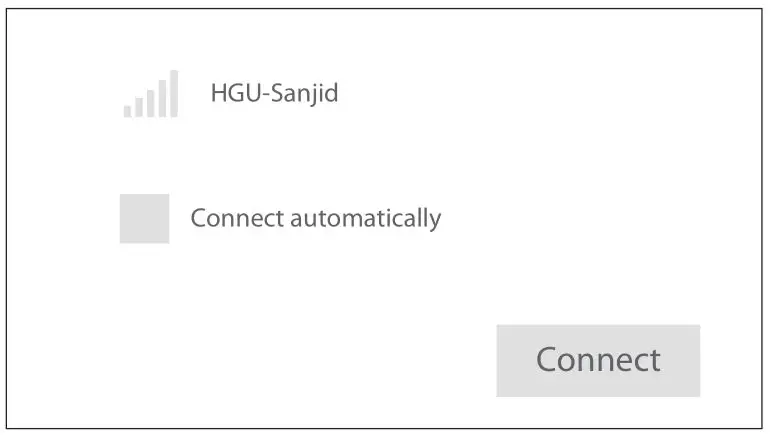
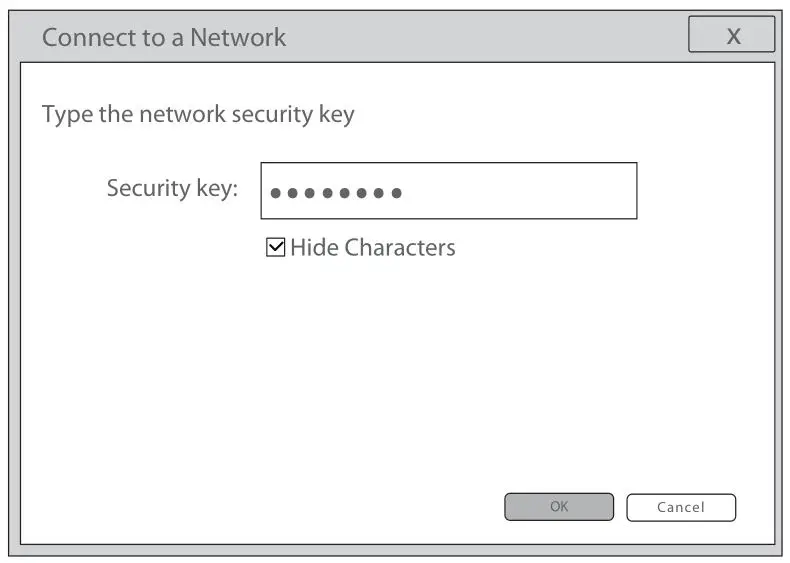
Step 4: Enter the password and click “OK”.
Troubleshooting
WiFi Has signal on the PC but it cannot connect to the Internet.
- Check whether the WiFi name is the same with SSID of the wireless router;
- Check the strength of the wireless signal. Adjust the location of the wireless router, if the wireless signal is weak.
- Refresh the network list and re-connect to the WiFi;
- Consult the manufacturer of the notebook or wireless adapter card and re-connect according to the relevant guidelines;
- Restart the PC.
WiFi Has No signal on the PC
- Check whether the wireless adapter card is enabled;
- Check whether the driver of the wireless adapter card is successfully installed. If not, please reinstall;
- Check whether the WiFi function of the wireless router is enabled and access to SSID broadcast;
- Check whether the WiFi service is enabled. Right-click “My computer” on the desk of home screen (take Windows 7 as an example) and select “Management”. Then select “service and application program”, and select “service” after the page is unfolded. Find “WLAN AutoConfig” and ensure it is enabled;
- Check whether there is wireless signal if keeping the PC closer to the wireless router.
- Retry to connect other wireless adapter card if the above solutions are unsatisfactory. If not, reset the wireless router.
Online Resources
- Download: https://www.fs.com/products_support.html
- Help Center: https://www.fs.com/service/fs_support.html
- Contact Us: https://www.fs.com/contact_us.html
Product Warranty
![]() Warranty: The GPON ONU enjoys 1 year limited warranty against defect in materials or workmanship. For more details about warranty, please check at: https://www.fs.com/policies/warranty.html
Warranty: The GPON ONU enjoys 1 year limited warranty against defect in materials or workmanship. For more details about warranty, please check at: https://www.fs.com/policies/warranty.html
![]() Return: If you want to return item(s), information on how to return can be found at: https://www.fs.com/policies/day_return_policy.html
Return: If you want to return item(s), information on how to return can be found at: https://www.fs.com/policies/day_return_policy.html
Q.C. PASSED
Copyright © 2022 FS.COM All Rights Reserved.
References
 FS.com - Data Center, Enterprise, Telecom
-
Contact Us - FS.com
-
Kontakt - FS.com Deutschland
-
Rückgaberecht - FS.com Deutschland
-
Ein weltweit führender Anbieter von Hochgeschwindigkeits-Konnektivitätsgeräten und -lösungen. - FS.com Deutschland
-
Technische Dokumente - FS.com Deutschland
-
Hilfezentrum - FS.com Deutschland
-
Comment Nous Contacter - FS.com France
-
Politique de retour - FS.com France
-
Fournisseur leader de solutions et matériels de connectivité à haut débit - FS.com France
-
Documents techniques - FS.com France
-
Centre d'aide - FS.com France
-
Return Policy - FS.com
-
Products Warranty - FS.com
-
Technical Documents - FS.com
-
Help Center - FS.com


 Router User Guide")

