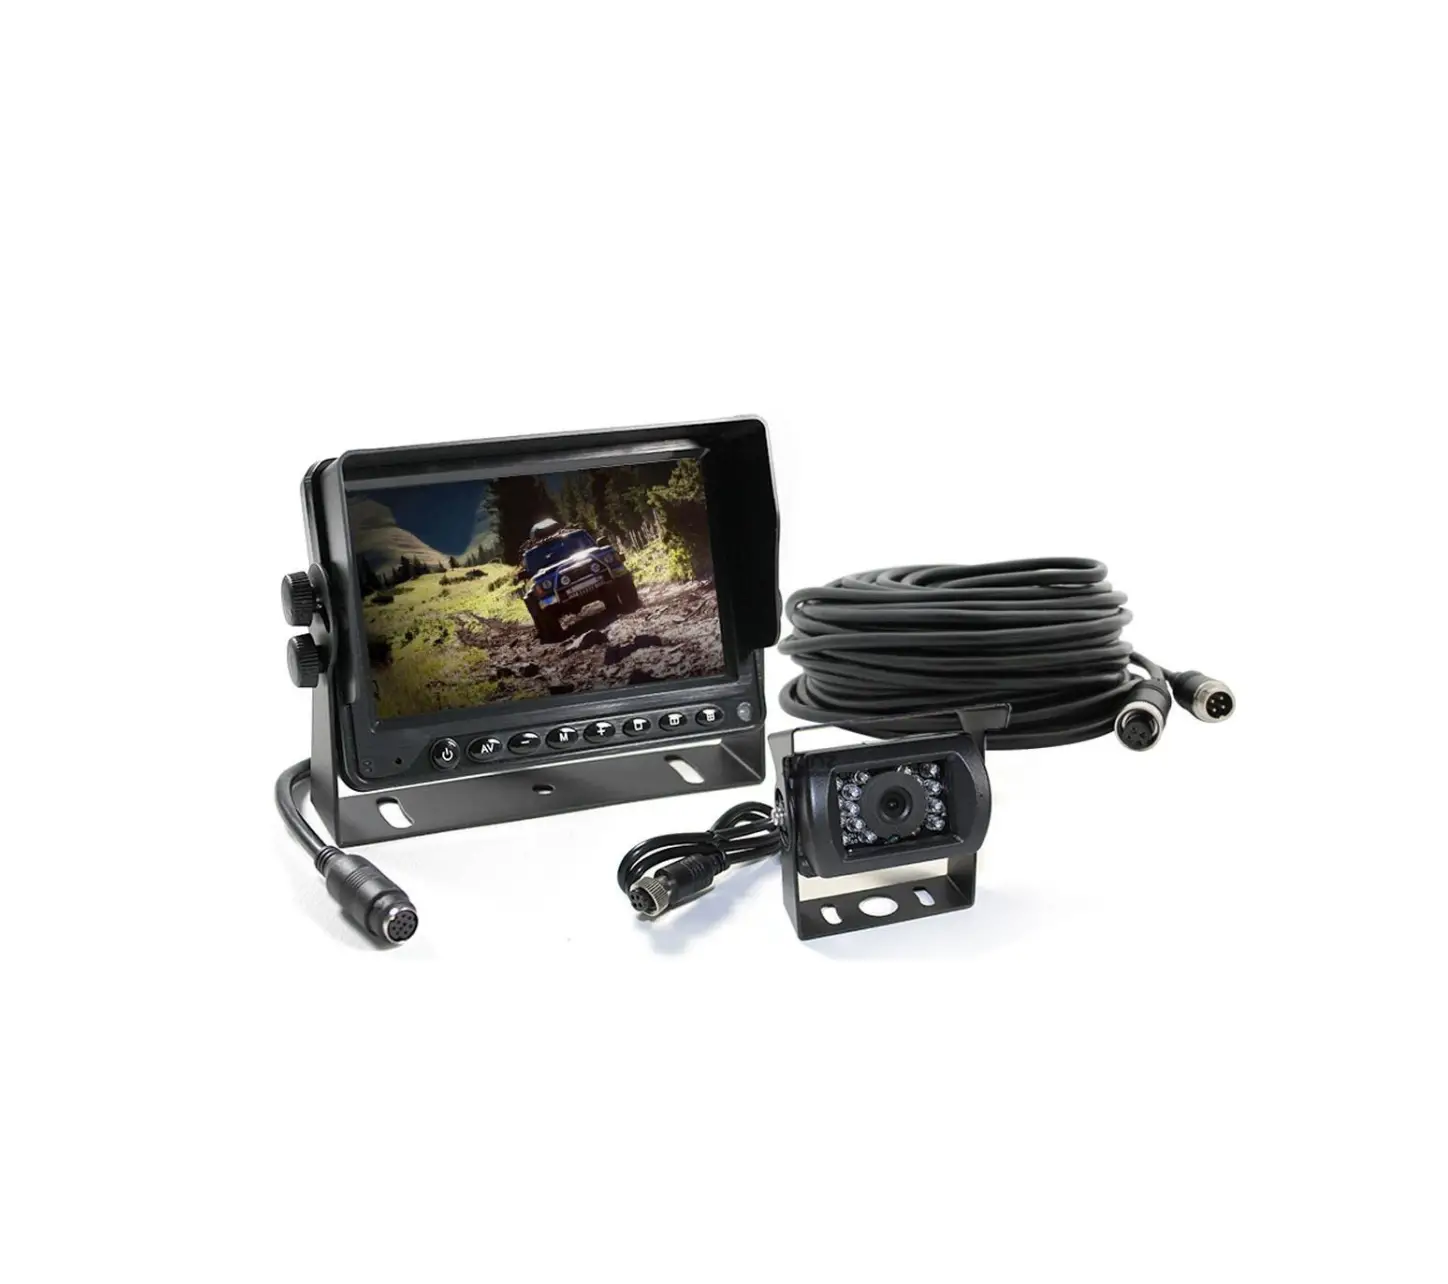
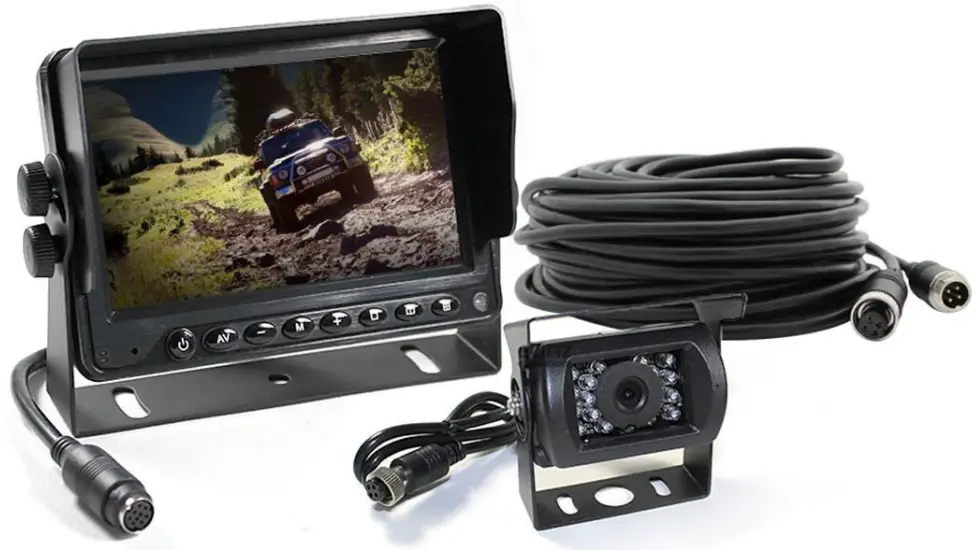
ELINZ W7RVPRF Vehicle Monitor
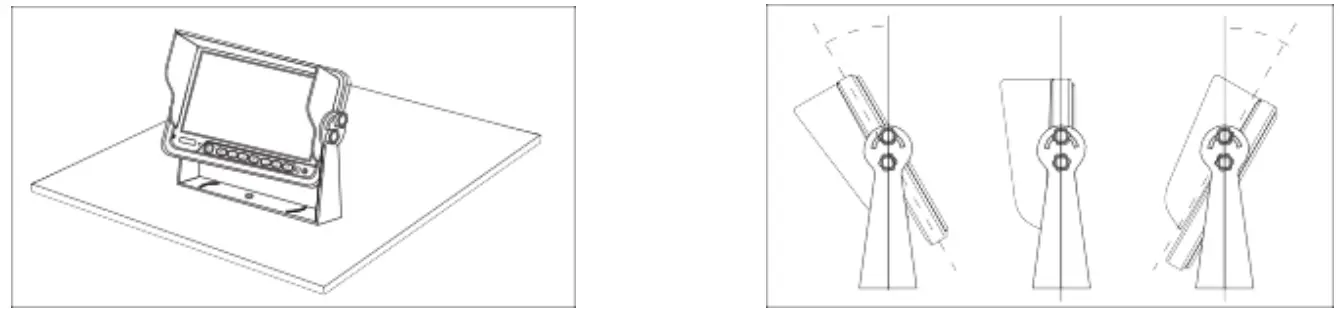
U-Bracket Installation
- Use the screw fixed the U-bracket. Put the monitor into the bracket, adjust angle and locking it.

- Finished the installation. Adjust the angle forward 30°to backward 30°. User can adjust a suitable angle by oneself.


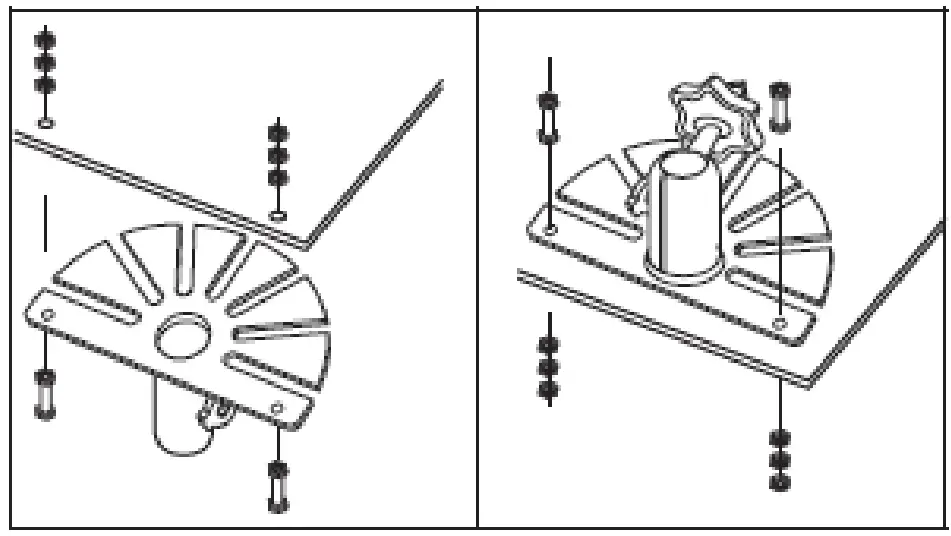
Plastic/Metal Bracket Installation
- First, fix the bracket via the screws, the screws of the top need lock to nut of under.

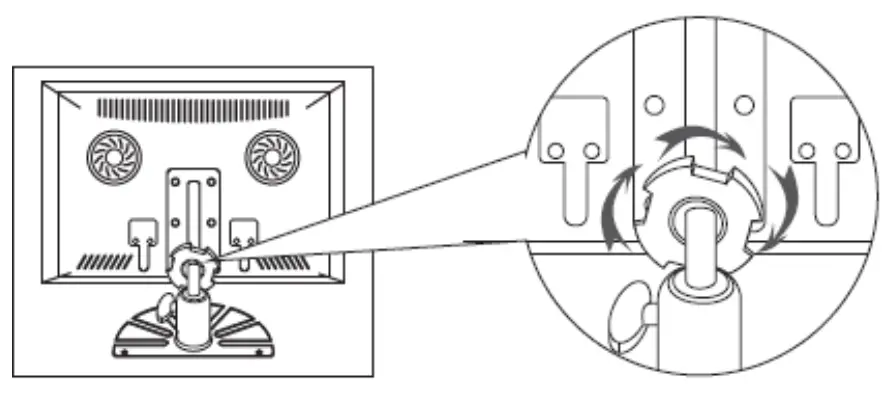
- Next, put the metal buckle piece on the top of the fan-shaped bracket into the notch at the back of the monitor.
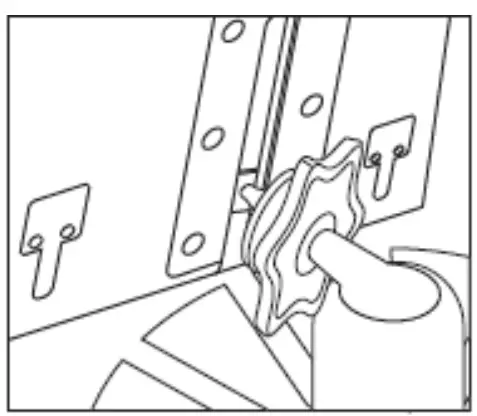
- Move the bracket to the proper location.
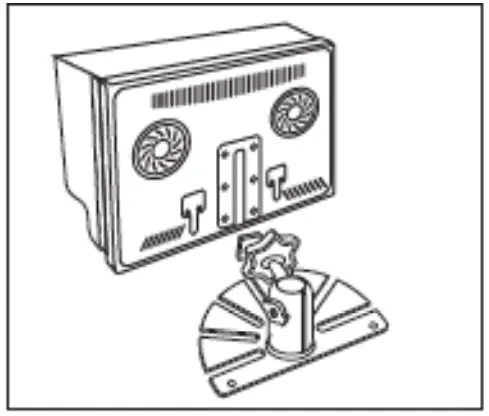
- Screw down the nut of bracket, until the monitor is fastened

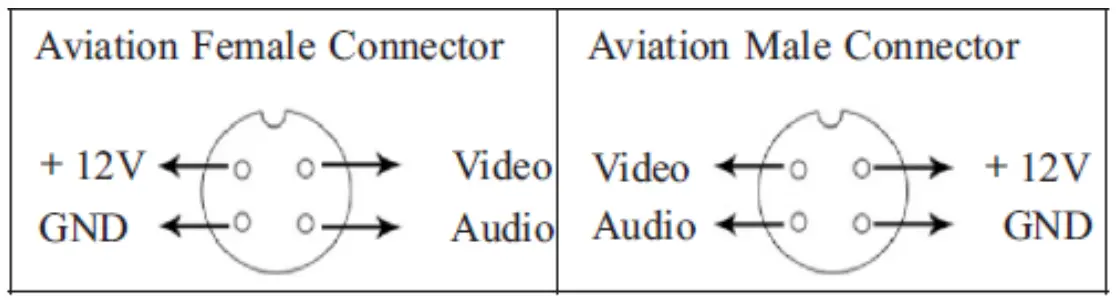
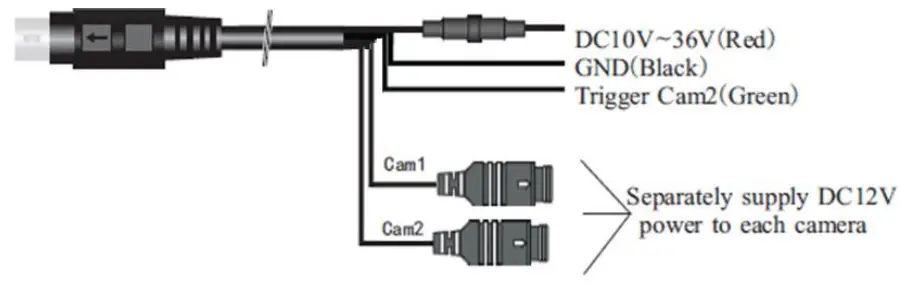
WIRING DIAGRAM
Press “ ▼▲ ” , the screen will show“ ◀► ”.
Press “MENU” , to select other feature. Press “MENU”
Press “MENU” over and over again, the screen will show pictures as below
Brightness Adjust 0 – 100
Contrast Adjust 0 – 100
Color Adjust 0 – 100
Language Optional
Reset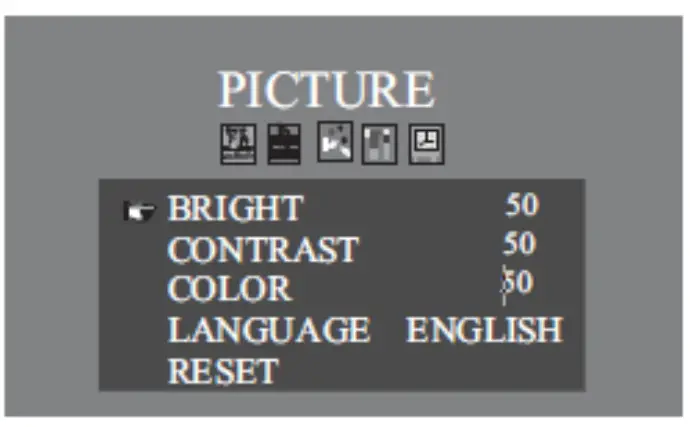
Volume 0 – 100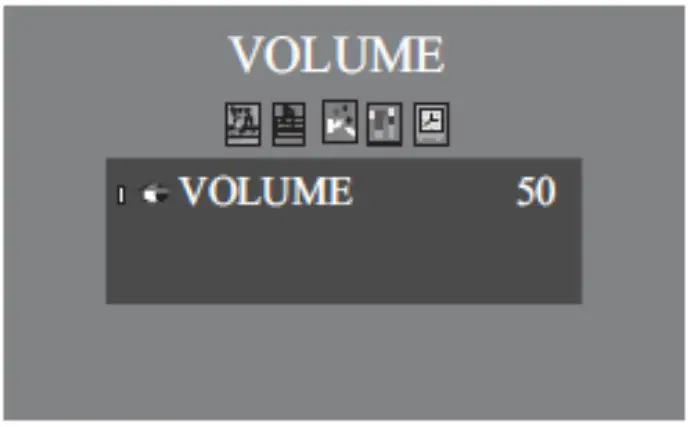
Rotate Up/Down/Left/Right
Display Format 4:3/16:9
VIV2 Playback
Trigger Start up optional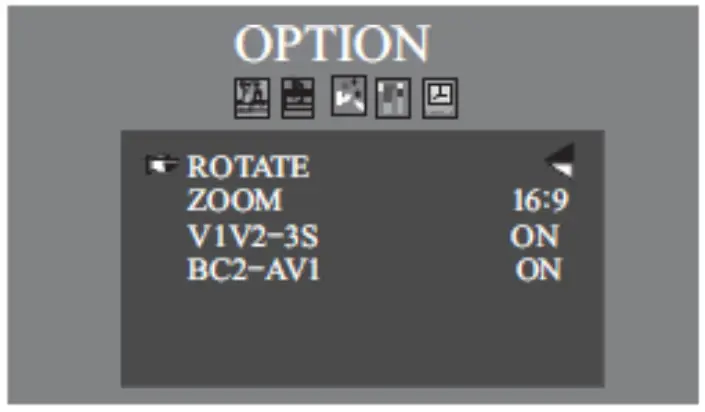
PAL/NTSC/AUTO Optional
Reversing image delay 0 – 15S
Guide Lines Optional
Light Sensor Optional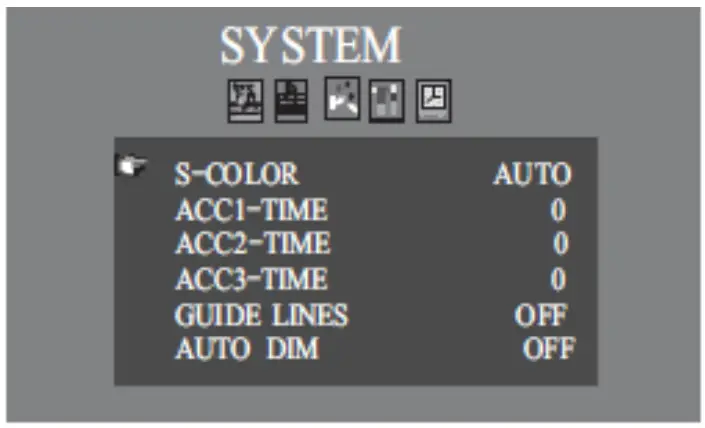
Sleep 0 – 240mins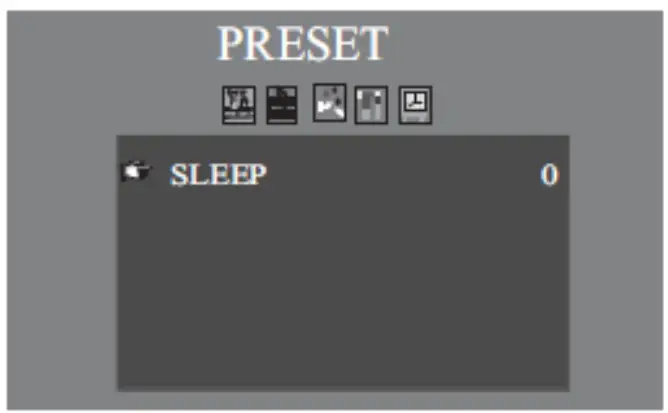
Specifications
| Screen Size | 5″ |
| Resolution | 800RGB(H)x480(V) |
| System | PAL/NTSC/ AUTO |
| OSD MENU | Reversing image delay time o~ 15s: Separately adjust camera mirror/nominal image: Multi- language |
| Video Inputs | 2 way video inputs, 1 way trigger wire |
| Brightness | 450cd/m |
| Contrast | 450: I |
| Voltage | DCJ0V-36V |
| Features | With reverse polarity protection: Separately supply DC12V power to each camera: |
| Operation Mode | 15# Keystroke |
| Optional | Audio; Aviation connector |
| function Optional |
|
Keystroke Instruction
 Power
Power- VIN2; AV; SEL
- CH
- L/R
- M;MENU
- – ·

- +·

 ; IR
; IR

- Power On
- Video Stitch
- Guide Lines
- Image Normal/Mirror
- :MENU
- Analog Decrease
- Analog Increase
- IR Receive
- Light Sensor
- Earphone Jack(Decorate Only
- Inaction
AV Connector
www.elinz.com.au / [email protected] / 1300 881 773