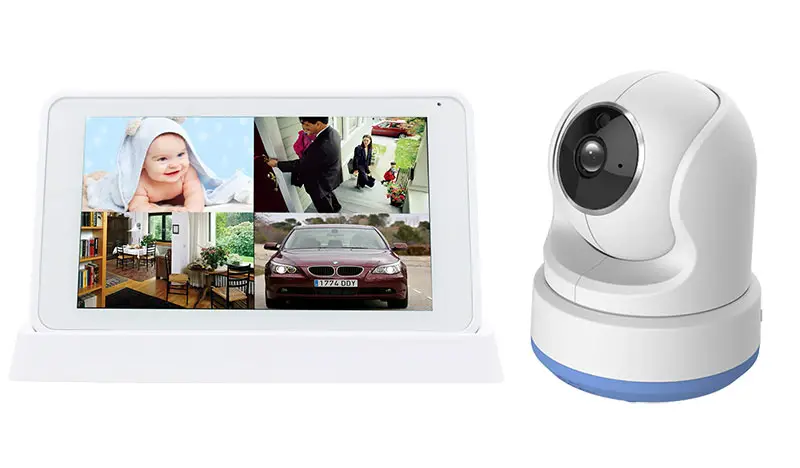
RDI TECHNOLOGY CM544554 5.5 Inch Large Touchscreen Monitor with 1080P Pan and Tilt Camera User Guide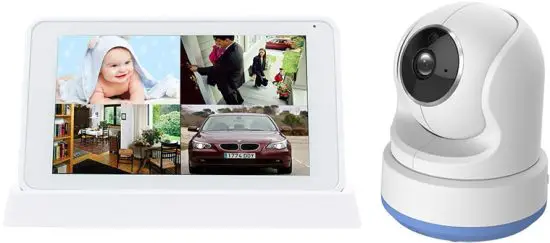
WARNING! STRANGULATION HAZARD
Children have accidentally become tangled in cords and been strangled. Please keep all cords out of the reach of children and use only the adapters provided.
What’s included
- Wireless Camera

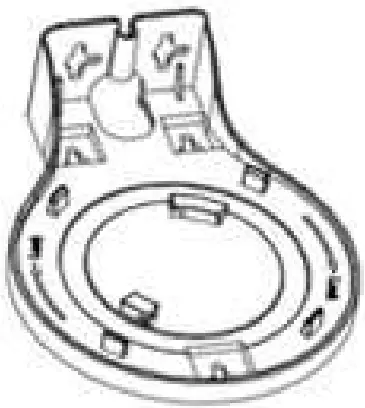
- Mounting bracket

- Wireless Monitor

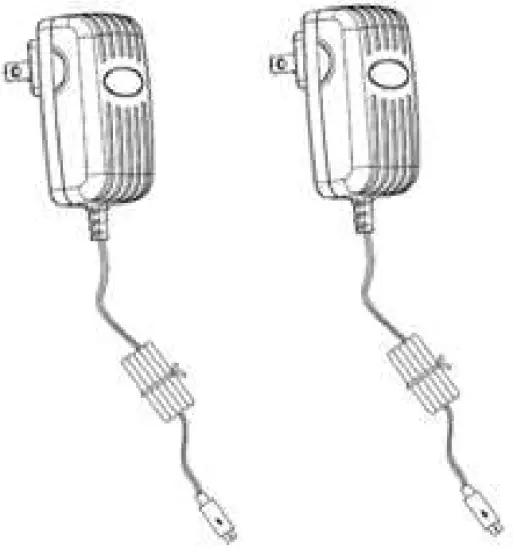
- Power adapters

- Quick Start Guide

- Screws and Anchors


Product Overview
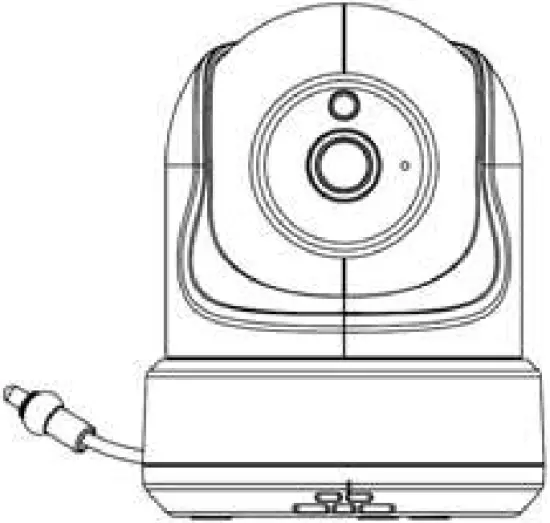
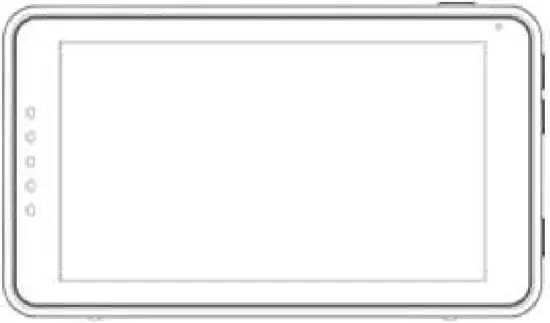
Wireless Camera

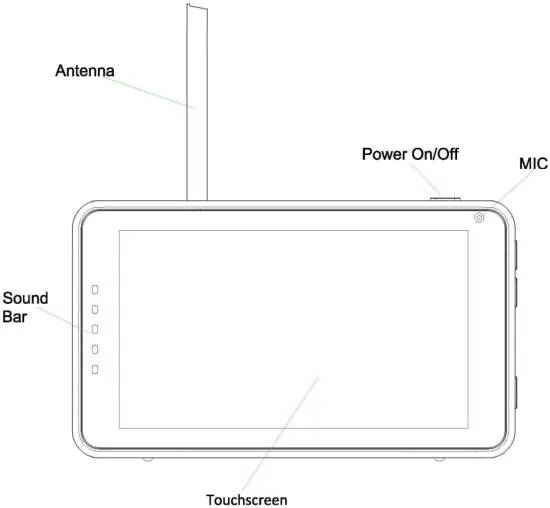
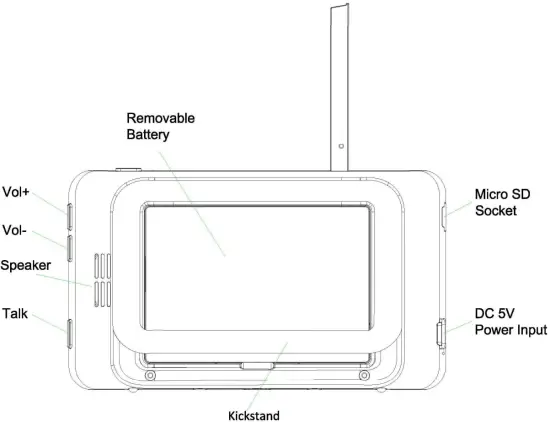
Wireless Monitor
Getting Started
Installing the Monitor & Camera
Moniter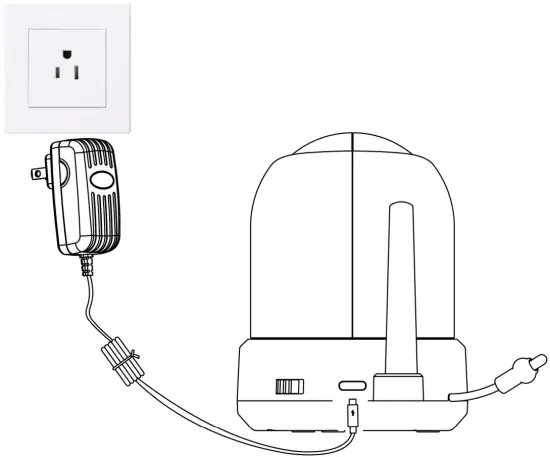
Camera
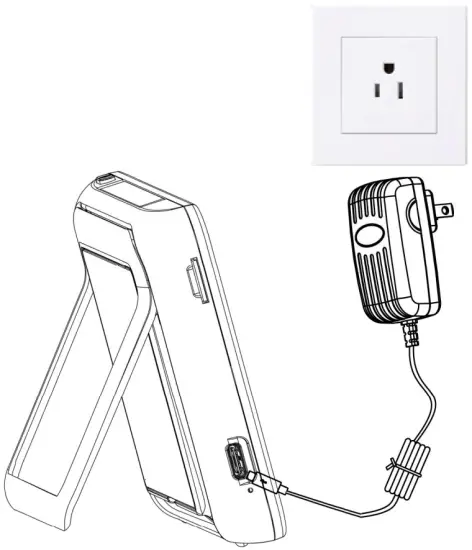
- Pull out the isolation sticker on the back of the monitor. Fully charge the monitor using power adapter before first use. Camera must be plugged in at all times.
- Place the camera in the preferred position. It can be placed on a table/cabinet or mounted on a wall using the mounting bracket (included).
- To power on the monitor, press and hold the power button for 4~5 seconds.
- To power on the camera, slide the on/off button to the ON position.
Indicator Description
Live view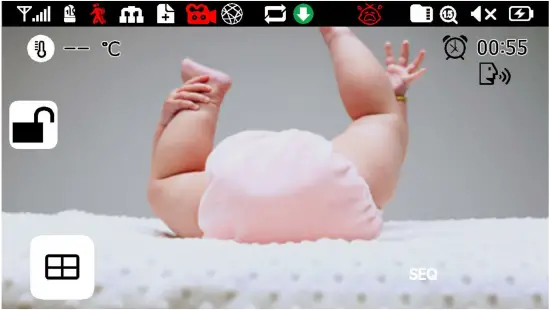
- Signal indicator:
 If an ‘
  ‘ appears on the signal bar, the system is “Out of Range”.
 - Camera number:

- Motion Recording enabled Indicator:
 , This icon indicates monitor is set to auto recording mode.
 - Network Connection Status:
 Monitor must be connected to the optional internet cradle [CRDL500] (sold separately) for remote viewing.
Green- Monitor is connected to the internet.
White- Monitor is connected to router, but router is not connected to the internet.
Red- Monitor is not connected to router. - New Record Indicator:
 Indicates there are unread new recordings.
 - Recording Indicator:
 Icon flashes red when recording is in progress.
 - Remote Connection:
 This icon indicates remote connection to the system via App.
 - SD Card Overwrite:
 This icon indicates the SD card is allowed to overwrite files when it is full.
 - Vox on:

- SD Card Indicator: Displays if an SD card is inserted into the monitor. If white, recording space is available. If red, the SD card is full.
- Zoom mode:
 Indicates Zoom mode: x1/x1.5/x2
 - Monitor Speaker Mute:

- Battery Power Level:

- Temperature Display:

- Feeding Reminder:

- Firmware Download Available:

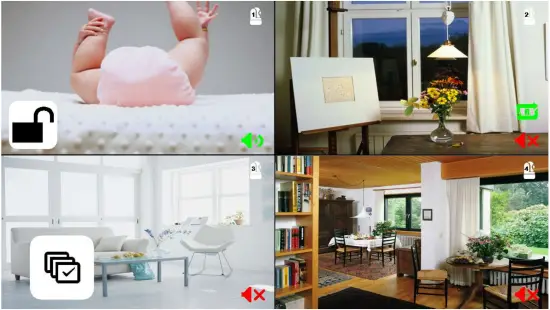
- Quad Mode:
 Press this button, monitor will change to quad mode (if there are 3 or 4 cameras connected to the monitor) or split mode (if there are 2 cameras connected to the monitor).
- When entering into quad mode, the default setting is no audio from cameras.
- You can choose one of the cameras and press
 to turn on the audio. This icon will turn green when audio is on. Please note you can only turn on audio for one camera at a time.
 - You can press
 to turn on the audio and listen to each channel in sequence.
- SEQ:
 In quad or split mode, tapping this button will change channels in sequence and “SEQ” will appear.
 - Talk Back:
 Only appears in single camera Live View mode and when talk button is pressed and held. If a lullaby is playing, lullaby will be paused until the button is released.
 - Unlock the screen:
 , Tap this button to lock and unlock the touchscreen.
Operation Key
“Operation” keys appear by tapping any blank location on the screen. If user taps screen without touching any function key, it will time out after 10 seconds and return to Live View mode.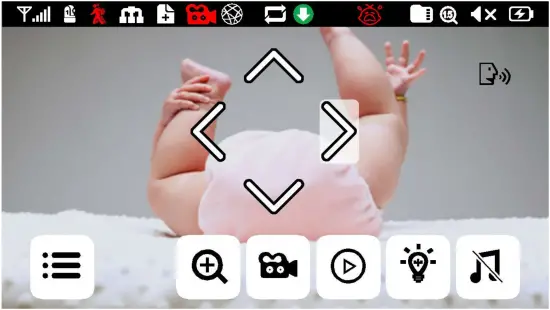
- Menu Setting:

- Zoom In / Out:
 Supports x1, x1.5, x2 digital zoom ratio.
 - Manual record:
 Tap this button to record (icon will turn red) and tap again to stop recording.
 - Play back:
 Tap this button to view recording file list.
 - LED Light:
 Tap this button to turn night light on camera on/off.
 - Lullaby:
 Three pre-programmed lullabies.
 - Navigation Controls:
 Remotely Pan/Tilt the camera.
How to use Audio Only Mode (Video Off)
- Set VOX off (default setting):

- Enter Audio only mode: Tap the power button.
- Exit Audio only mode: Tap the power button or touch the screen.
How to use Power Save Mode (both Video and Audio are off)
- Set VOX on, turn on auto power off
- Enter Power Save Mode: Occurs 2 minutes after no sound detected or user taps the power button.
- Exit Power Save Mode: Tap the power button, touch the screen, or a sound is detected.
Troubleshooting
- Out of Range:
- Make sure the camera is connected securely to the power adapter.
- Make sure the camera is paired with the monitor.
- If still out of range, you can purchase a repeater (SKU#RE5) to extend the wireless range.
- If the range signal issue is caused by the distance between the camera and monitor, flip up the monitor antenna will help improve the wireless range.
- If adjusting the antenna doesn’t improve the signal, the repeater will help improve the wireless range.
FCC Statement
This equipment has been tested and found to comply with the limits for a Class B digital device, pursuant to part 15 of the FCC rules. These limits are designed to provide reasonable protection against harmful interference in a residential installation. This equipment generates, uses and can radiate radio frequency energy and, if not installed and used in accordance with the instructions, may cause harmful interference to radio communications. However, there is no guarantee that interference will not occur in a particular installation. If this equipment does cause harmful interference to radio or television reception, which can be determined by turning the equipment off and on, the user is encouraged to try to correct the interference by one or more of the following measures:
- Reorient or relocate the receiving antenna.
- Increase the separation between the equipment and receiver.
- Connect the equipment into an outlet on a circuit different from that to which the receiver is connected.
- Consult the dealer or an experienced radio/TV technician for help.
To assure continued compliance, any changes or modifications not expressly approved by the party.
Responsible for compliance could void the user’s authority to operate this equipment. (Example- use only shielded interface cables when connecting to computer or peripheral devices).
This equipment complies with Part 15 of the FCC Rules. Operation is subject to the following two conditions:
- This device may not cause harmful interference, and
- This device must accept any interference received, including interference that may cause undesired operation.
FCC Radiation Exposure Statement:
The equipment complies with FCC Radiation exposure limits set forth for uncontrolled environment. This equipment should be installed and operated with minimum distance 20cm between the radiator and your body.


