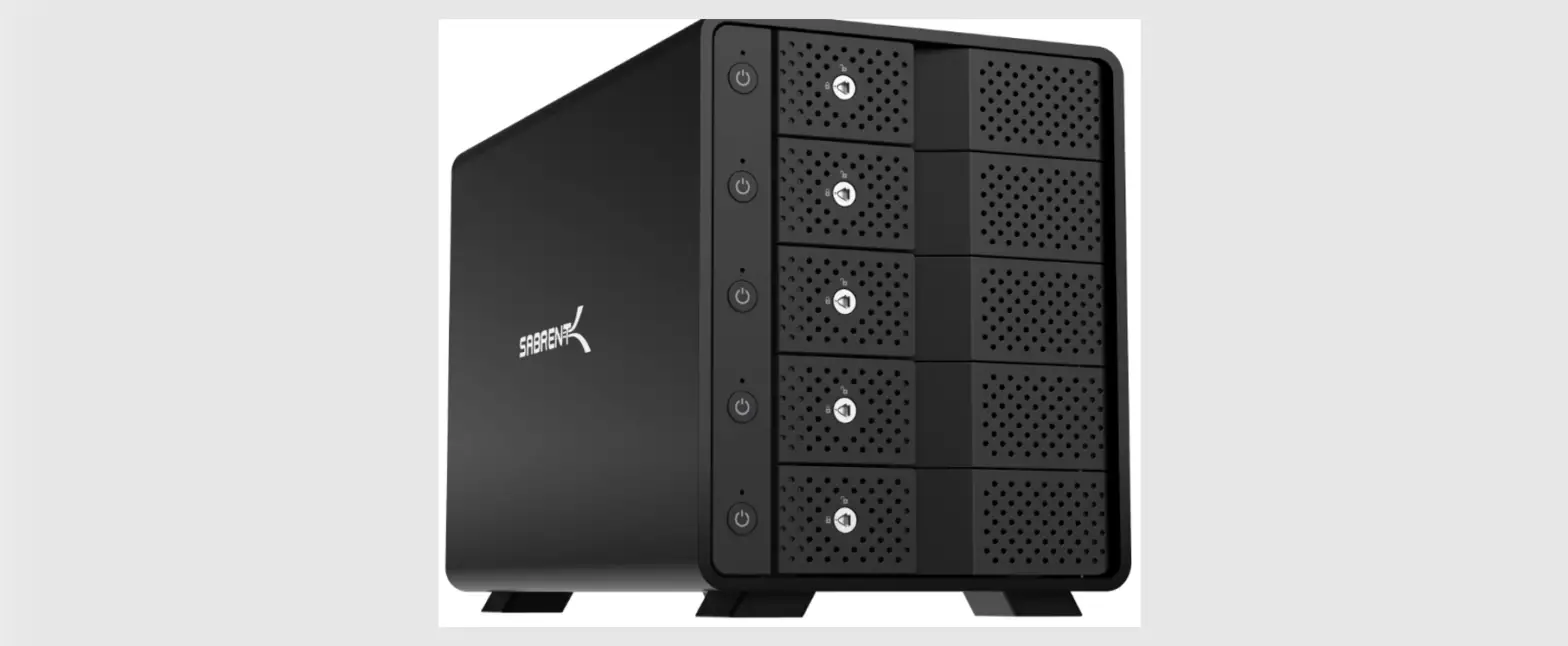
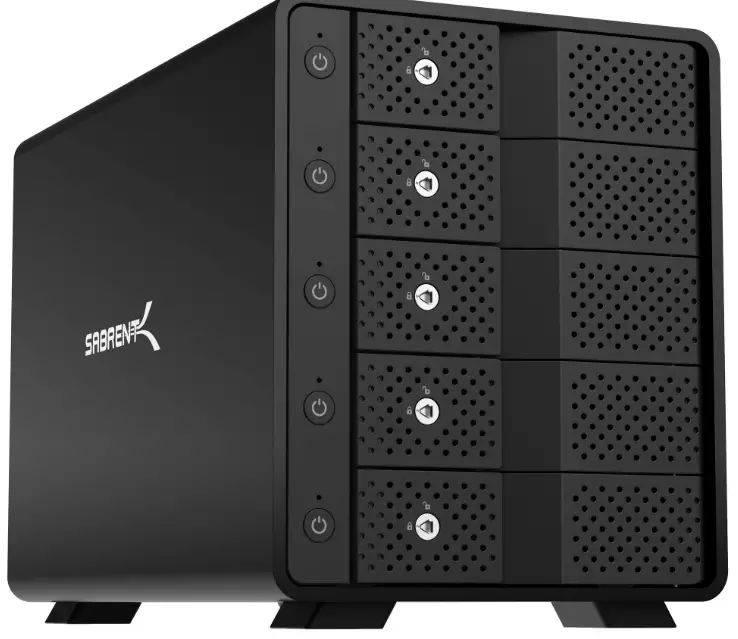
SABRENT DS-SC5B USB 3.2 5 Bay 3.5 Inch SATA Hard Drive Tray Less Docking Station
FEATURES
- USB 3.1 Gen 2 Type-C port with up to 10Gbps transfer speed.
- 5x SATA 6Gbit/s 3.5″ hard drive bays.
- High-quality aluminum for optimal heat dissipation and structural integrity.
- Hot-Swappable with 5 independent ON/OFF power switches.
- Locking key to prevent accidental bay opening, fully tray-less design.
- Additional USB Type-C rear port allows you to connect other USB devices, or to
- daisy-chain another multi-drive docking station.
- Buil-in 120mm fan for additional cooling power.
- Built-in Kensington security slot.
- Auto-Switching internal power supply: 100 to 240 volts
- Main ON/OFF power switch.
- Fully backward compatible with USB 3.0/2.0/1.1.
- NOTE: This multi-bay station does NOT do RAID arrays on its own.
SYSTEM REQUIREMENTS
Windows/ Mac 0S/ Linux
PACKAGE CONTENTS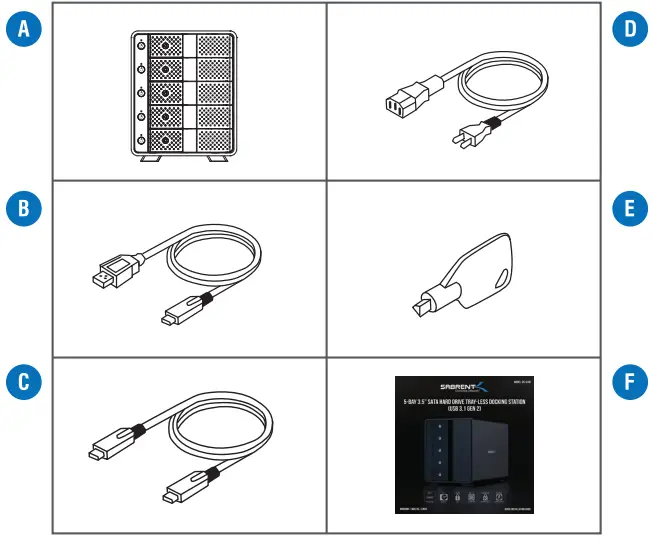
- A. Sabrent 5-bay Hard-Drive tray-less docking station
- B. USB Type-C to Type-A cable
- C. USB Type-C to Type-C cable.
- D. Power cable.
- E. Locking Key
- F. This quick installation guide
FRONT PANEL DETAIL
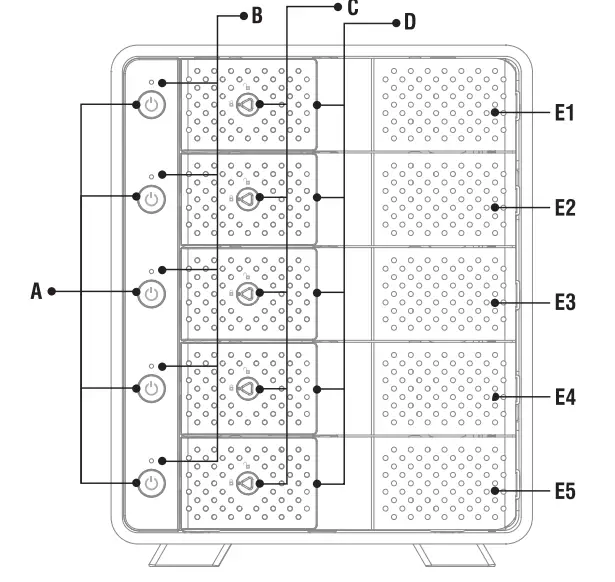
- A. Independent Power Switch
- B.Status LED
- C. Door Lock
- D. Door Handle
- E. Hard Drive Slot
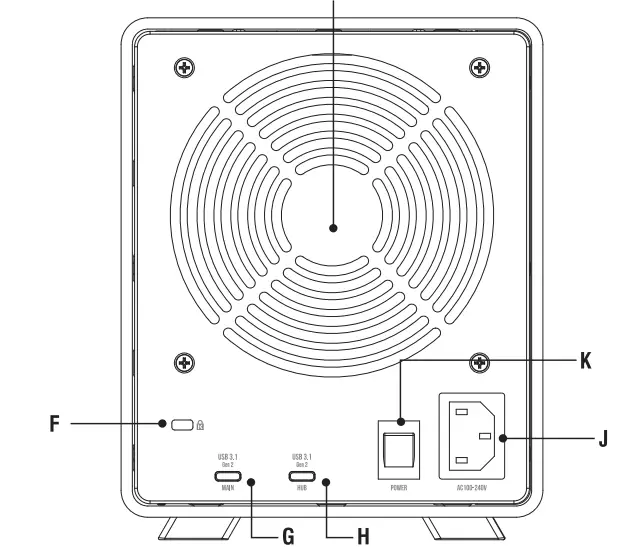
- BACK PANEL DETAIL

- F. Kensington Security Lock slot.
- G. USB Type-C 3.1 Generation 2 port- Connect to computer
- H. USB 3.1 Generation 2 Hub- Connect to any USB peripherals.
- I. 120mm cooling fan.
- J.Auto-Switching 100-240V AC power input.
- K. Main power switch.
LED INDICATOR REFERENCE TABLE
| Hard Drive inserted and Power ON | BLUE/ SOLID |
| Hard Drive not inserted and Power ON | OFF |
| Accessing Hard Drive | PINK/ FLASHING |
| Hard Drive Error | OFF |
| Hard Drive Ejected from PC/ PC Power OFF | RED/ SOLID |
| Independent Power ON | OFF |
| Main Power OFF | OFF |
HDD INSTALLATION PROCEDURE
- Step 1: Pull the door handle on the front panel to open each individual hard drive bay.
- Step 2: Carefully insert hard drive into slot
- Step 3: Close the slot door and make sure it clicks into place. Use the locking key to avoid accidentally opening the bay (optional).
- Step 4: Connect the Sabrent docking station to your computer using the USB Type-C cable. Depending on your computer, you can also use the USB Type-A cable. Connect it to MAIN.
- Step 5: Connect the power cable from your wall outlet to your docking station’s 100-240V
- AC power input.
- Step 6: Turn on the main power switch on the back of the unit. Turn ON/OFF each hard drive individually with the switches on the front panel.
- Step 7: (Optional) Connect any USB peripherals to the USB HUB port on the back of the docking station.
NOTE:
- Always use your operating system’s EJECT HARD DRIVE function before removing a disk, turning off your docking station, or opening any hard drive bay.
- This multi-bay station does NOT do RAID arrays on its own. You can still do RAID arrays via software. For instance, using Microsoft Storage Spaces.


