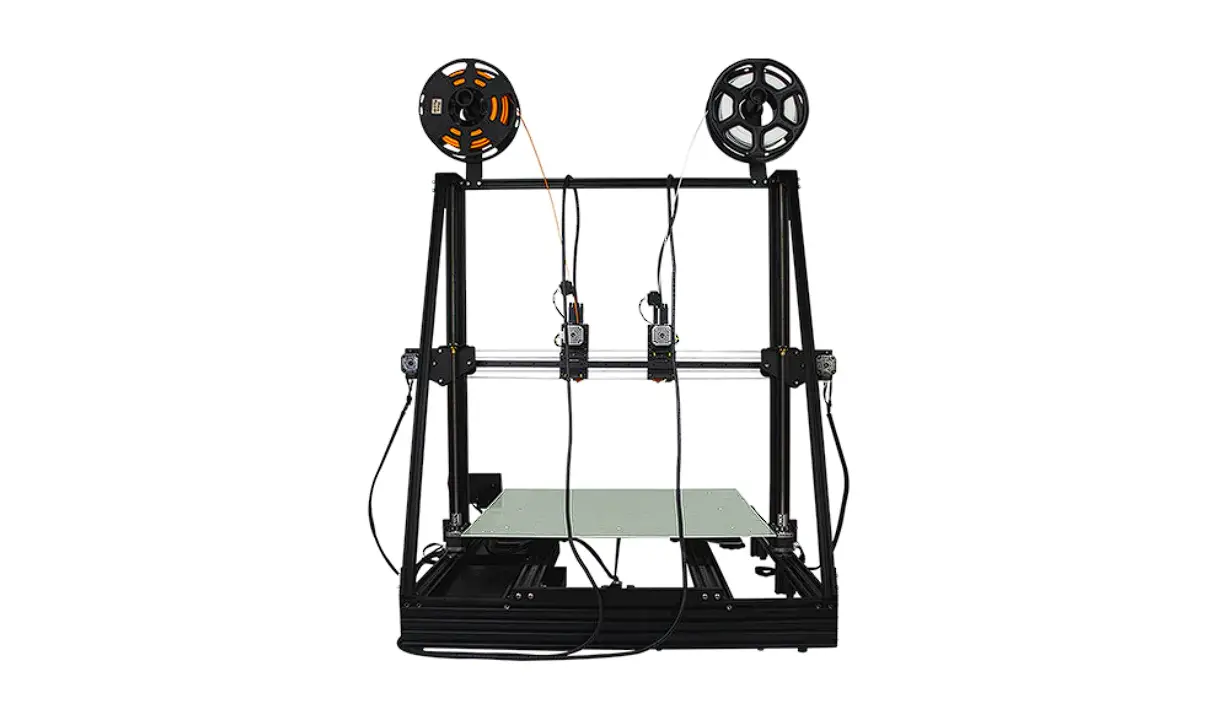
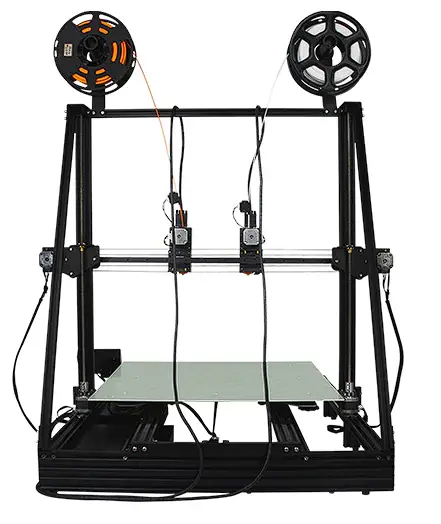
TENLOG TL-D6 IDEX 3D Printer
Parts List
- Printer Host

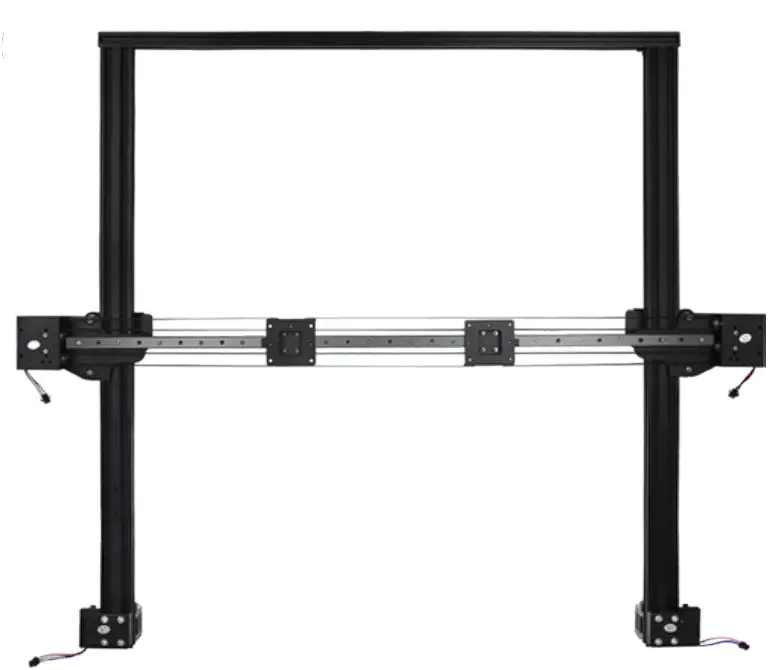
- Z/X Gantry Assembly

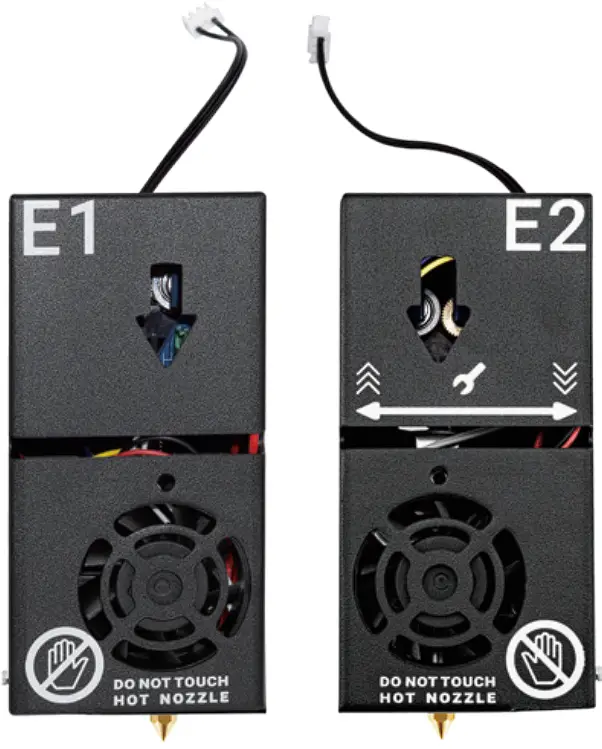
- Dual Extruder & Nozzle Kits

- Z-axis Cable-Stayed kit

- Tool Box

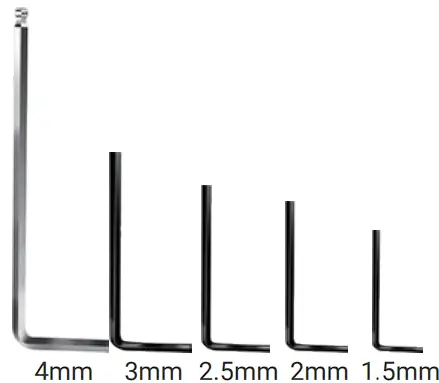
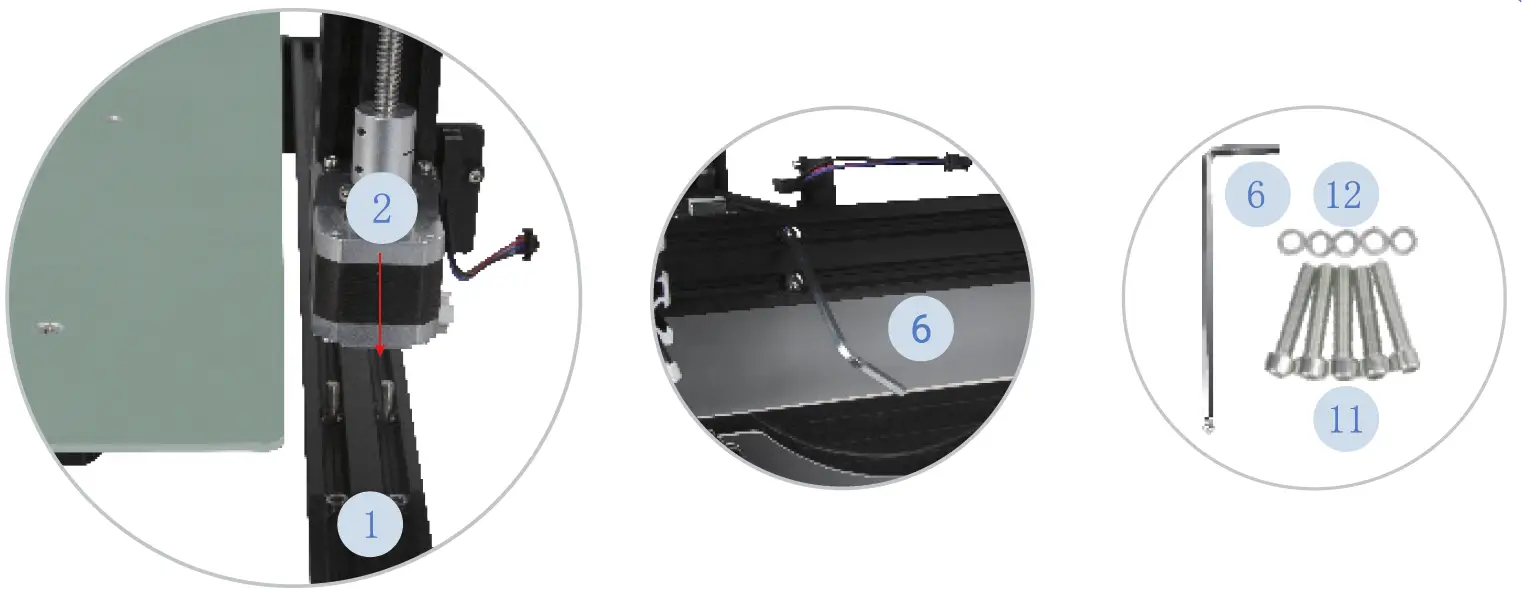
- Allen Wrench

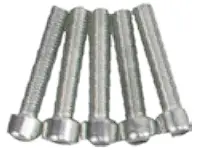
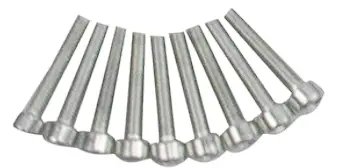
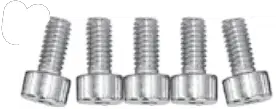
- 5x M5*25 Screw

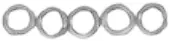
- 5x M5 Spring Washer

- 9x M3*16 Screw

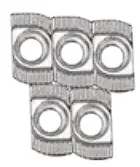
- 5x M4 T-nut

- 5x M4*6 Screw

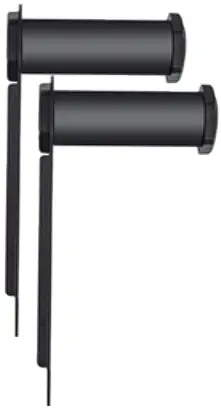
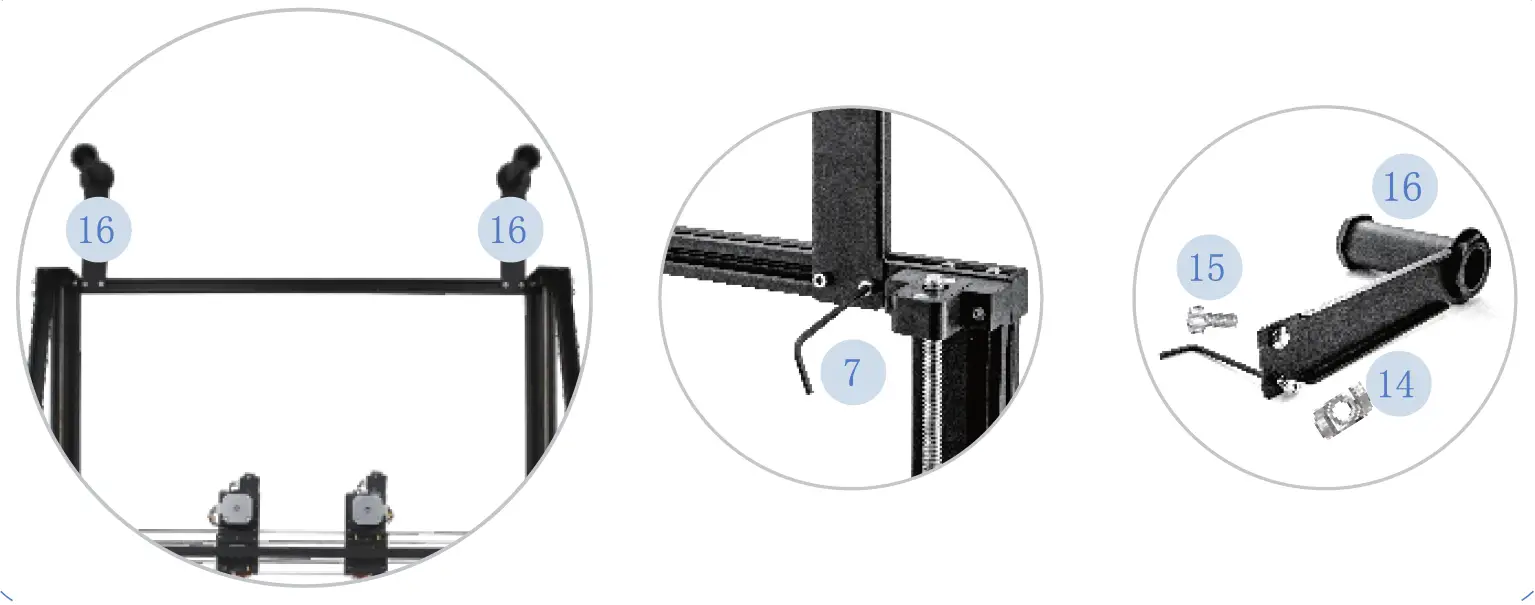
- 2x Filament Holder

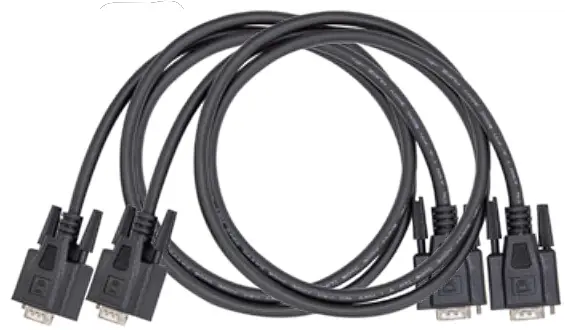
- 2x 15 Pins VGA Cable

- 2× Filament Runout Sensor

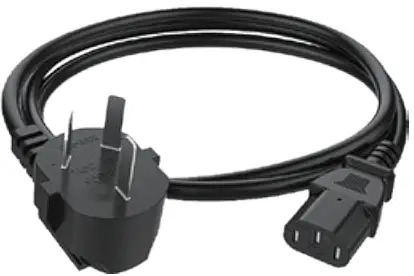
- Power Cable

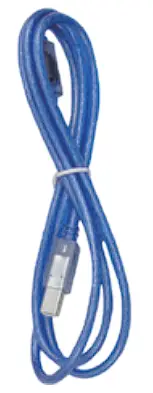
- 1.5m USB Cable

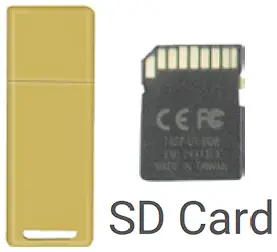
- Card Reader

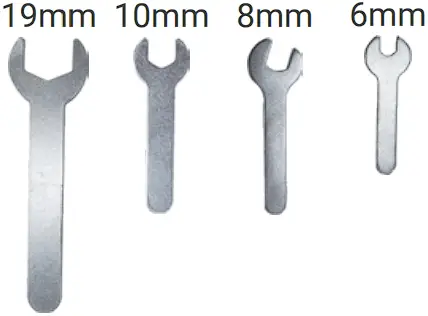
- Open End Spanner

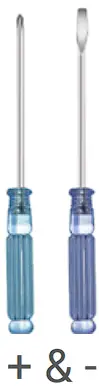
- Screwdriver

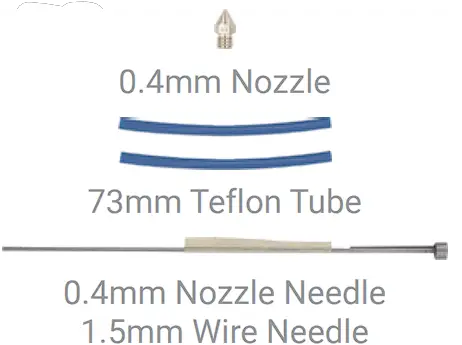
- Nozzle Cleaning Kit

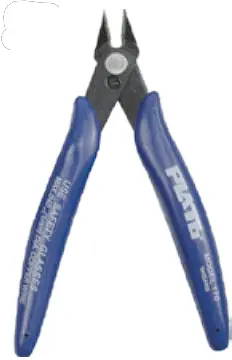
- Diagonal Pliers

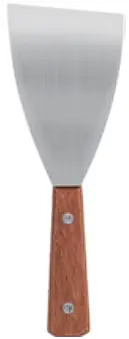
- Blade

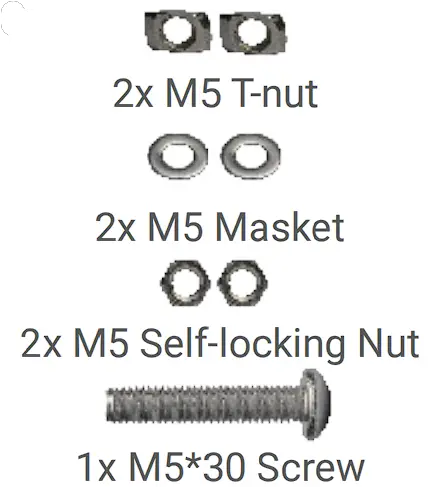
- 1x M5*30 Screw


Safety Alert
- Minors are not allowed to use alone

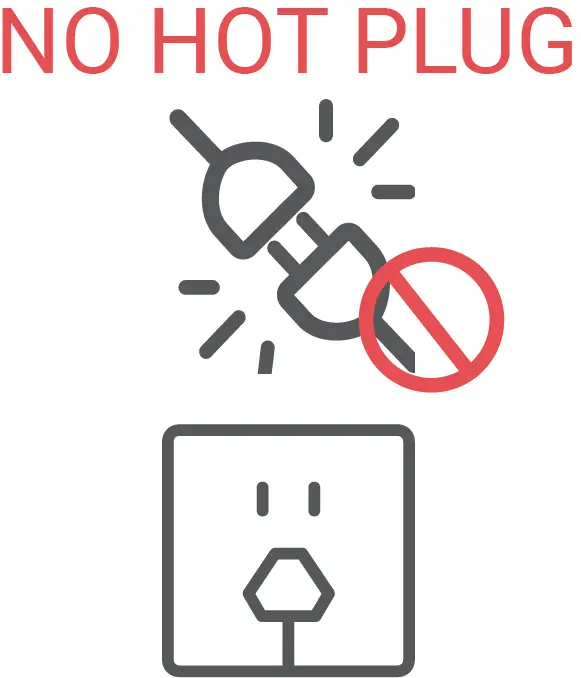
- Do not plug or unplug under power

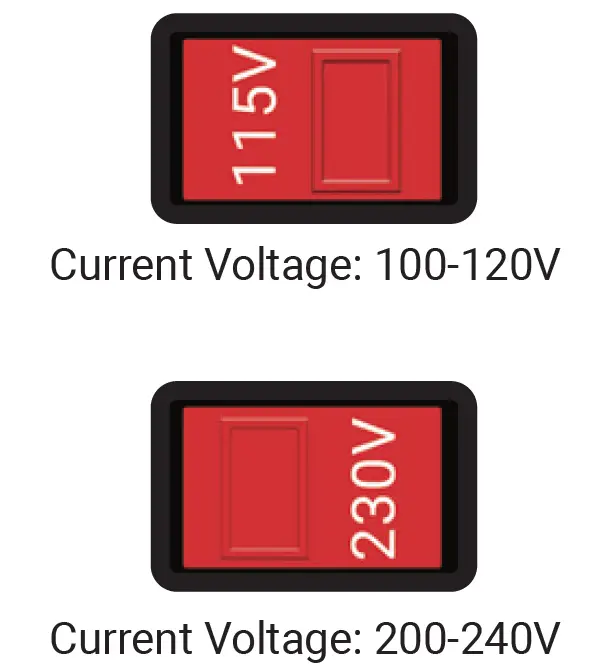
- Double check voltage before first use

- Do not touch hot nozzle and hot bed

- A grounded wire is required

- Do not touch any moving part


How to Assemble
- Assemble Z/X Gantry Assembly to the Printer Host

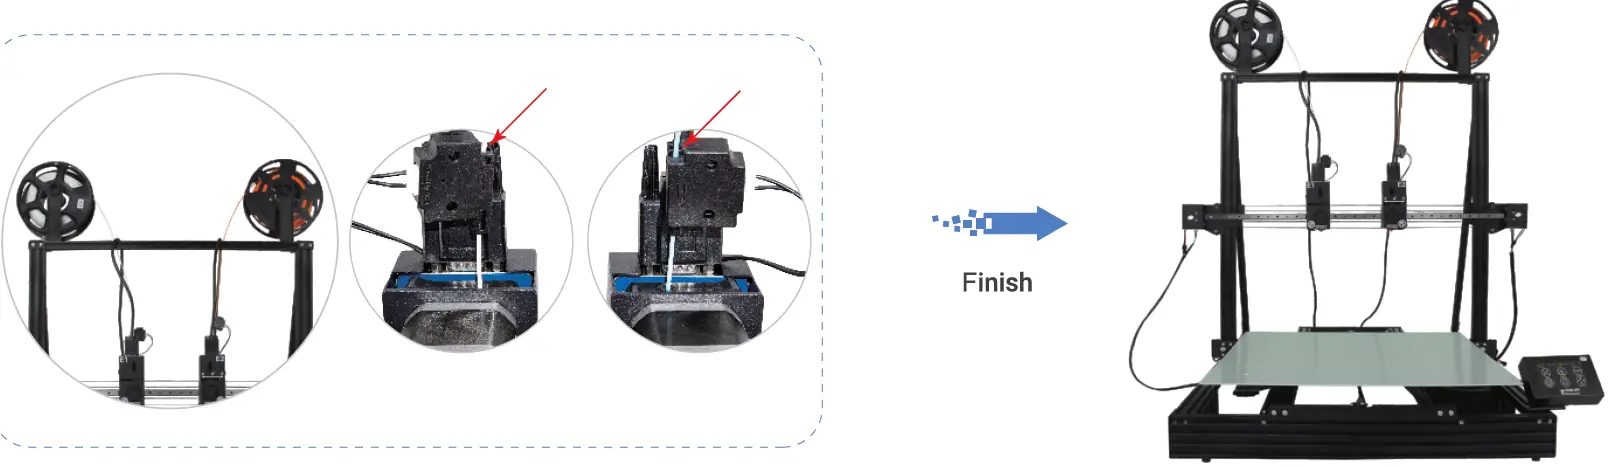
- Assemble Dual Extruder & Nozzle Kits

- Assemble the Filament Holder

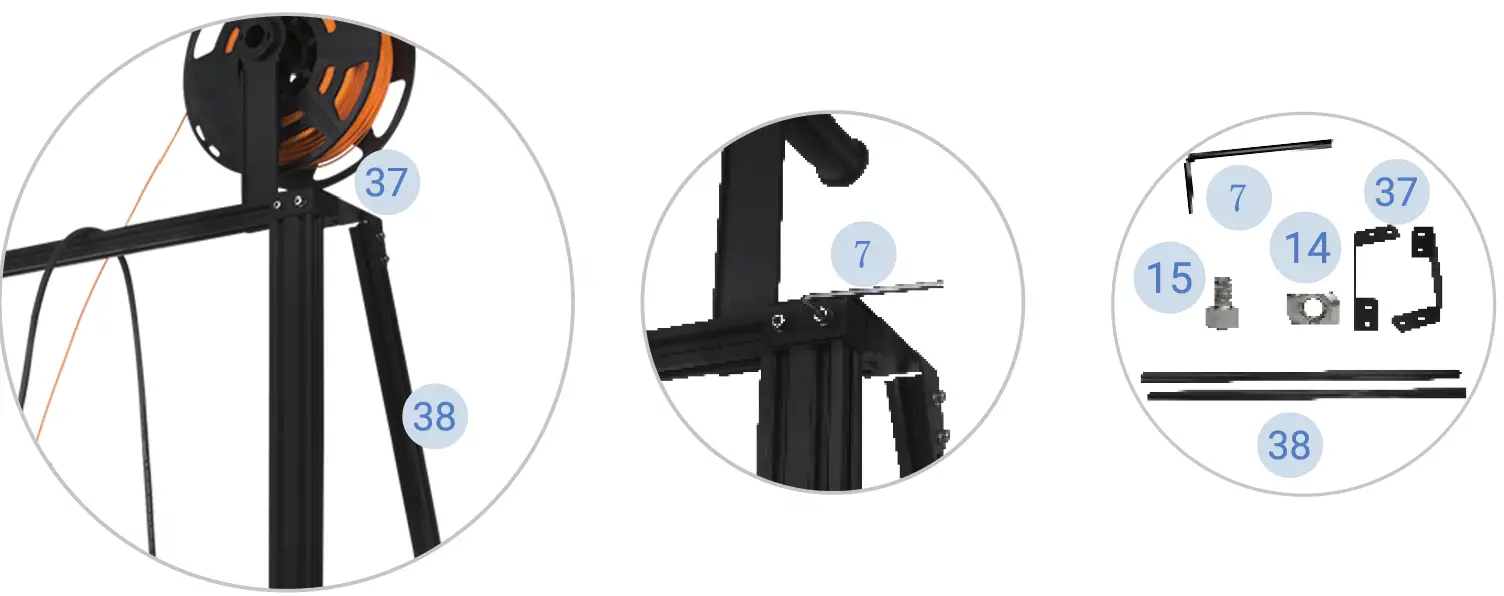
- Assemble Z-axis Cable-Stayed Kit

- Wiring

- Enable Filament Runout Detection


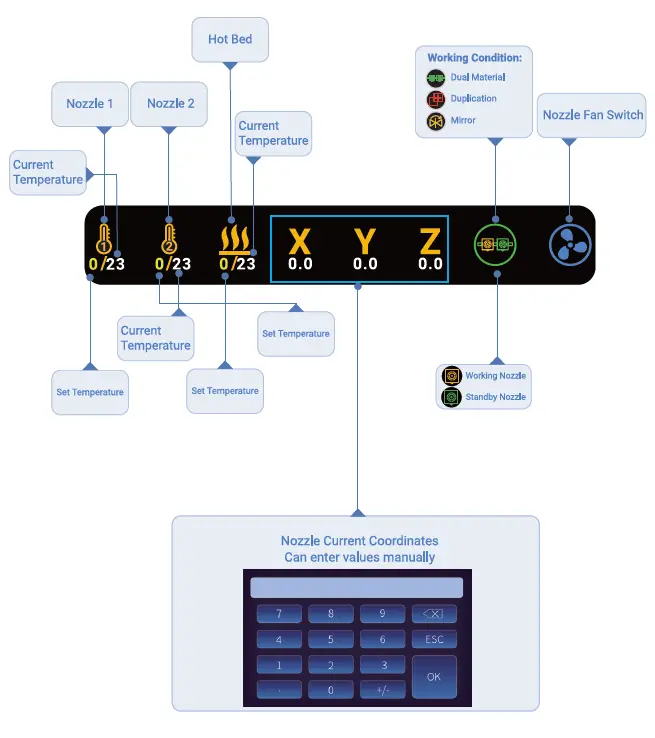
How To Use Touch Screen

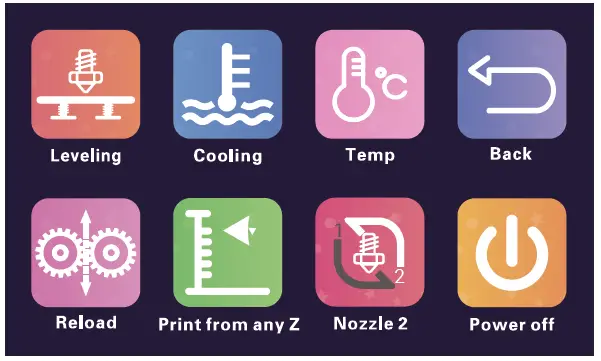
- Click on Tool button, you can get
- Semi-automatic Leveling
- Preheat PLA ABS
- Filaments Reload
- Printing from any Height etc.
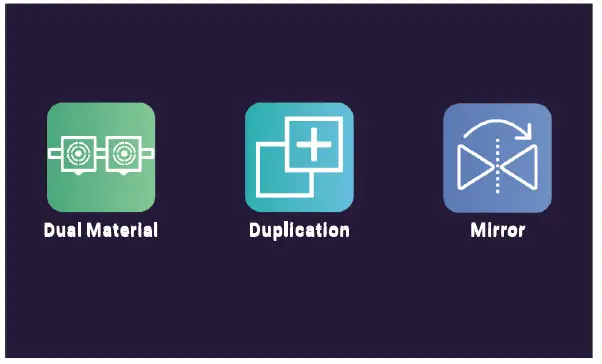
- Click on Dual Material button, you can switch the print mode:
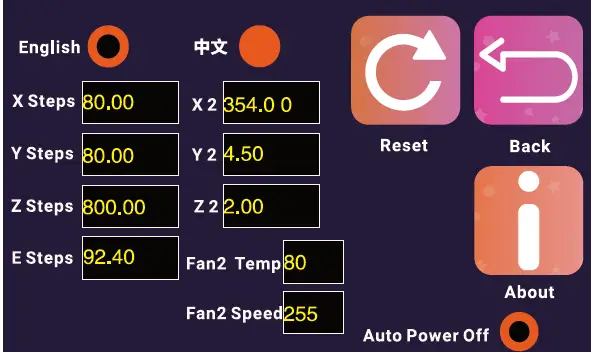
- Click on Setting button, you can configure the printer:
- X Y Z E Steps: The values of Steps per millimeter of each
- X2 Y2 22: Nozzle Offset of Nozzle 2 Relative to Nozzle 7
- Fan2 Temp: Set the startup temperature of Nozzle Cooling Fan
- Fan2 Speed: Speed of Nozzle Cooling Fan

How to Use
- How to Level

- How to Set Nozzle Offset

- How to Use


Cura Interface Overview
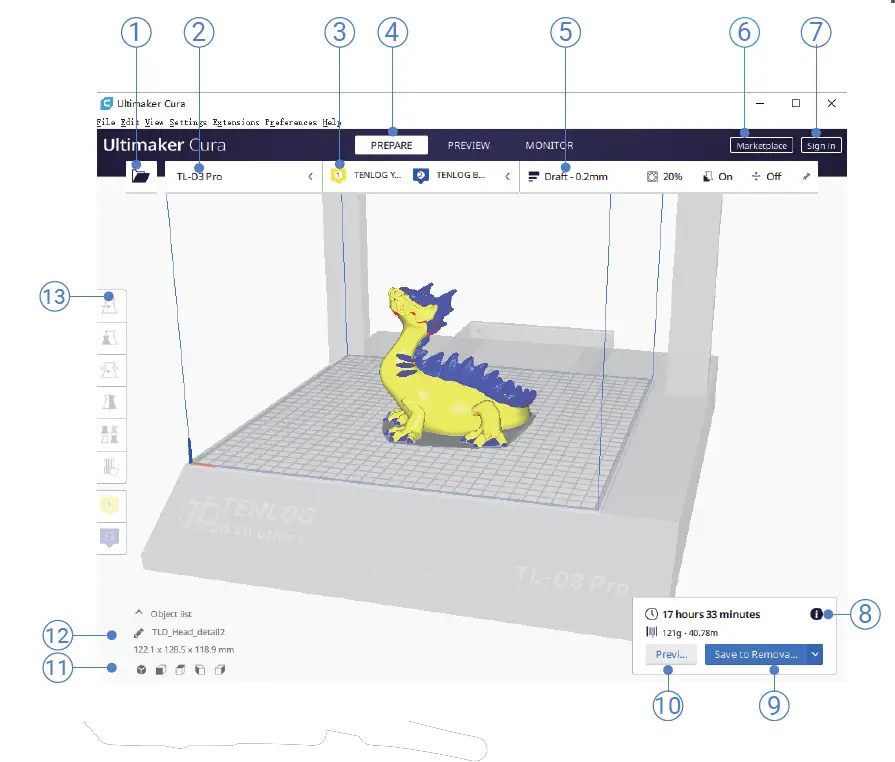
- Open file. Opens a 3D file.
- Printer selection panel. Displays the selected printer.
- Configuration panel. Contains the material and print core setup.
- Stages. The prepare. Preview and monitor stage. Each stage is arranged to efficiently go through each 3D printing step.
- Print settings panel. Contains all slice strategy parameters.
- Marketplace. Contains plugins and material packages.
- Ultimaker account. Allows access to cloud functionality, Marketplace plugins and print profiles, backups and more.
- Action panel. Contains an action button dependent on the current stage.
- Print over network. Save to removable disk or save to file.
- Preview. Proceeds to the next stage, the preview stage.
- Camera position tool. Easily positions the camera to default show default viewing angles.
- Model information. Contains the 3D model name and dimensions of all
- printable models on the build plate.
- Adjustment Tools. This allows you to easily position, scale, and rotate models on the build plate in the most efficient way.


