![]() ACCESSORIES
ACCESSORIES
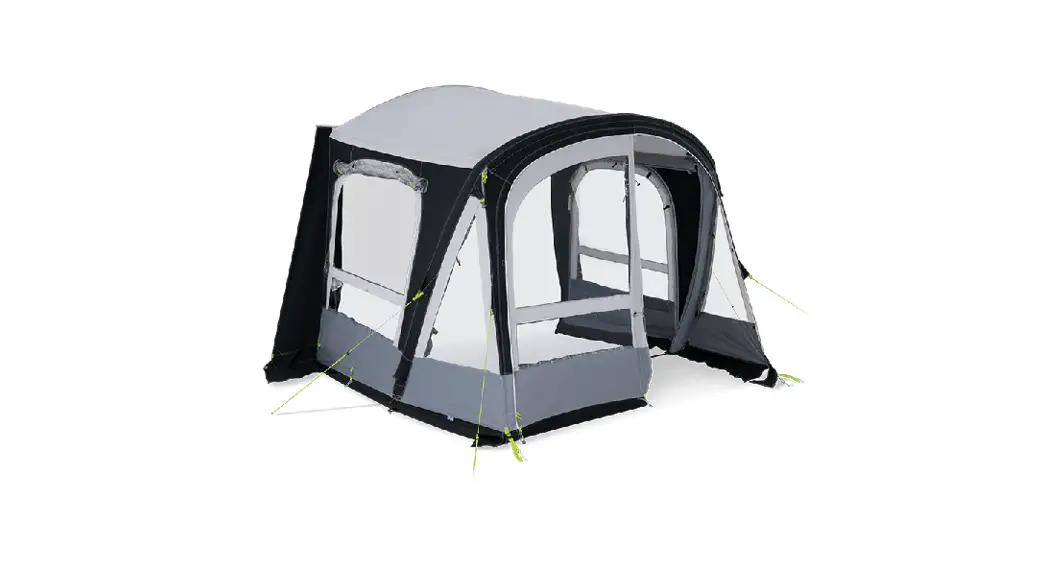
AIR ANNEXE
SUITABLE FOR:
PRO TALL AIR ANNEXE
ALL-SEASON TALL AIR ANNEXE
PRO AIR CONSERVATORY
PRO AIR ANNEXE
POP AIR PRO 260 ANNEXE
POP AIR PRO 290/340/365 ANNEXE
MOBIL AIR ANNEXE
WELCOME
Thank you for purchasing your Dometic annex. Please read these instructions carefully before attempting set up and retain for future reference. If used properly, your annex should give you years of trouble-free use. We recommend that your annex is insured against accidental storm damage as this is not covered by the warranty.
UV DEGRADATION
 Fabrics can be weakened by prolonged exposure to sunlight. Under normal holiday use your annex will give long service but use for extended periods in strong sunlight will soon cause deterioration. In those cases it would be wise to use a site as shaded as possible. UV degradation is not covered under the warranty. The warranty does not cover products on permanent sites, displays or for commercial purposes.
![]() Your awning and annex are designed for use in light to moderate weather. During very strong winds or snowfall, we recommend that you take your awning down. The awning is designed for touring use; it is not designed for seasonal pitch (except All-Season) or commercial use.
Your awning and annex are designed for use in light to moderate weather. During very strong winds or snowfall, we recommend that you take your awning down. The awning is designed for touring use; it is not designed for seasonal pitch (except All-Season) or commercial use.
We recommend a trial run before using your awning for the first time. This will allow you to familiarise yourself with the awning, its set up and any limitations the awning and annex may have for your particular use.
SET-UP
The annex can be fitted to either side of the awning, or both. The side panels can also be reversed.
- Remove the relevant side panel from the awning by unpegging and unzipping the panel.
- Zip the annex into a place of the panel.
- Unscrew the top cap of the inflation valve and attach the pump nozzle.
- Start to pump. The ideal inflation pressure is 9psi (0.62 bar).
- Once inflated, pull or push the front of the annex outwards so that the AirPods can assume their correct shape.
- Peg out the annex starting with the two corners closest to the awning and the annexe.
- Tall AIR Annexe and Conservatory AIR Annexe only: Inside the annexe, attach the internal spreader bar between the awning and the annex. The spreader bar should be tensioned to ensure that the roof is taut.
- Peg out the guy lines.
- Ensure that the sides and the roof of the annex are taut. If necessary, re-peg.
- AIR Annexe and Tall AIR Annexe only: The inner tent can be attached to the annexe using the supplied buckles and “O” rings on the inside of the annexe. The front two corners of the inner tent groundsheet should be pegged.
- Tall AIR Annexe and Conservatory AIR Annexe only: The divider can be attached using the supplied “O” rings on the inside of the annexe.
![]()
| YOUR LOCAL DEALER dometic.com/dealer | YOUR LOCAL SUPPORT dometic.com/contact | YOUR LOCAL SALES OFFICE dometic.com/sales-offices |
A complete list of Dometic companies, which comprise the Dometic Group, can be found in the public filings of:
DOMETIC GROUP AB


