
![]() LED Wall Pack Light
LED Wall Pack Light
Instructions
Applications:
Tunnel (except for motor vehicle tunnel), workshop, warehouse, factory, house, building exterior, etc.
Cautions:
- Do not use an electric generator to test the LED fixture.
- Please abide by related country, regional and local law and regulations when install this fixture;
- Do not install the fixture in raining days to avoid electrical shock or damage.
Notes:
- To avoid possibility of electrical shock or fire, the installation personnel must have professional electric knowledge;
- Please wear gloves to avoid injury before installation;
- If smoke or fire is found in wires or led fixture during or after installation, please turn off the power immediately and notify relevant personnel;
- This fixture i s available in outdoor usage, but the distance from fixture to ground should be more than 2m.
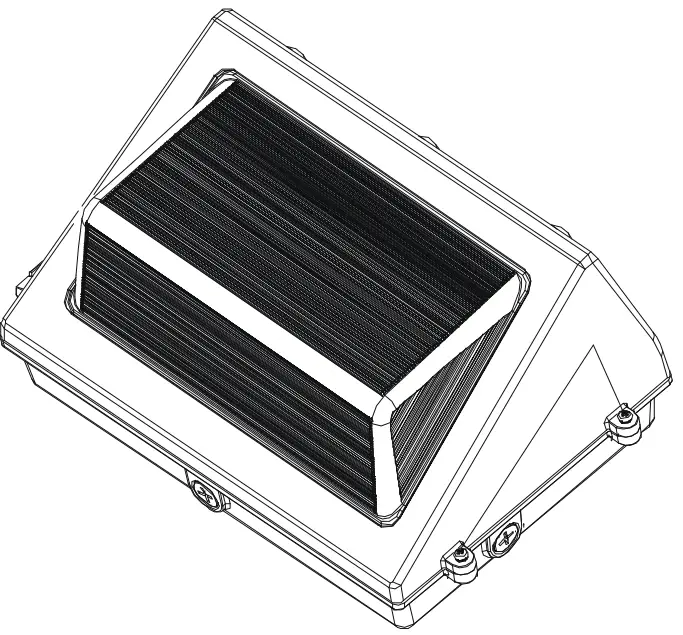
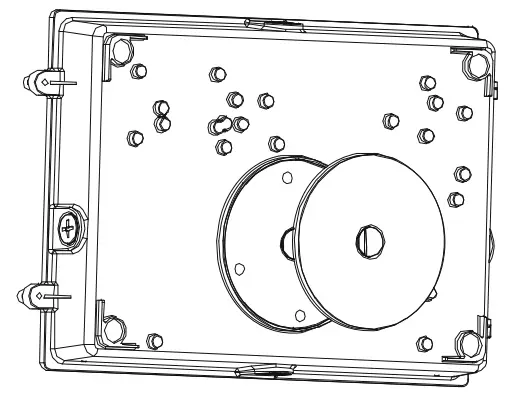
This installation instruction applies to the following products. Although the products vary in appearance, their installation steps are the same:
Installation I
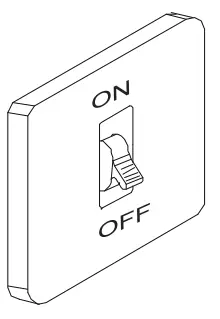
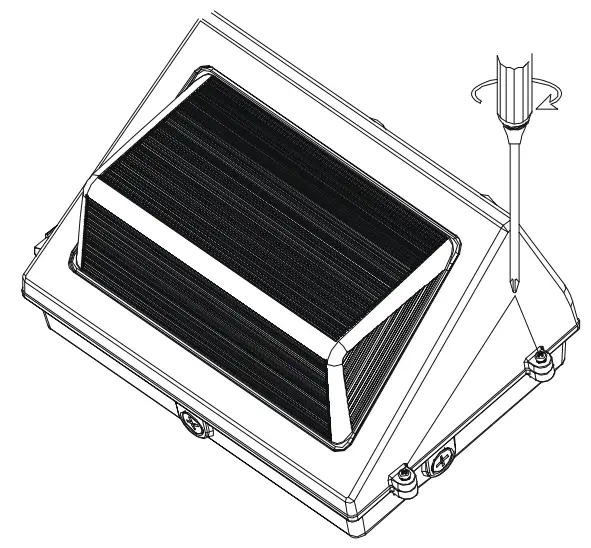
- Turn off the power.

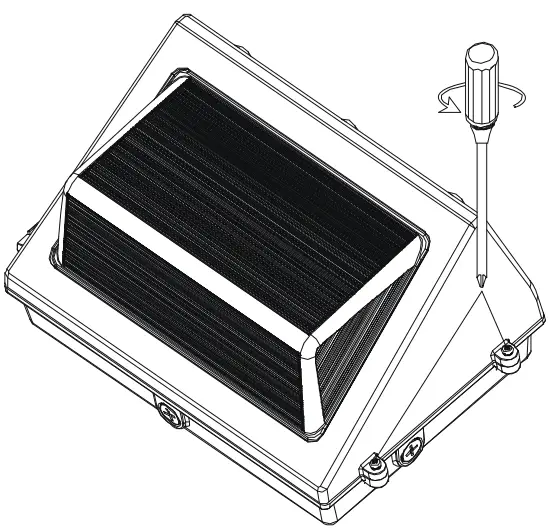
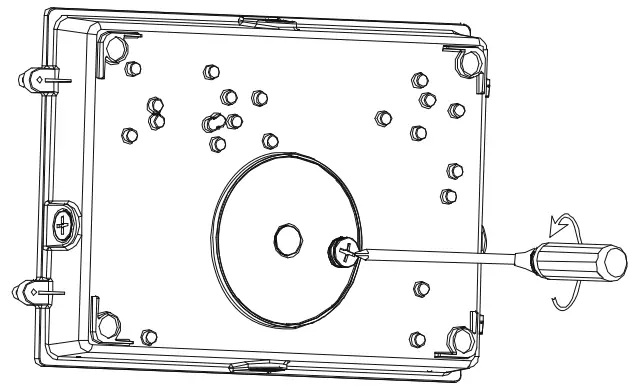
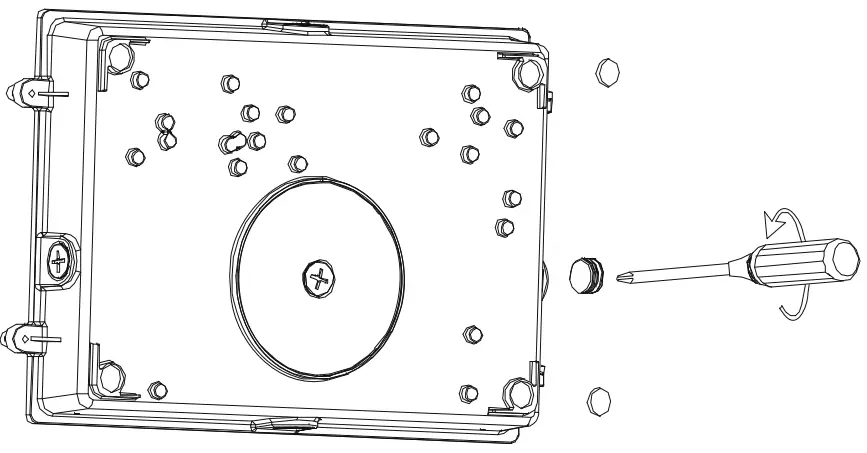
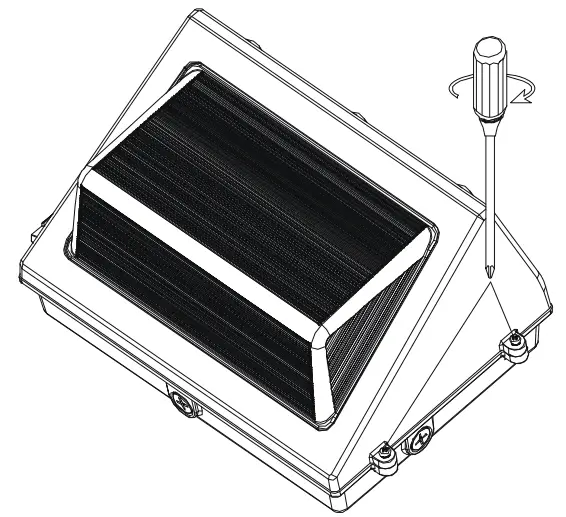
- Use a screwdriver to remove the screws on both sides.

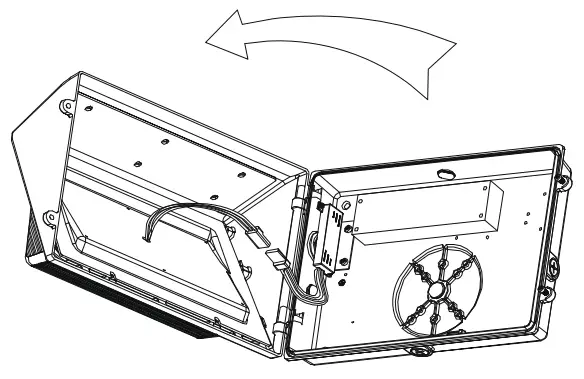
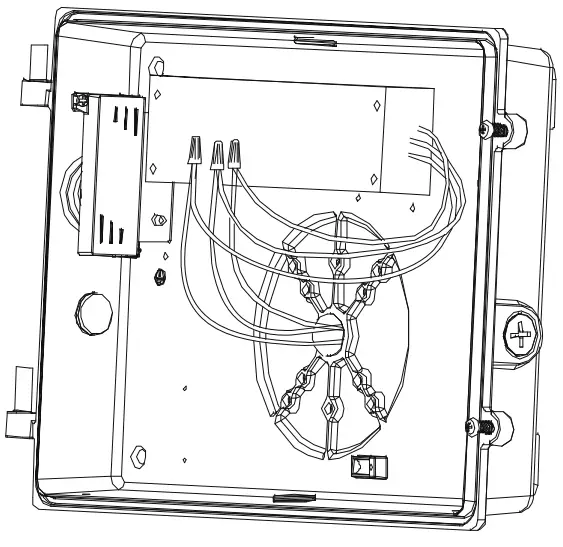
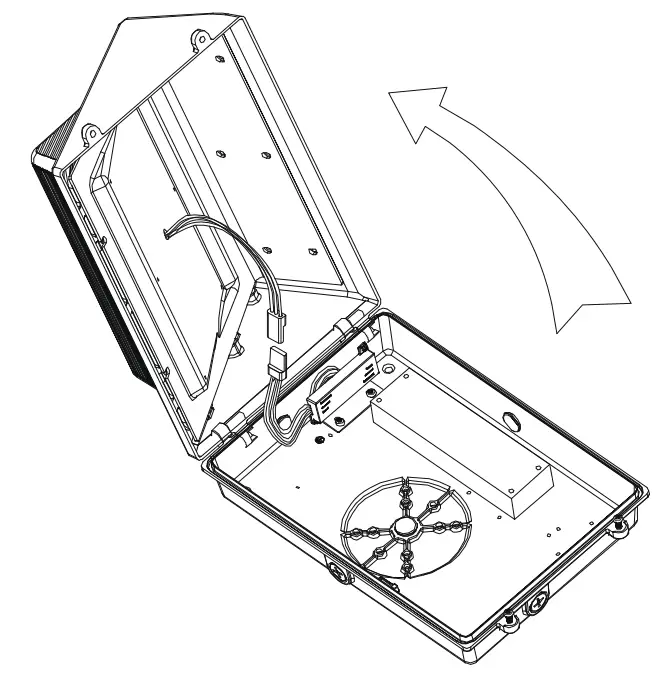
- Open the fixture, disconnect the connection terminals, and remove the upper cover of the fixture.

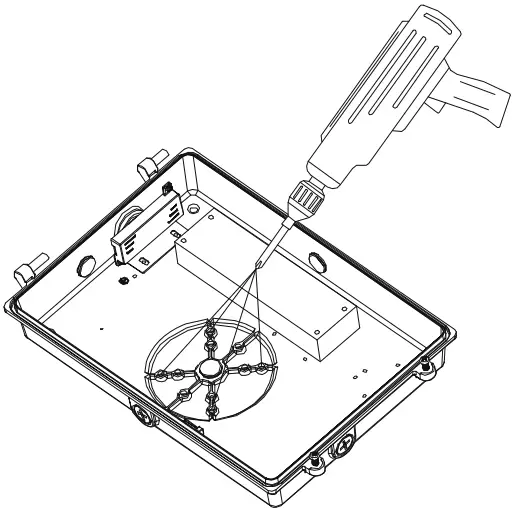
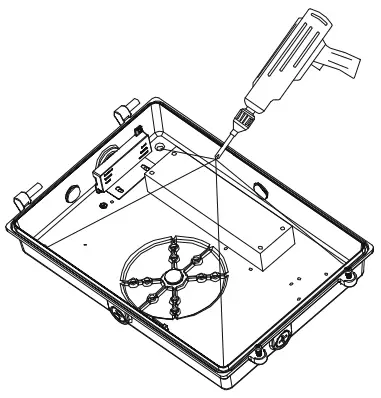
- Use a screwdriver to remove the plug.

- Drill through the mounting hole with an electric drill.

- Attach EVA cotton pad to bottom shell.

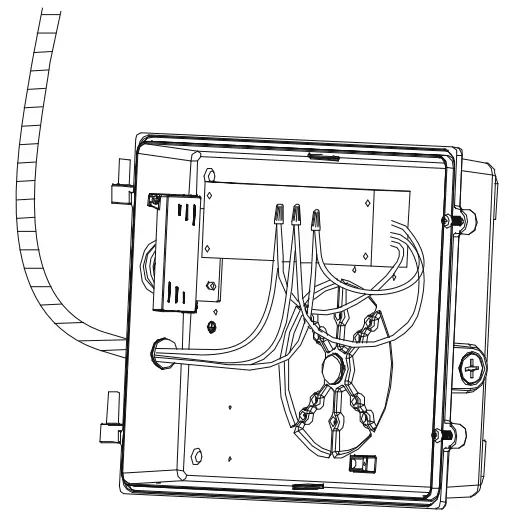
- Thread the wire through the bottom hole.

- Lock the bottom shell on the mounting seat with screws.

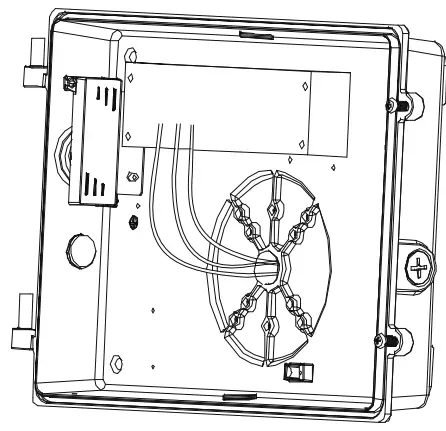
- L,N and G wires connecled to the power supply.

- Install the cover of the fixture and connect the terminal block.

- Fix the fixture with screws.

- Make sure the installation is complete before turning on the power switch.
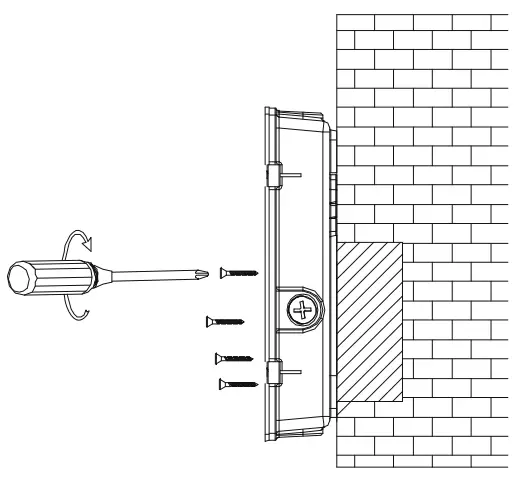

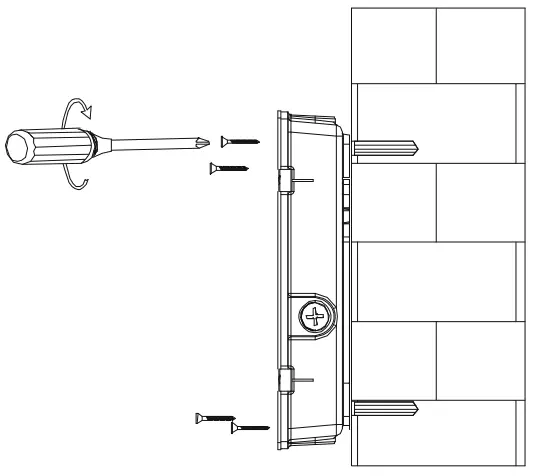
Installation II:
- Turn off the power.
- Use a screwdriver to remove the screws on both sides.
- Open the fixture, disconnect the connection terminals, and remove the upper cover of the fixture.

- Drill through the mounting hole with an electric drill.

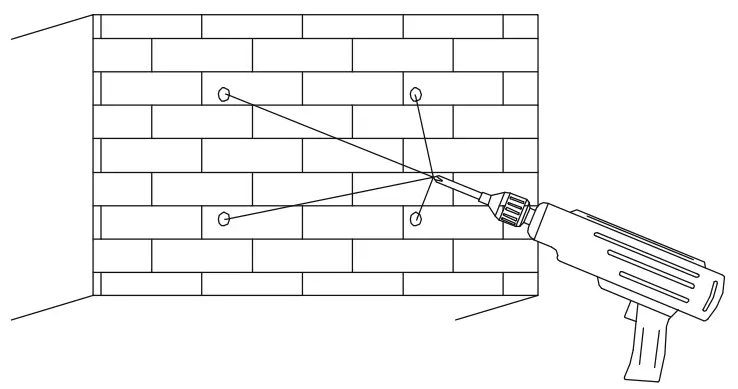
- Drill a hole in the wall with an electric drill.

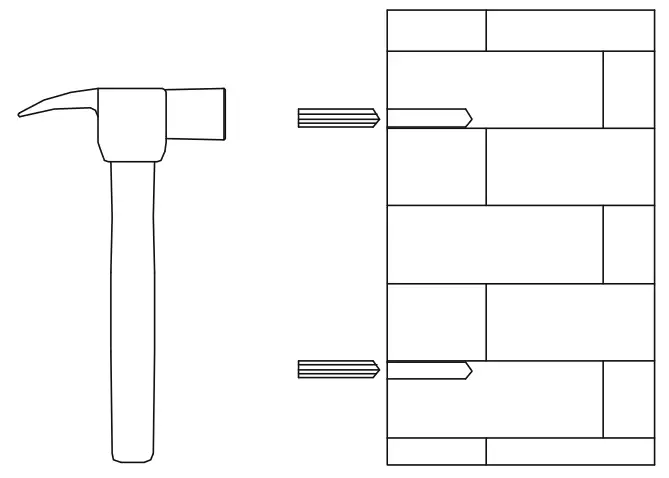
- Push the expansion rubber plug into the mounting hole on the wall.

- Use a screwdriver to remove the side plug and attach the EVA cotton pad to the mounting hole.

- Push the expansion rubber plug into the mounting hole on the wall

- The top terminal connect the wire tube through the side hole to the L,N and G wires on the power supply.

- Install the upper cover of the fixture and connect the terminal line.

- Fix the fixture with screws.

- Make sure the installation is complete before turning on the power switch.

Standard wire:
L/live wire: Black\Brown;
N/null wire: White\Blue;
Ground wire: Green\Yellow-green.
Warning: During grounding, make sure the earth wire of the driver and fixture housing are connect-ed together with the earth wire of the local power supply.
MIN 90°C SUPPLY CONDUCTORS
THIS PRODUCT MUST BE INSTALLED IN ACCORDANCE WITH THE APPLICABLE INSTALLA-TION CODE BY A PERSON FAMILIAR WITH THE CONSTRUCTION AND OPERATION OF THE PRODUCT AND THE HAZARDS INVOLVED


