tp-link Tapo S505D Smart WiFi Dimmer Switch
Product Introduction
Tapo smart dimmer switch turns on and dims the lights automatically, saving you effort and electricity bills.
Wire Your Switch
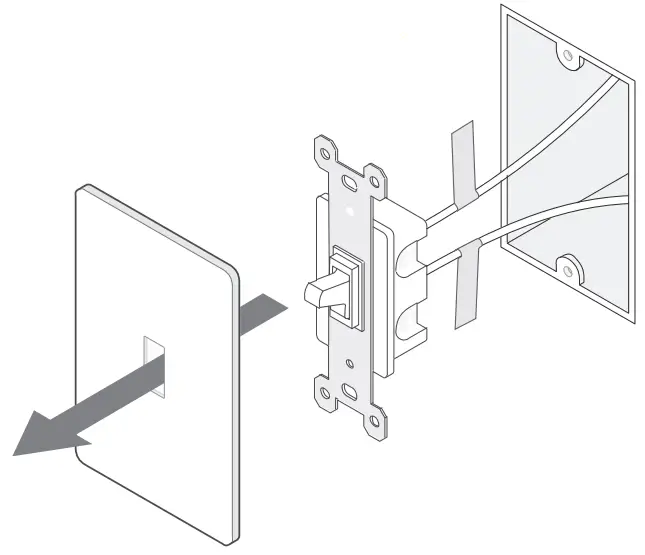
- Turn off the circuit breaker. Then remove the old wallplate of the wall switch and label the Ground and Neutral wires.

- Ground: Usually green or copper.
- Neutral: Usually white and not connected to the dumb switch.
- Line: Usually black and coming from the circuit breaker.
- Load: Usually black. One end is connected to the light.
- If you are unsure, consult a qualified electrician.
- Disconnect the wires from the old switch.
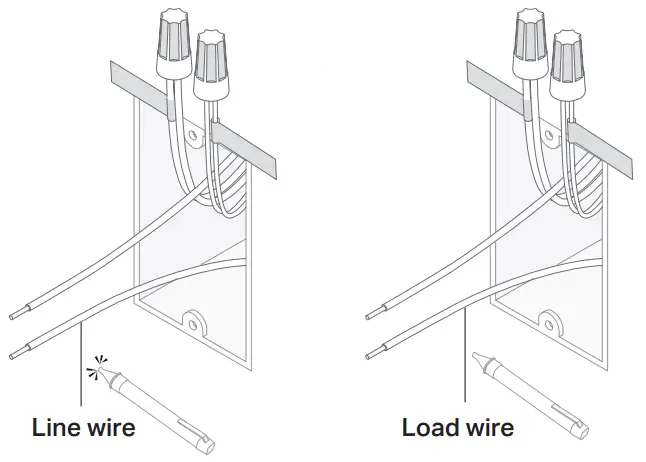
- Identify Line and Load wires.
- Turn on the circuit breaker. Use a voltage detector to identify the energized wire (Line wire).
- Take care to avoid electric shocks.

- Take care to avoid electric shocks.
- Turn off the circuit breaker. Label the Line and Load wires.
- Turn on the circuit breaker. Use a voltage detector to identify the energized wire (Line wire).
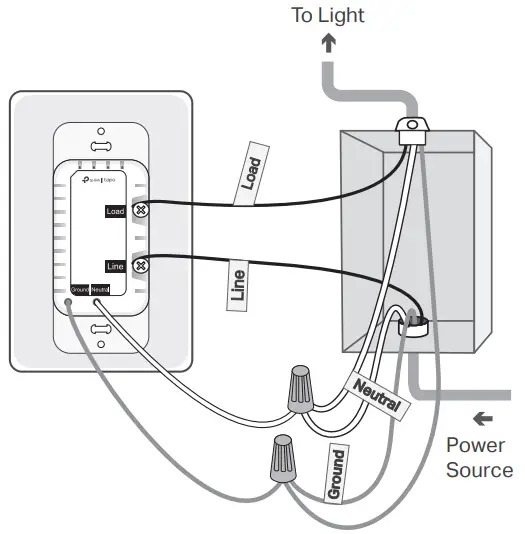
- Connect the wires to the smart dimmer switch as shown below.

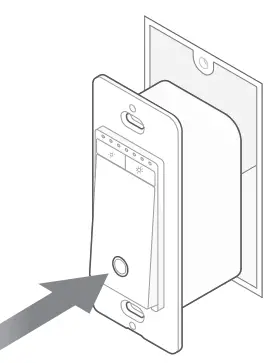
- Line up the switch with the mounting holes. Secure it with screws.

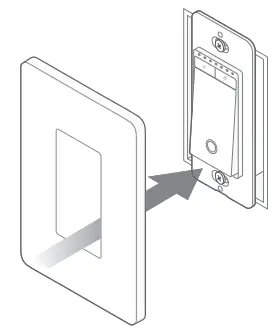
- Attach the wallplate and turn on the circuit breaker. Then the wiring is finished.

Set Up Your Switch
DOWNLOAD APP

- Get the Tapo app from the App Store or Google Play.
SET UP
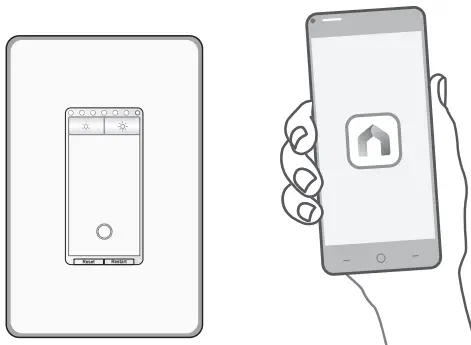
Tap the + button in the app. Select Switches and then your model. Follow the step-by-step app instructions to set up your smart switch.
Set Up with Matter
This is a Matter-certified device. You can integrate it into any Matter ecosystem you prefer for easy control.
How to Set Up
A Matter-supported controller and smart home app of the same ecosystem are required.
- Turn on Bluetooth on your phone.
- Open your selected smart home app and enter the provided numeric setup code on your device or Scan the Matter QR code on the provided label.
- Follow the instructions in the app to complete setup.
Note: Setup processes may vary between ecosystems.
Failed to Set Up?
- Try to connect your phone to a stable 2.4 GHz Wi-Fi network with internet access instead of a 5 GHz network.
- Press the Restart button once to restart your device.

- Refer to the FAQ for detailed instructions: https://www.tp-link.com/support/faq/3520/

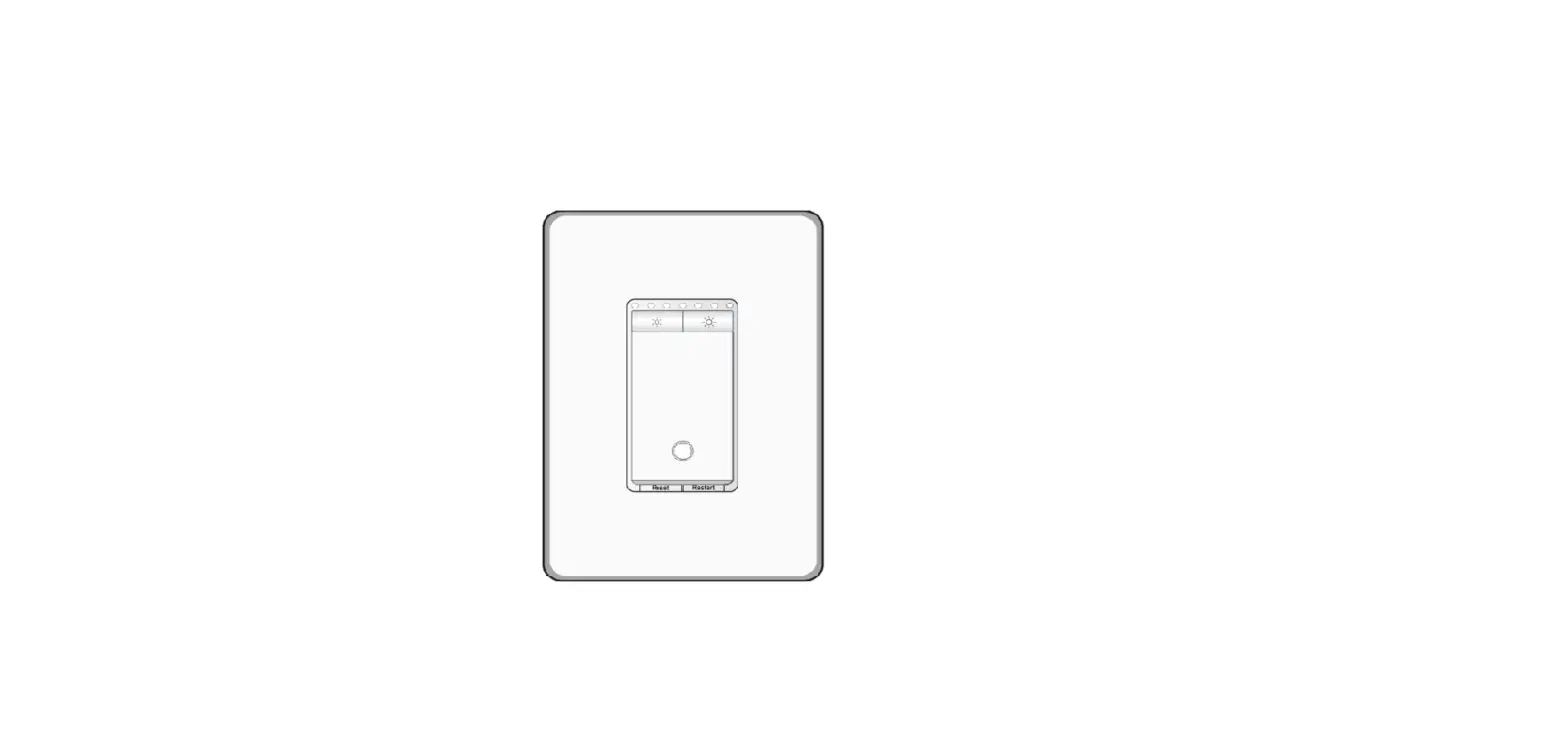
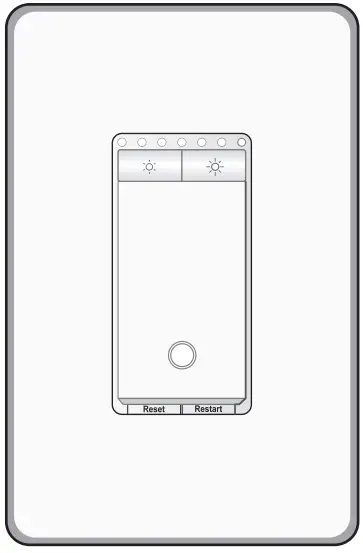
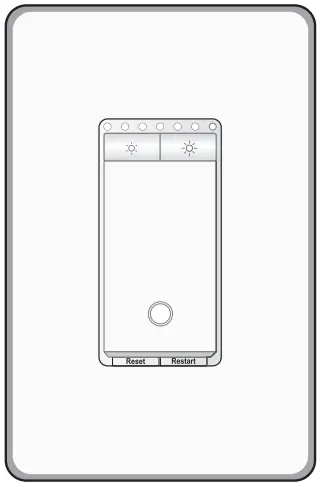
Appearance
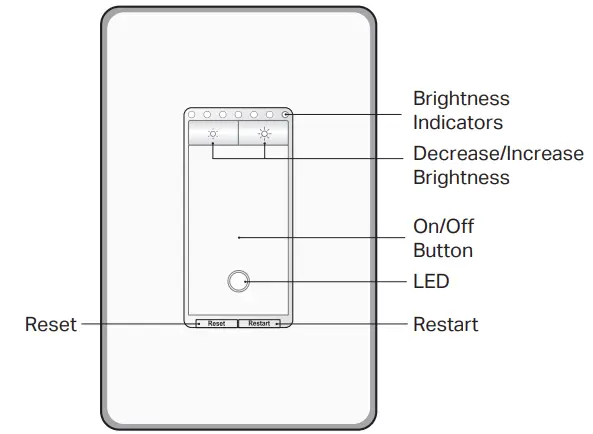
Button Explanations
 | Decrease or increase the brightness. |
| Reset | Press and hold for about 5s to reset Wi-Fi while keeping other settings. Press and hold for about 10s to restore your switch to factory default settings. |
| Restart | Press to restart your switch. |
LED Status
| Solid amber | Starting up; disconnected from cloud. |
| Blinking amber & green | Ready for setup. |
| Blinking green | Connecting to Wi-Fi. |
| Stay green for 30s | Connected to Wi-Fi. |
| Solid red | Disconnected from Wi-Fi. |
| Blinking amber | Device resetting. |
| White | Light fixture is off. |
| Blinking green slowly | Firmware upgrading. |
Specifications
- Rating: 120 V~ 60 Hz
- Load: 300 W Incandescent, 150 W LED
- Operation temperature: 0~40 ℃
- Method of mounting included: Independently mounted
- (Vertically position only);
- Operating control, Type 1 action
- Pollution Degree 2, Rated Impulse Voltage 2500 V
- Software Class A, NEMA Type 1.Y
CAUTION: High Voltage-Disconnect power supply before servicing.
Safety Notice
Before installing, servicing or removing the switch, read and follow all safety precautions including the following:
- CAUTION: Risk of Electric Shock – More than one disconnect switch may be required to de-energize the equipment before servicing. A Circuit breaker that disconnects the Line and Neutral conductor simultaneously is suitable. Ensure power is off at the circuit breaker before removing or installing any switch. Use a non-contact voltage tester to ensure the power is off.
- The Smart Switch must be installed and used in accordance with the National
- Electric Code (NEC) or your local electrical code. If you are unfamiliar with these codes and requirements or are uncomfortable performing the installation, consult a qualified electrician.
- Do not install the Smart Switch with wet hands or when standing on wet or damp surfaces.
- Install only in a suitable UL Listed outlet box (suitable dimensions: H > 2.95 in./75 mm, W> 1.81 in./46 mm, D> 2 in./51 mm).
- Tighten terminal screws to 13 lbs-in.
Support
For technical support, user guides and other information, visit https://www.tapo.com/support.
©2023 TP-Link 7106510105 REV1.1.1
Images may differ from your actual product.


