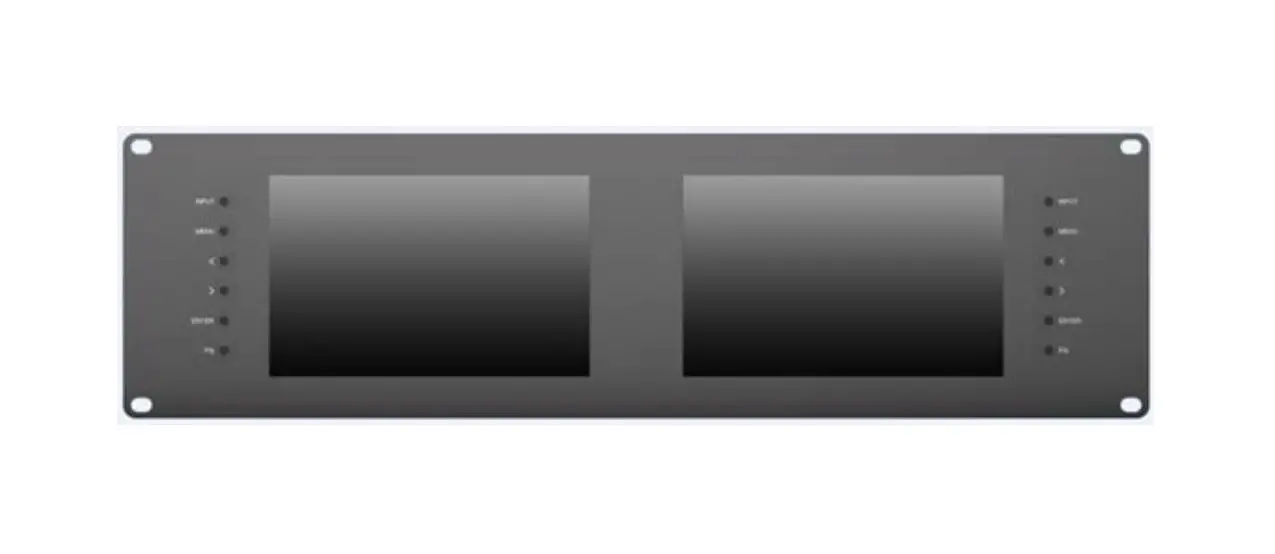
ViewZ VZ-070RM-E 3RU Two 7 Inch Rackmount FHD Broadcast Monitors User Guide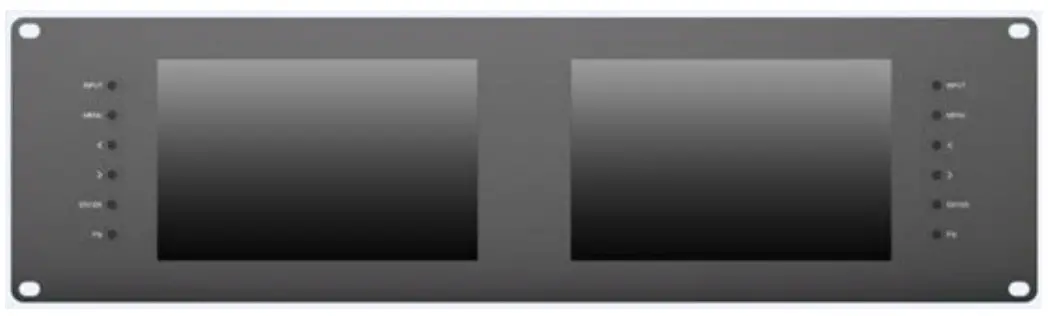
IMPORTANT SAFETY INSTRUCTIONS:
- Please read User Guide before using this product.
- Please keep User Guide for future reference.
- Please read the cautions to prevent possible danger and loss of property.
FEATURES:
- 78° Wide viewing angles.
- High resolution: 1280×800.
- High brightness: 400cd/㎡.
- High contrast: 800:1.
- Faster response time.
- TALLY interface with indicating light.
- Firm & thin design.
CAUTIONS:
- Please do not place the display screen towards the ground.
- Please avoid heavy impact or drop onto the ground.
- Please do NOT use chemical solutions to clean this product. Please wipe with a clean soft cloth to maintain the brightness of the surface.
- Please do not block any vent hole.
- Please follow the instructions and trouble-shootings to adjust the product. Other improper adjustment may result in damage. Any further adjustment must be performed or conducted by a qualified technician.
- Please unplug the power if long-term no-use, or thunder weather
PRODUCT DESCRIPTION
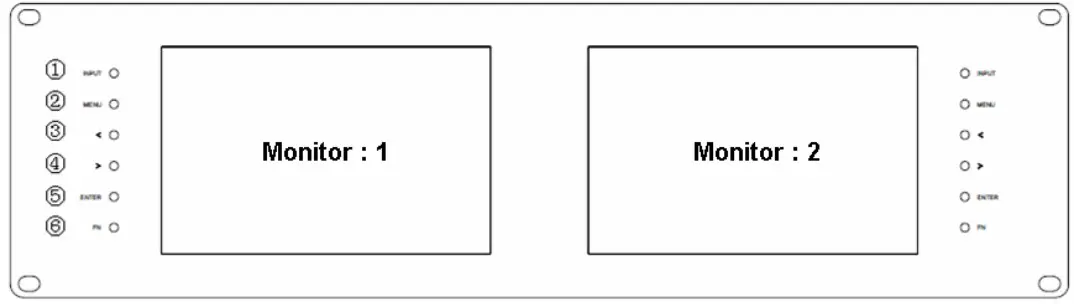
- INPUT: circularly switch among of HDMI, YPbPr, Video and SDI.
- MENU: To activate OSD (on-screen display) menu. Press to switch among the brightness, sharpness, contrast, saturation, Tint, MENU and Exit.
- ◄ Left selection button: to select item on OSD menu and adjust its value; Press to decrease the value of brightness, sharpness, contrast, saturation and Tint.
- ► Right selection button: to select item on OSD menu, adjust its value and confirm it; Press to increase the value of brightness, sharpness, contrast, saturation and Tint.
- ENTER.
- FN: Function button; to launch function menu quickly.


Note: The interfaces within Monitor 1 provide signal source for monitor 1. The interfaces within Monitor 2 provide signal source for monitor 2. TALLY interface, Mini USB interface, power supply interface and LAN port are common interfaces.
 TALLY interface and interface definition.
 Mini USB input (Only used for program upgrades, do NOT use if non-professionals).
 12V DC power input.
 YPbPr input.
 YPbPr output.
 Video input.
 Video output.
 HDMI input.
 HDMI output.
 SDI input
- SDI output.
 The LAN port. (Connected to PC network interface for
function adjustment.)
 12V DC power input.
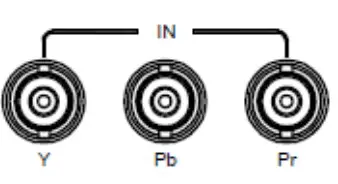 YPbPr input.
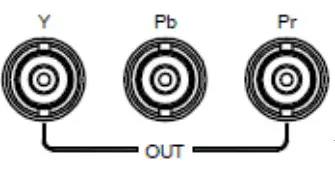 YPbPr output.
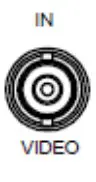 Video input.
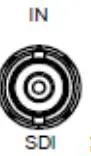 Video output.
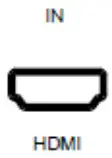 HDMI input.
 HDMI output.
Before setting the functions, please make sure the device is connected correctly
Shortcut buttons:
the image menu
Power on, press “◄ / ►” buttons on the device, brightness display bar will appear at the bottom of the screen, then press the MENU button to switch among brightness, sharpness, contrast, saturation, tint, MENU and Exit. User can adjust the parameters of the selected item with “◄ /►”buttons to meet their needs.
FN user-definable function button ress FN button to pop up the default options, Use “◄ / ►” buttons to adjust the value of selected item.
Long press FN button for 3-5 seconds to pop up shortcut menu directly. As shown in right Figure (default menu is displayed in white font).
Use “◄ / ►” buttons to select the desired item.
Finally, use the “ENTER” button to confirm the selected item as default.
Functions of FN button can be customized: Center Marker, Safety Marker, Check Field, Color Bar, Aspect Ratio, Camera, PIP, Image Flip, Zoom, Pixel-to-Pixel, Freeze Input, Underscan, H/V delay.
Center Marker
Safety Marker Check Fie4d Color Bar Aspect Ratio Camera
Image Flip Zoom Freeze Input Underscan hiN delay
MENU Operation
Press “MENU” button on the device after power on. The menu used for setting function will display on the screen.
Press ◄/► buttons to select the sub-menu; then press ENTER to confirm it; after that, press MENU to return to main menu.
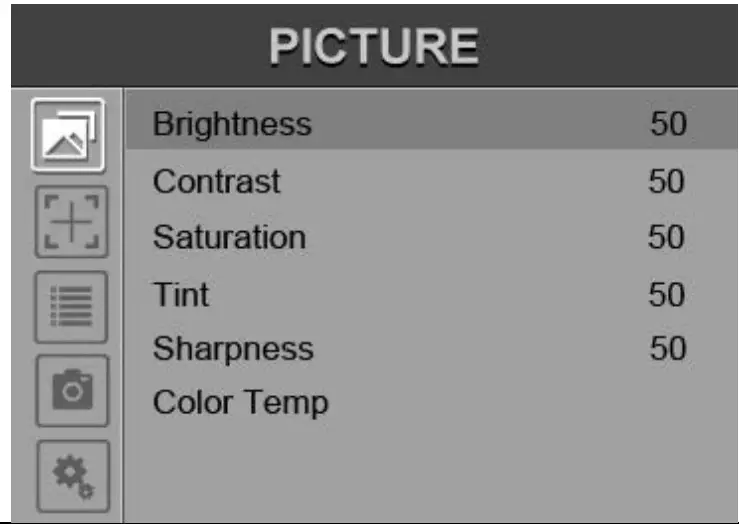
Picture
| ITEMS | OPTIONS | |
| Brightness | 0 – 100 | |
| Contrast | 0 – 100 | |
| Saturation | 0 – 100 | |
| Tint | 0 – 100 | |
| Sharpness | 0 – 100 | |
| Color Temp | 6500ºK, 7500 ºK, 9300 ºK, User | |
| Red | Note: Available only in “User” mode to choosethe color value you need. | |
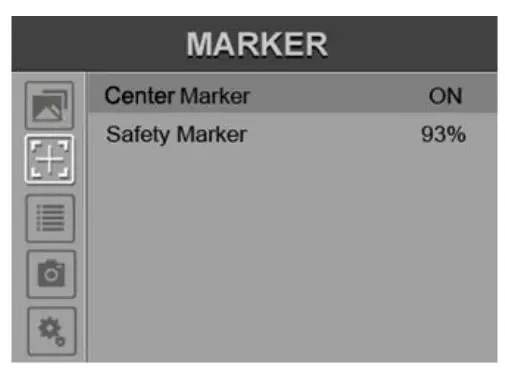
Marker
| ITEMS | OPTIONS |
| Center Marker | ON, OFF |
| Safety Marker | OFF, 95%, 93%, 90%, 88%, 85%, 80% |
Display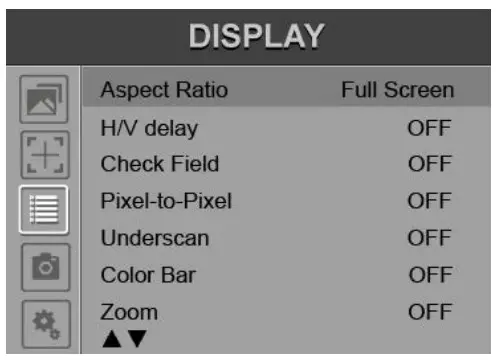
| ITEMS | OPTIONS |
| Aspect Ratio | Full Screen, 16:9, 4:3, 1.85:1, 2.35:1 |
| H / V delay | OFF, H&V Delay, V Delay, H Delay |
| Check Field | OFF, Mono, Red, Green, Blue |
| Pixel-to-Pixel | OFF, ON |
| Underscan | OFF, ON |
| Color Bar | OFF, ON |
| Zoom | OFF, ×2, ×4, ×6, ×8 |
| Image Flip | OFF, ON |
| Freeze Input | OFF, Freeze |
| PIP | Small, Medium, Large, PBP, POP |
DSLR Aux& Audio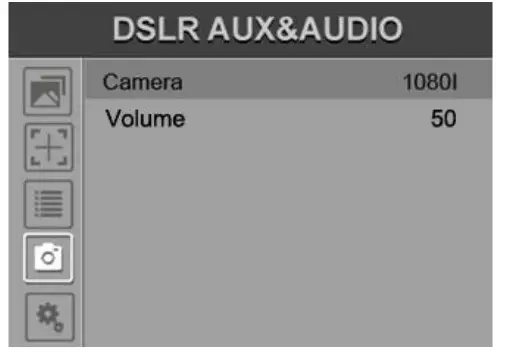
| ITEMS | OPTIONS |
| Camera | 480P (5D-II Mode), 1080I (5D-Ⅲ Mode) |
| Volume | 0 – 100 |
System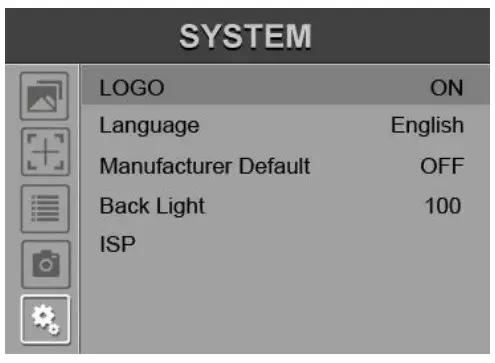
| ITEMS | OPTIONS |
| LOGO | OFF, ON |
| Language | English, Chinese |
| Manufacturer Default | OFF, ON |
| Back Light | 0 – 100 |
| ISP | For program upgrades |
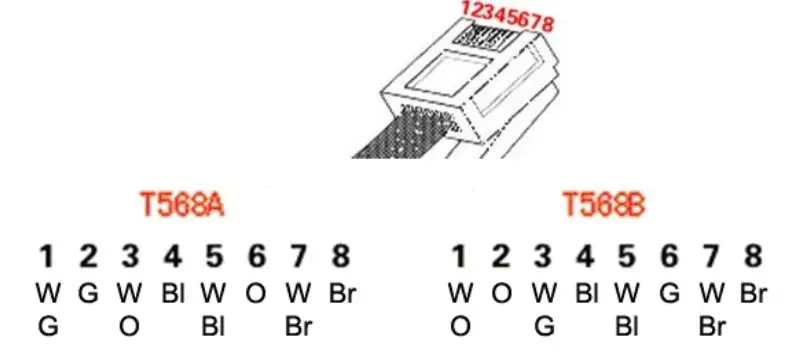
Software application
- Cross-connection network cable

Note:W: white, G: green, O: orange, Bl: blue, Br: brown - Software settings
①. Connect the LAN port with PC.
②. Set the PC IP to 192.168.1.XXX network segment(XXX is a user-definable parameter).
③. Open the application program, then select the monitor which is needed to be adjusted (Monitor1or Monitor2).
④. Set the parameter values according to user’s individual requirements.
First, click the “read” button to read the corresponding parameter value of the device to the software, secondly, modify the parameter value on the software, then, the instruction can be realized on the device.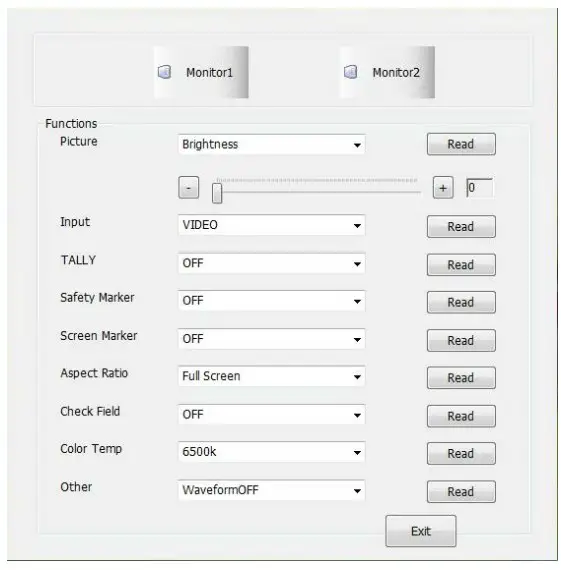
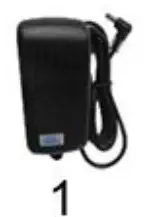
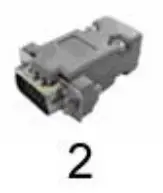
ACCESSORIES
- DC 12V Power adapter 1 piece

- TALLY connector 1 piece

- Manual 1 piece”

PARAMETERS
| Panel | 7” LED IPS |
| Physical Resolution | 1280×800 |
| Brightness | 400 cd/㎡ |
| Contrast | 800: 1 |
| Viewing Angle | 178°/ 178°(H/V) |
| Input Voltage | DC 12V |
| Input Signal | HDMI, YPbPr, SDI, Video |
| Power Consumption | ≤18W |
| Operating Temperature | -20℃~60℃ |
| Storage Temperature | -30℃~70℃ |
| Dimension (LWD) | 482.5×133.5×25.3mm |
| Weight | 2885g |
TROUBLE SHOOTING
- Only black-and-white display:
Check whether the color saturation is properly set up or not. - Power on but no pictures:
Check whether the cables of HDMI, YPbPr, SDI and VIDEO are correctly connected or not. Please use the standard power adapter equipped with the product package. Improper power input may cause damage. - Wrong or abnormal colors:
Check whether the cables are correctly and tightly connected or not. Broken or loose pins of the cables may cause a bad connection. - When power on, the picture shows size error:
Press “MENU → DISPLAY → Underscan” to zoom in/out pictures automatically when receiving HDMI signals. - Other problems:
Please press “MENU” button and choose “SYSTEM→ Manufacturer Default →ON”, then press “ENTER” button to confirm it. - According to the ISP, the machine can not function properly:
ISP is used for program upgrades, non-professionals do not use. The device will reboot if selected accidentally!
Note: due to constant effort to improve products and product features, specifications may change without prior notice


