 INSTALLATION GUIDE FOR
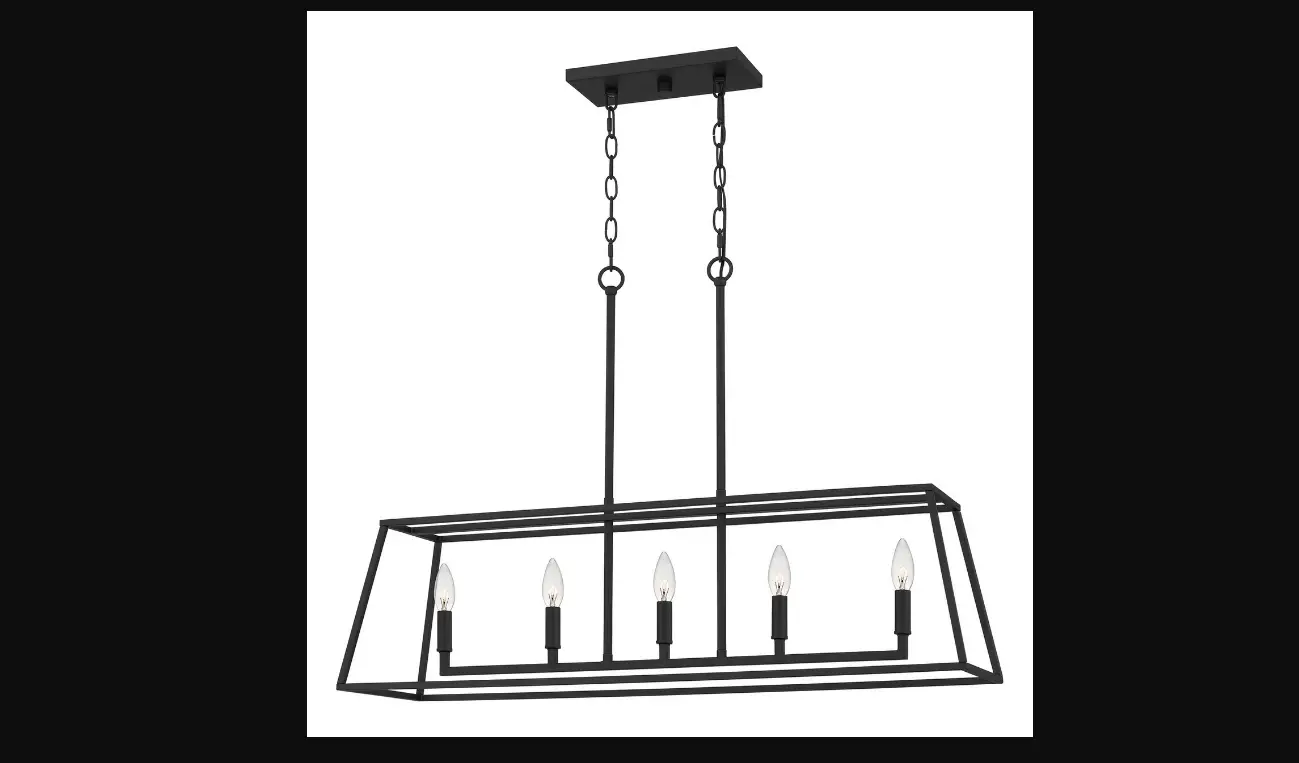
PRC536BN and PRC536MBK
 SAFETY INFORMATION
Released Date: 202 -0 2 6-06
Please read and understand this entire manual before attempting to assemble, install or operate the product.
WARNING
- RISK OF ELECTRIC SHOCK – Before beginning installation, turn off electricity at the circuit breaker box or the main fuse box.
- RISK OF FIRE – Use bulbs specified by the markings and/or labels on the fixture.
CAUTION
- For your safety, read instructions completely before beginning installation.
- If in doubt about electrical installation, consult a licensed electrician.
- Turn off electricity to fixture before replacing the bulb(s).
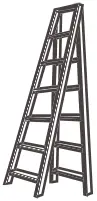
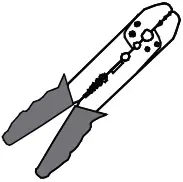
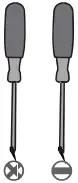
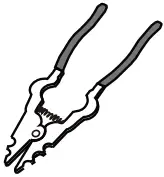
TOOLS REQUIRED


CARE AND MAINTENANCE
- Wipe clean using soft, dry cloth or static duster. Always avoid using harsh chemicals and abrasives to clean fixture as they may damage the finish.
If you need further assistance call Quoizel Customer Care at 1-800-645-3184 (9:00am – 5:00pm EST), or visit us on-line at www.quoizel.com.
PACKAGE CONTENTS
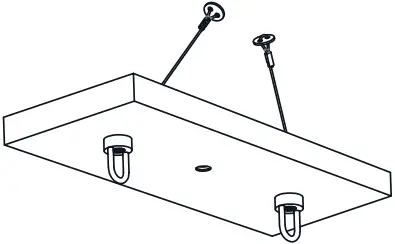

A Ceiling Canopy x 1 B Coupling x 2
![]()
![]()

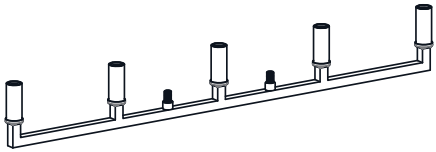
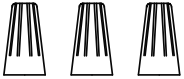
C 12″L Rod x 2 D Side Tube x 4 E Fixture Loop x 2
![]()
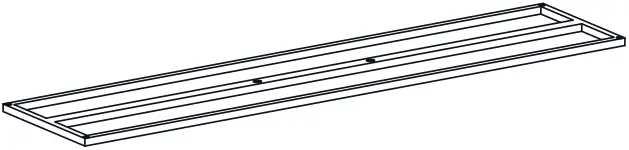
F Top Frame x 1 G Center Rod x 2
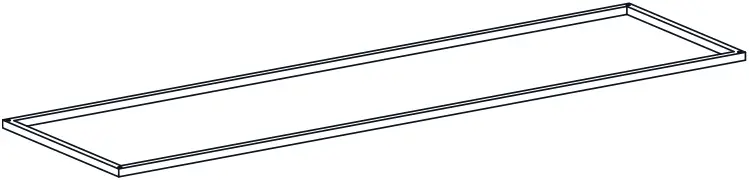
H Socket Assembly x 1 I Bottom Frame x 1
MOUNTING HARDWARE
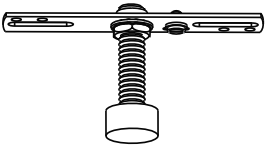
AA Crossbar Assembly x 1 BB Wire Connector x 3

![]()
CC Outlet Box Screw x 2 DD Quick Link x 4
![]()
EE Fixture Chain x 2
INSTALLATION
1 Install Top Frame, Side Tubes and Bottom Frame
* Line up labels “A” on Top Frame and Side Tube during assembly.
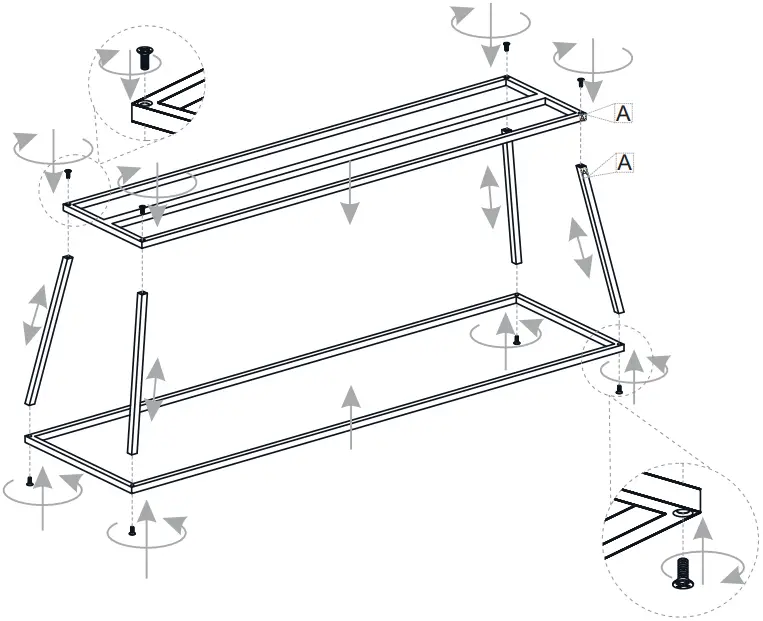
Do not tighten screws until all tubes and frames are assembled together.
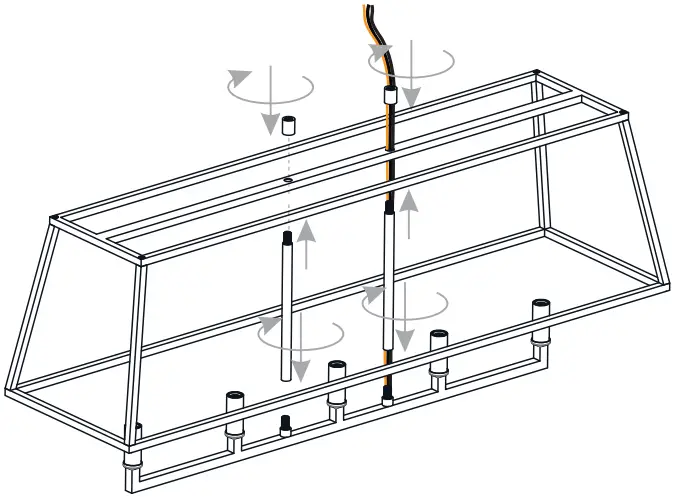
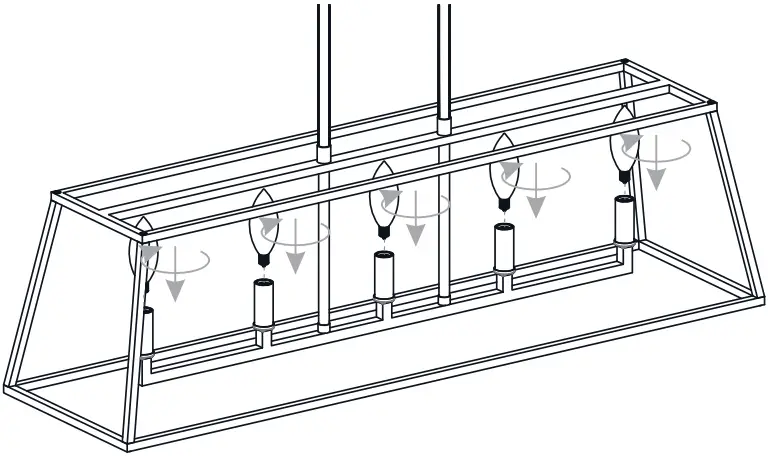
2 Install Assembly and Socket Center Rods
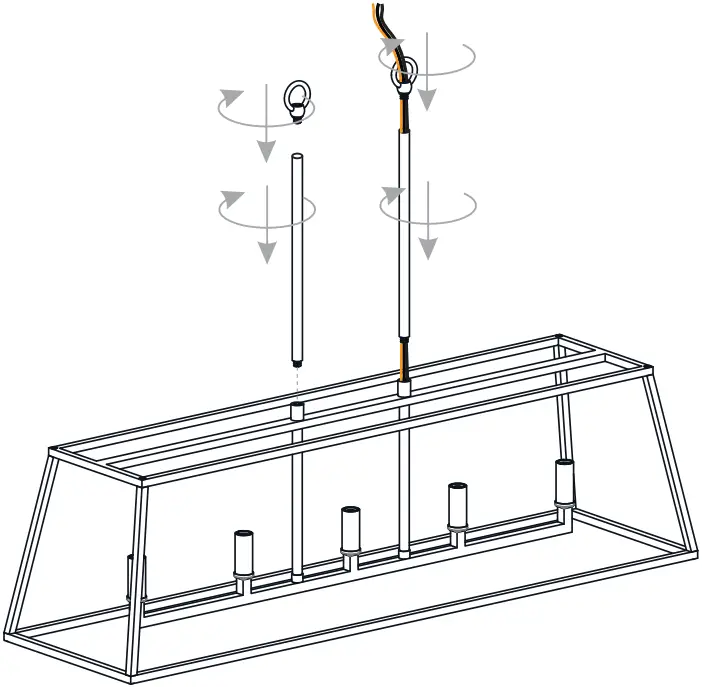
3 Install 12″L Rods and Fixture Loop
4 Install Fixture Chains
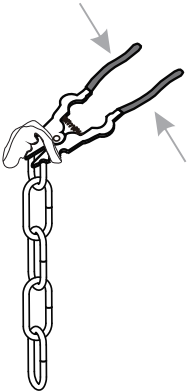
OPTIONAL: Adjust Chain as desired, using pliers and soft cloth (neither included).
Suggested chain length for Ceiling height:
8 feet ceiling: use 9 links of chain and 2 quick links
9 feet ceiling: use 1 links of 9 chain and 2 quick links
10 feet ceiling: use 2 links of 9 chain and 2 quick links.
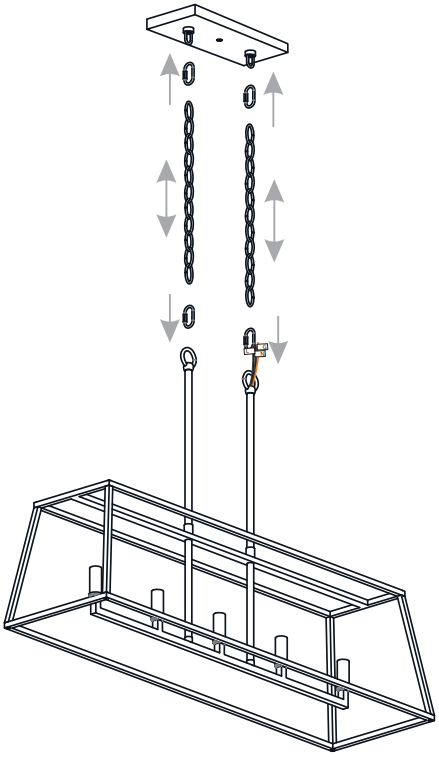
5 Pull Supply Wires

Pull the supply wires with ground wire through the chain alternate links.
6 Install Crossbar Assembly
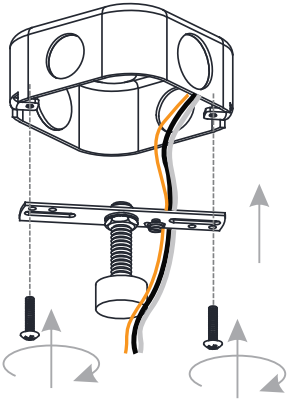
7 Install Lanyards
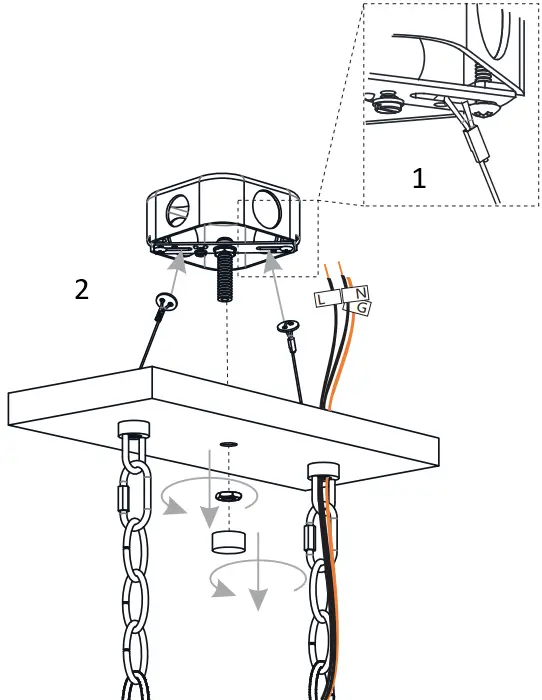
- Lanyard
- Button Stop Lanyard
8 Wiring
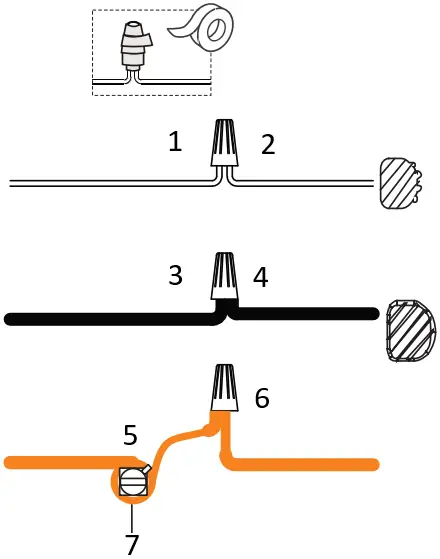
- White wire from supply
- Ribbed side of wire from fixture identified with the label “N”
- Black (or red) wire from supply
- Smooth side of wire from fixture identified with the label “L”
- Ground wire from supply
- Ground wire from fixture identified with the label “G”
- Green ground wire
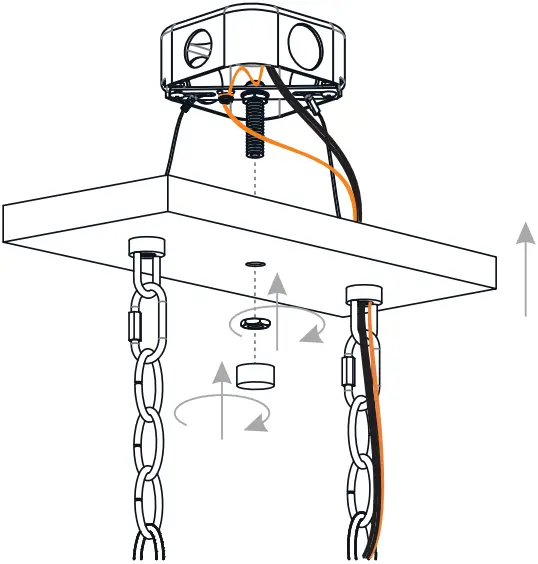
9 Install Ceiling Canopy
10 Install Bulbs
Install correct bulbs referring to fixture markings five and/or labels for maximum wattage.
Recommended Bulb Type (not included):
![]()

BULB BASE TYPE Candelabra (E12) BULB SHAPE TYPE B
Your installation is now complete! Restore electricity and save this sheet for future reference.


