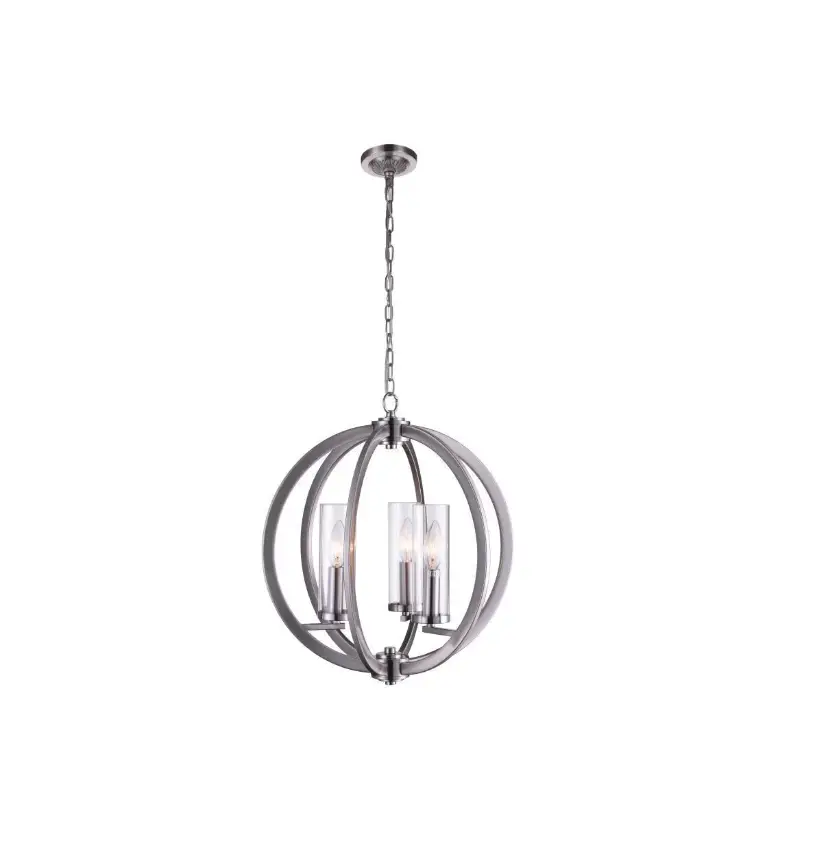
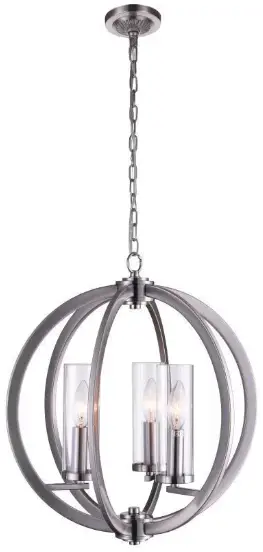
CWI Lighting 9951P16 3 Light Chandelier with Satin Nickel Finish
Introduction
Tools Required: Flathead screwdriver, Phillips screwdriver, pliers, wire cutters, wire strippers, electrical tape, safety glasses.
Light Source: (3) E12 Candelabra Base Bulbs 60W Maximum(Not Include).
Estimated Assembly Time: 20-30 minutes
Preparation: Identify and inspect all parts before beginning installation. Check package content list and diagrams below to be sure all parts are present. If any parts are missing or damaged, do not attempt to assemble, install, or operate the fixture. Contact customer service for re placement arts
![]() Warnings and Cautions
Warnings and Cautions
Turn off electricity at circuit breaker or main fuse box before installation. Consult a licensed electrician if in doubt.
These instructions are provided for your safety. It is very important you read them completely before installing the fixture. We strongly recommend that a licensed, professional electrician perform the installation.
Disconnect fixture from power source before replacing bulbs. Make sure bulbs are given sufficient time to cool before removal.
Package Contents
A Fixture Body x1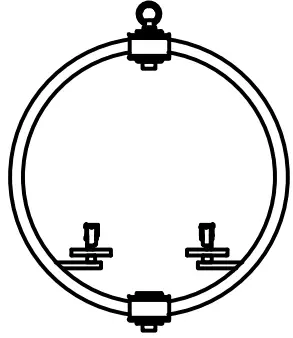
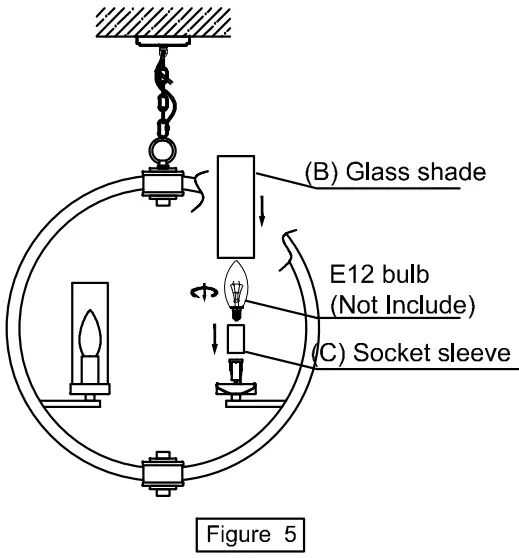
B Glass shade x3
C Socket sleeve x3
D Ceiling Canopy x1
Hardware Contents
PART | DESCRIPTION | QUANTITY |
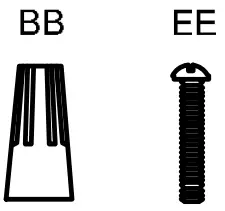
BB | Wire nut | 2pcs |
| EE | Screw | 2pcs |
Installation Instructions
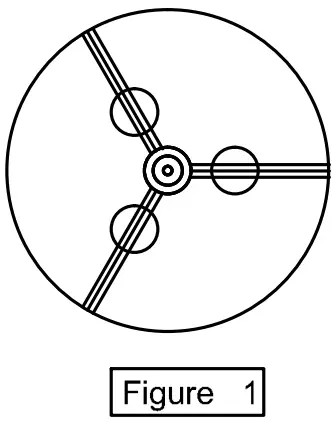
TEP 1 – Install Fixture Body .
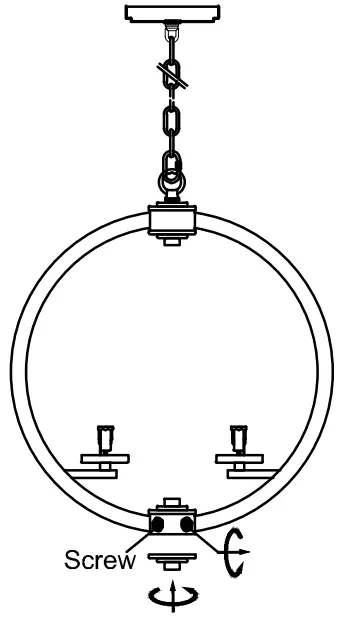
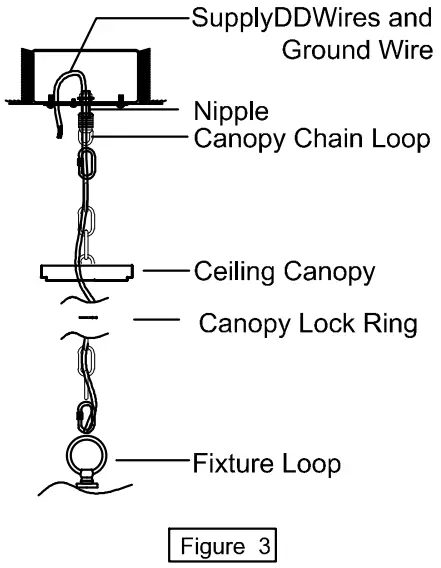
STEP 2- Install the Canopy Chain Loop and Nipple
STEP 3 – Install the Fixture Chain and Ceiling Canopy
STEP 4 – Wire Connections
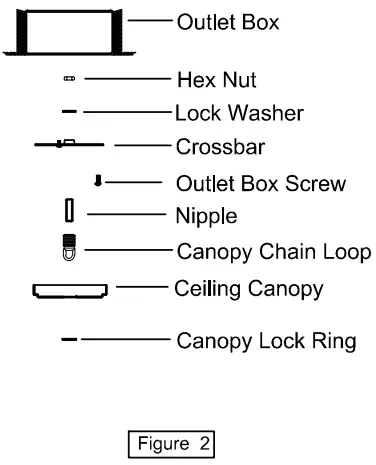
A. Use standard wire connectors (not included) to make all wire connections. Twist connectors until wires are tightly joined together. Wrap each connection with approved electrical tape and carefully stuff all the connected wires into the Outlet Box.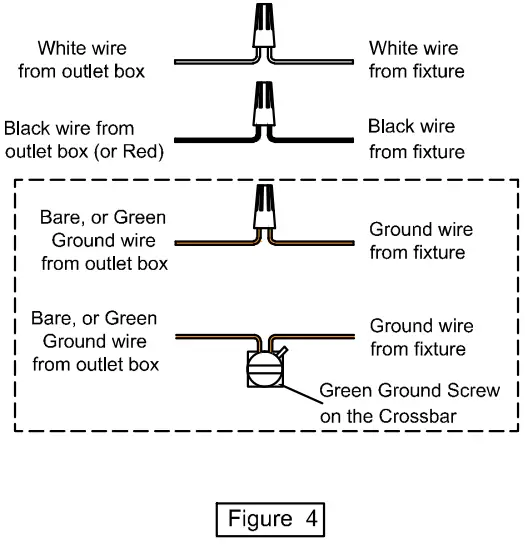
TEP 5 – Install Bulbs and Glass shade.