 General Toilet Instruction
Instructions
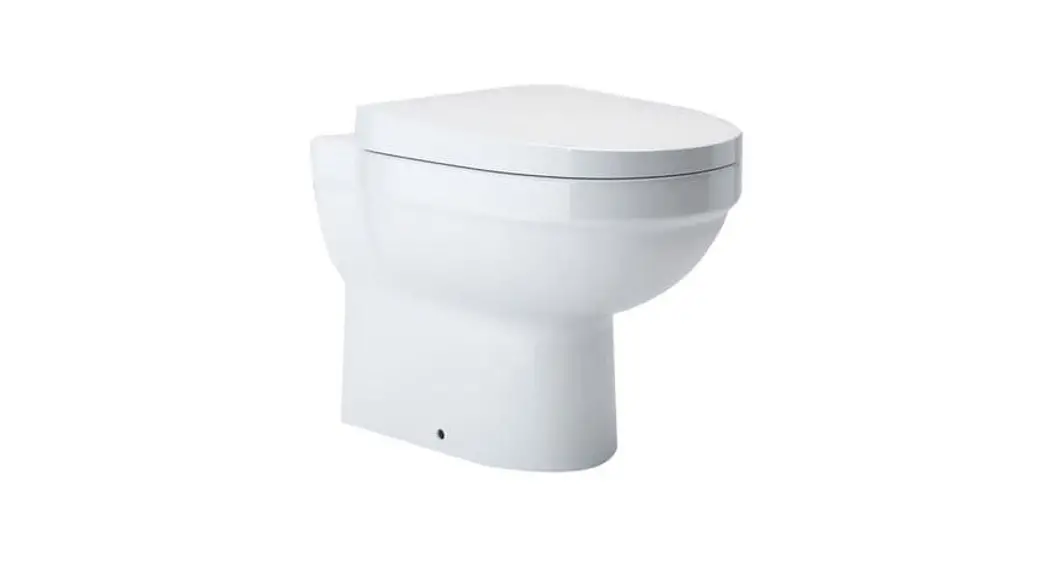
Nabis Alia Close Coupled Horizontal Outlet Pan
Pease ensure these instructions are followed carefully – if you are unsure about any aspect of the installation, please consult a qualified installer
- Consider and plan the installation
- Use fang suitable tor your roam
- And waste connectes
- Use a non permanent marker or pencil
Tools
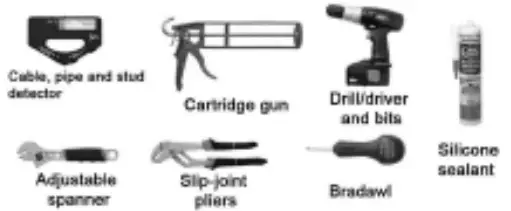
| Pencil Prolective googles Basin Taps Waste assembly | Pedestal Spirit level Screwdrivers Screws Wall plugs |
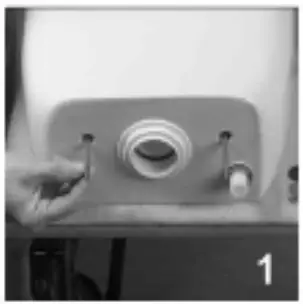
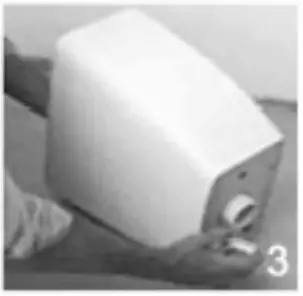
| Having fitted the internal Parts to the cistern position t to access the fixings on the base | Remove the wing nuts and lowet plastic washers from the base of the cistern body Please keep these components nearby as they will be used in stage 5 |
 | 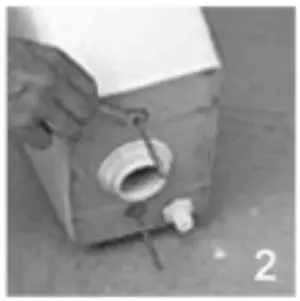 |
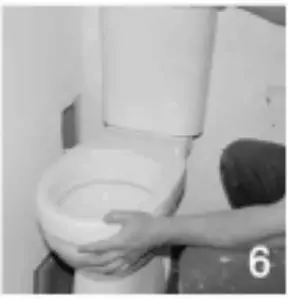
| Locate the large foamn seal and place this over the plastic cistern outlet positioned in the centre he foam should finish flush with the cistern base | Position the cistern body onto the close-coupled pan The two threaded bars should ft smoothly through the two corresponding holes towards the back of the pan Gently lower the cistern body into place, keeping it supported to prevent it failing |
 |  |
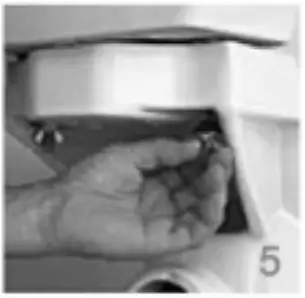
| Locate the wing nuts and washers removed in stage 2 Screw these back onto the threaded bars until hinger bight [his will secure the cistern body to the pan | osbon the dose coupled pat in the desired location against the wall and align with water supply and outlet connections If required consult a plumber to ensure correct fixing and to avoid leaks after installation |
 |  |
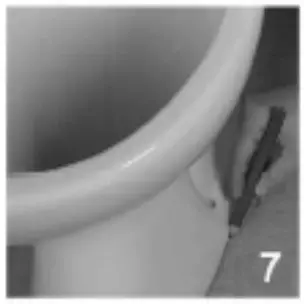
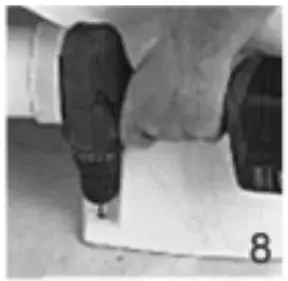
| Draw a line around the base of the pan to clearly mark the final position Also mark the location pf the holes on either side of the pan These will be used as a guide for the floot fixings Mark the two wall fang holes through the cistern body en surng that the cistern body is still correctly aligned on the pan Then move the pan carefully to one side | Using a 10mm bit, drill the floor and tap in the plastic wall plugs provided |
 |  |


