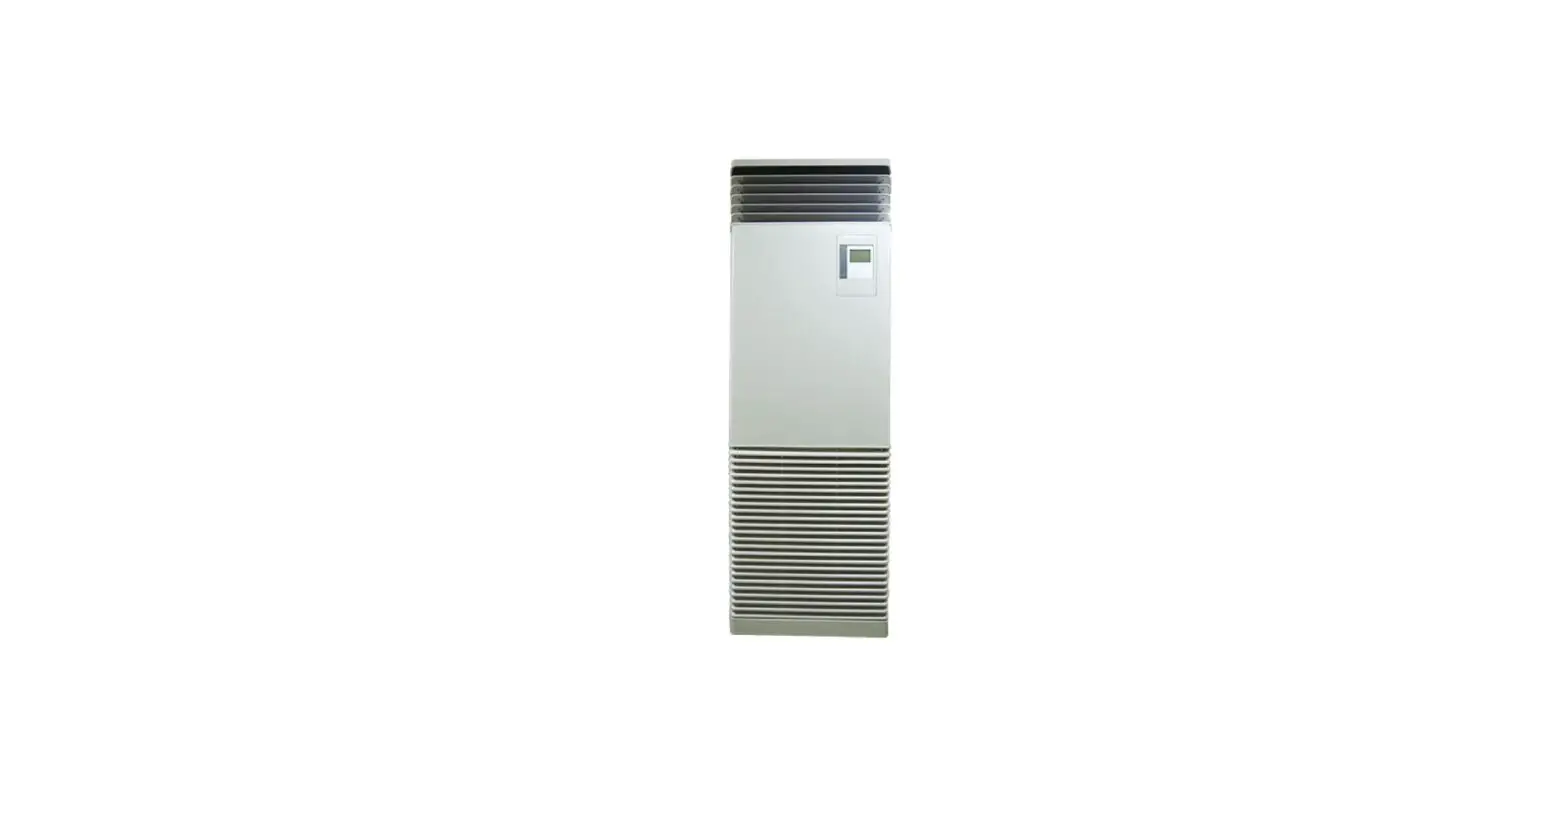
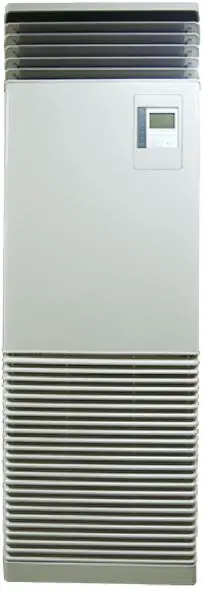
TOSHIBA R32 RAV-HM_FT Digital Inverter Floor Mounted Cabinet
Product Information
| Model Name | TCB-CKC1F-E | |||||||||
|---|---|---|---|---|---|---|---|---|---|---|
| Accessories |
|
Product Usage Instructions
- Removing the remote controller panel
- Untie the cords of the air inlet grille and remove the air inlet grille.
- Unfasten the two screws fastening the upper cabinet. Lift up the upper cabinet and remove it.
- Unfasten the two screws fastened on the back of the upper cabinet and remove the foam cover.
- Push out the remote controller panel through the back of the upper cabinet and remove it.
- Give the removed remote controller panel to the user and ask them to keep it together with the Installation Manual.
- Installation of Cover kit
- Attach the Cover kit to the position of the remote controller panel removed in step 1d.
- Attach the foam cover to the upper cabinet using the two screws from step 1c.
- Attach the upper cabinet and intake grill to the main body by reversing the procedure of step 1b.
For more detailed instructions and information, please refer to the Installation Manual provided.
INSTALLATION MANUAL
- AIR CONDITIONER
- Cover kit
- Model: TCB-CKC1F-E
Thank you for purchasing the Cover kit for TOSHIBA air conditioner.
Before starting the installation work, please read this manual carefully and install the product properly.
Adaptation model
| Model name | Adaptation model |
| TCB-CKC1F-E | RAV-HM FT |
Accessories
| Part name | Shape | Q’ty |
|
Cover kit | 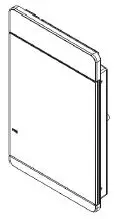 |
1 |
| Installation Manual (this manual) |  | 1 |
How to install
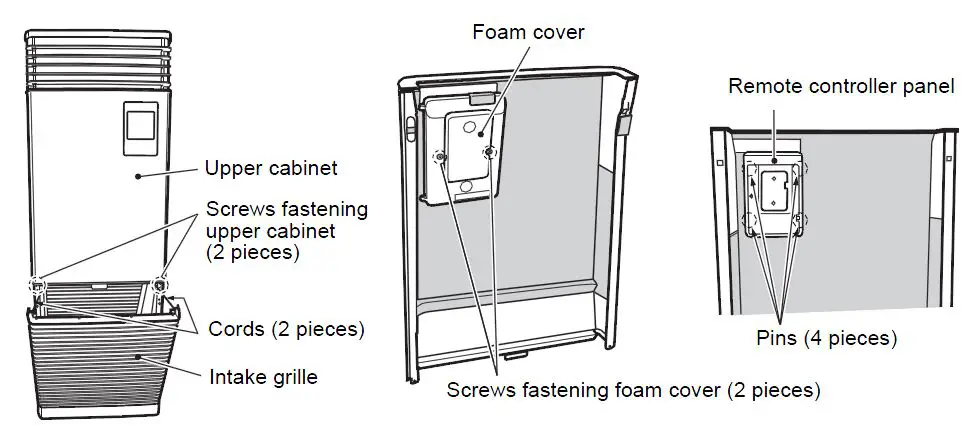
Removing the remote controller panel
- Untie the cords of the air inlet grille and remove the air inlet grille.
- Unfasten the two screws fastening the upper cabinet. Lift up the upper cabinet and remove it.
- Unfasten the two screws fastened on the back of the upper cabinet and remove the foam cover.
- Push out the remote controller panel through the back of the upper cabinet and remove it.
- Give the removed remote controller panel to the user and ask them to keep it together with the Installation Manual.
Installation of Cover kit
- Attach the Cover kit to the position of the remote controller panel removed in 4) of 1 above.
- Attach the foam cover to the upper cabinet using the two screws from 3) of 1 above.
- Attach the upper cabinet and intake grill to the main body by reversing the procedure of 1 above.


