Infrared Thermometer User Manual
Specification
- Accuracy: ±0.2 degrees
- Abnormal automatic alarm: flashing +”Di Dr sound
- Automatic measurement: measuring distance 5cm 10cm
- Screen: Digital display
- Charging method:USB charging or battery(18650 Li-ion)
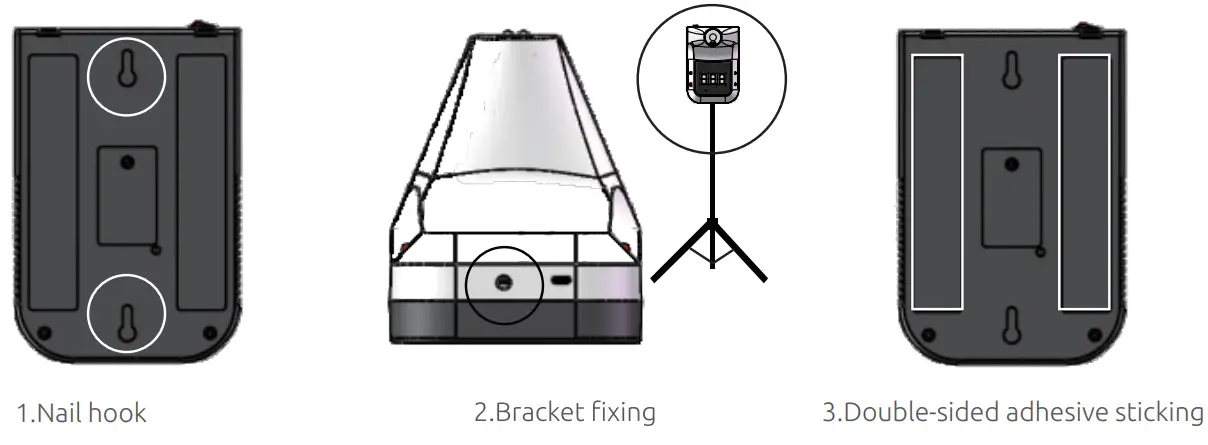
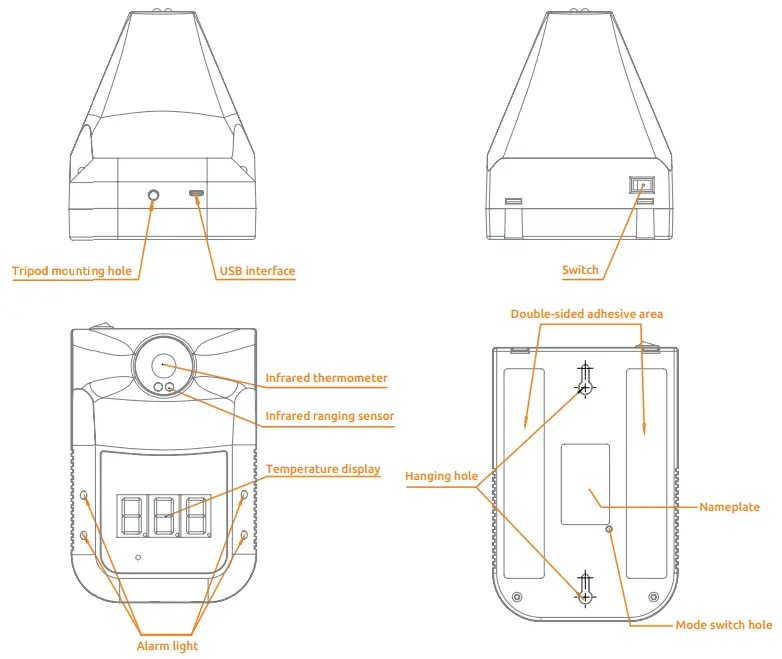
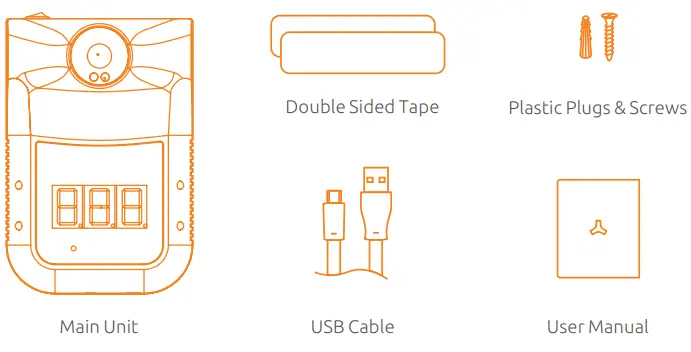
- Install method: nail hook, double-sided adhesive sticking, bracket fixing
- Environment temperature: urc-or (Recommended 1st-3st )
- Infrared measuring range: 0-50t
- Response time: 0.5s
- Input: DC2-5V
- Weight: 350g
- Dimensions: 170*115*140mm
- About one week
Introduction
Content
Status Description
| Standby: The red dot in the bottom of the display lights up in turn. | 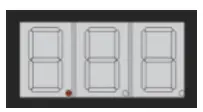 |
| Insufficient power: The horizontal bar lights up in the middle of the display. | 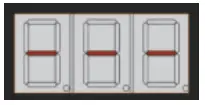 |
| Normal temperature: Flashing green lights and alarm’ Di’. | 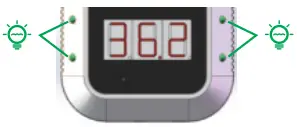 |
| Abnormal temperature: Flashing red lights and alarm ‘Di Di’. | 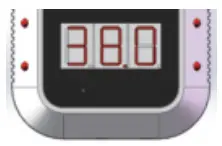 |
| Lo’: Ultra-low temperature alarm. | 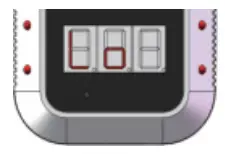 |
| ‘HI’: Ultra-high temperature alarm. | 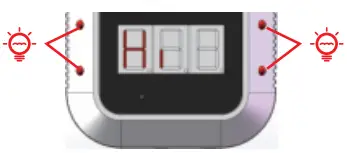 |
Operation Before Measurements
- Power on
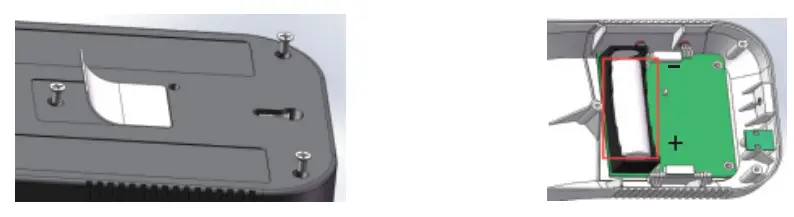
For first-time use, open the case with a screwdriver, pull out the battery strip, put the battery inside the battery compartment. Press the [ power switch] button to turn on the thermometer, then initialize the system.
LCD will show the default value: 00.0 °C.
- Measurement unit selection Press [switch button] once by using a 3mm diameter screwdriver to select the measurement unit °C or °F (C: Celsius F: Fahrenheit)

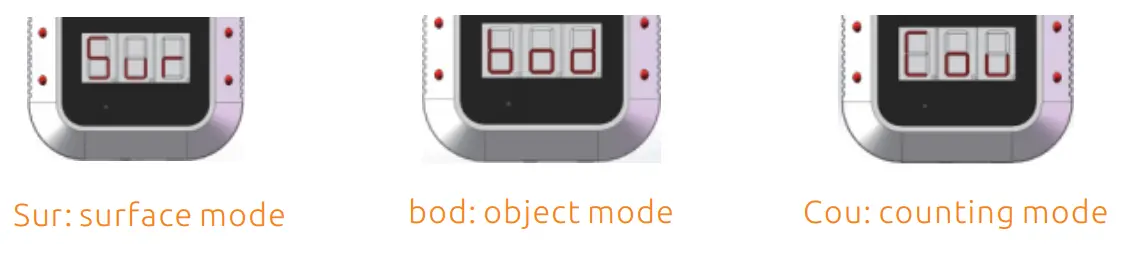
- Select Measuring Mode
Long press the mode switch button for 3 seconds to switch the temperature mode. The default mode is body mode. Sur: surface mode, bod: object mode, Cou: counting mode ). The “bod” mode is programmed by default. Measurement
Make sure the measuring distance is between 5-10 cm (1.97-3.94 in) when measuring. Installation Methods

 Measurement
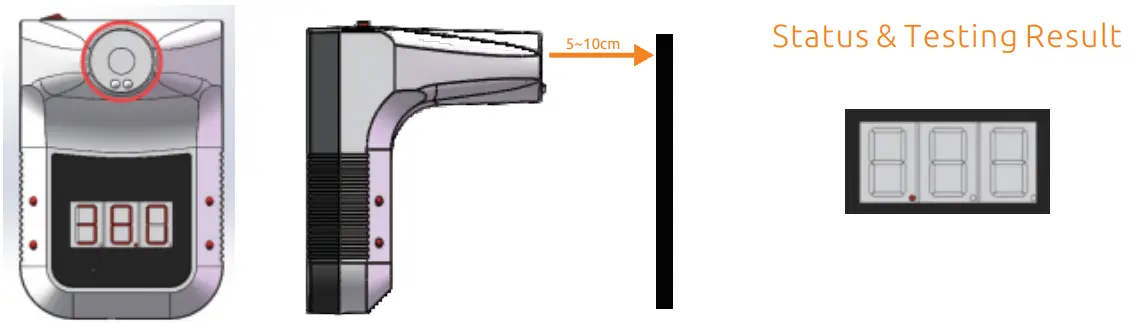 Installation Methods